
WWDC 2022 featured a lot of announcements and new features for different Apple products. We have already recapped all of these updates in two parts, part one was about the keynote, and the second part was about the platform union keynote. One of the announcements was Xcode 14 beta, the latest release of Apple's favorite developer's tool.
Xcode 14
Xcode 14 comes with everything you need to create, test, and distribute apps for all Apple platforms. With a new multiplatform app experience, you can leverage the simplicity and power of Swift and SwiftUI, code faster with enhanced editor features, and start testing and deploying from Xcode Cloud to TestFlight and the App Store. It has never been easier to create amazing apps.
Xcode 14 allows you to get started faster than ever before, with a binary that is 30% smaller than before.

With the addition of downloadable simulator runtimes for watchOS and tvOS, Xcode now makes the most recent platforms available as needed.
The iOS app
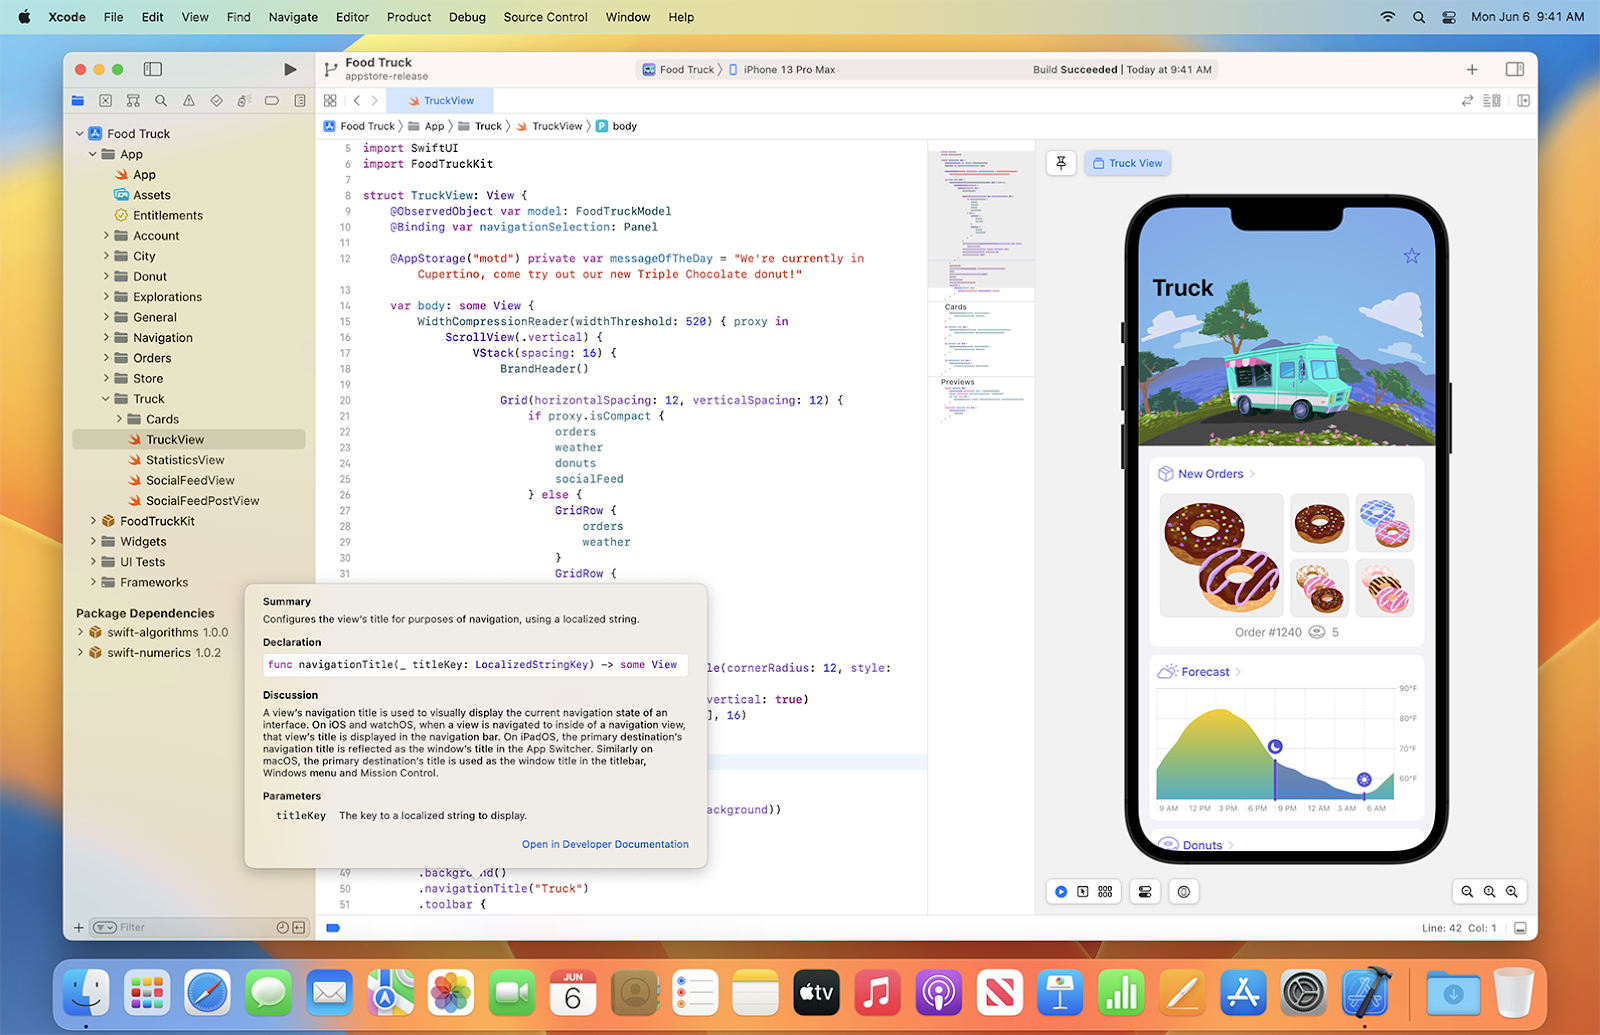
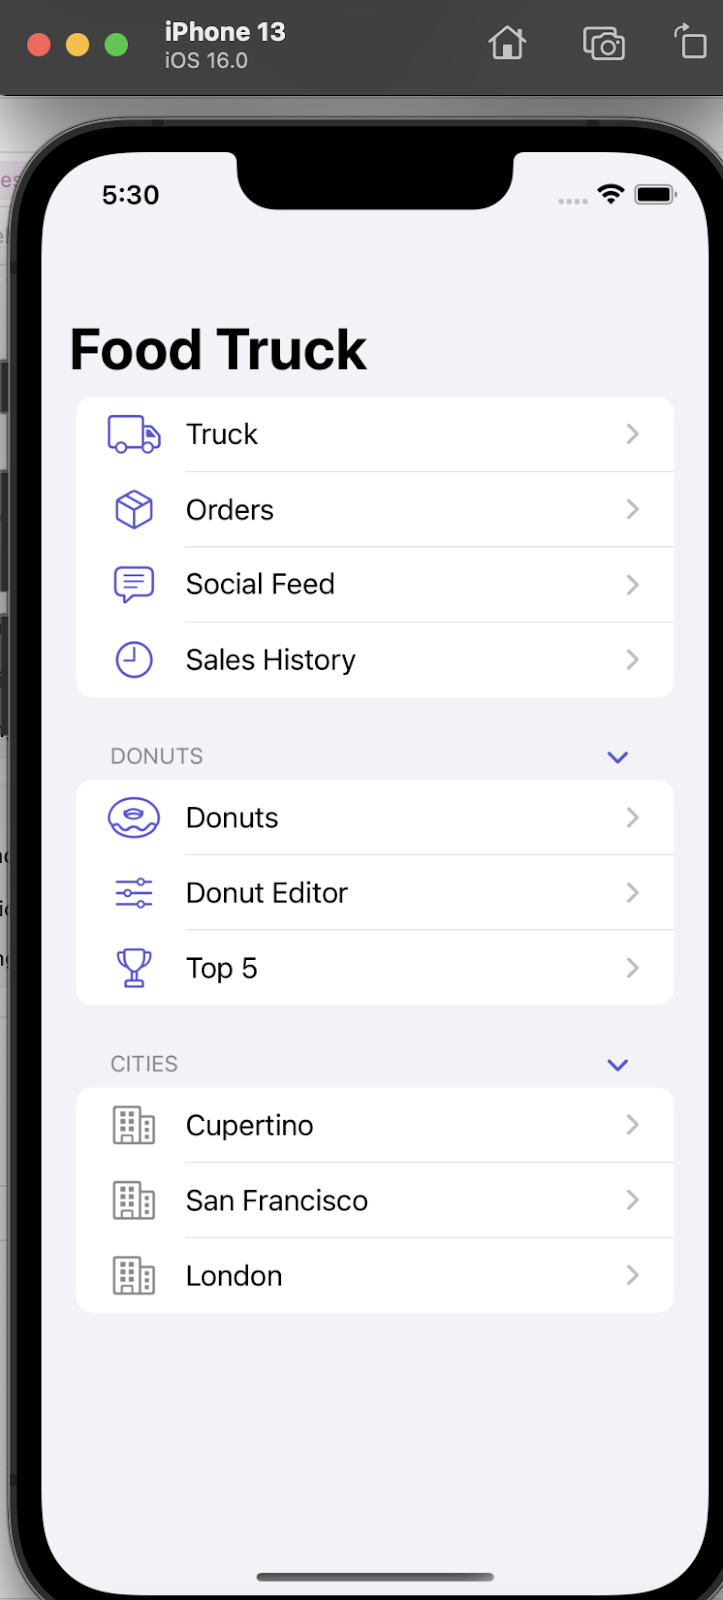
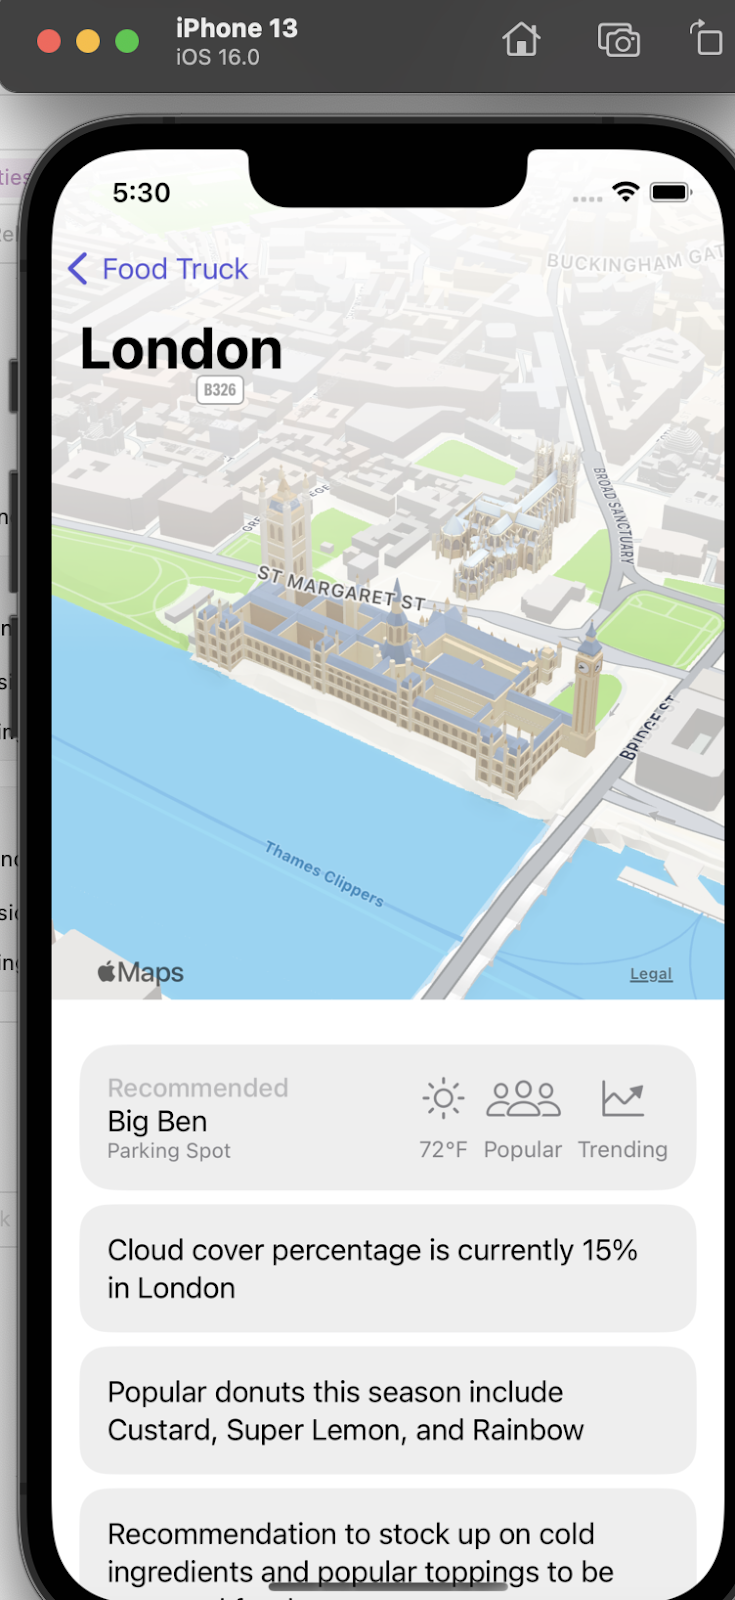
During the State of the Union session, they demonstrated different features related to Swift, Swift UI, and more using an open-source project called Food Truck. It’s a single codebase and app target for Mac, iPad, and iPhone.
The Food Truck sample project contains two types of app targets:
- Simple app targets you can build using personal team signing. This app runs in the Simulator, and only requires a standard Apple ID to install on a device. It includes in-app purchases and a widget extension that enables users to add a widget to their iOS Home Screen or the macOS Notification Center.
- Full-featured Food Truck All app targets the full app runs in Simulator, and on devices with an Apple Developer membership. It also allows you to create and sign in with passkeys.
But actually, to be able to use this app you should have Xcode 14 beta release, because of that I decided to clone and run the project on Bitrise but I did small changes based on the project’s Readme file.
The prerequisites
As I mentioned above you should have the following prerequisites for this hands-on lab:
- Xcode 14 beta release or later.
- Apple Developer account.
- Bitrise free account.
We are ready now, let’s get started!
Getting started
- Open the project in Xcode 14
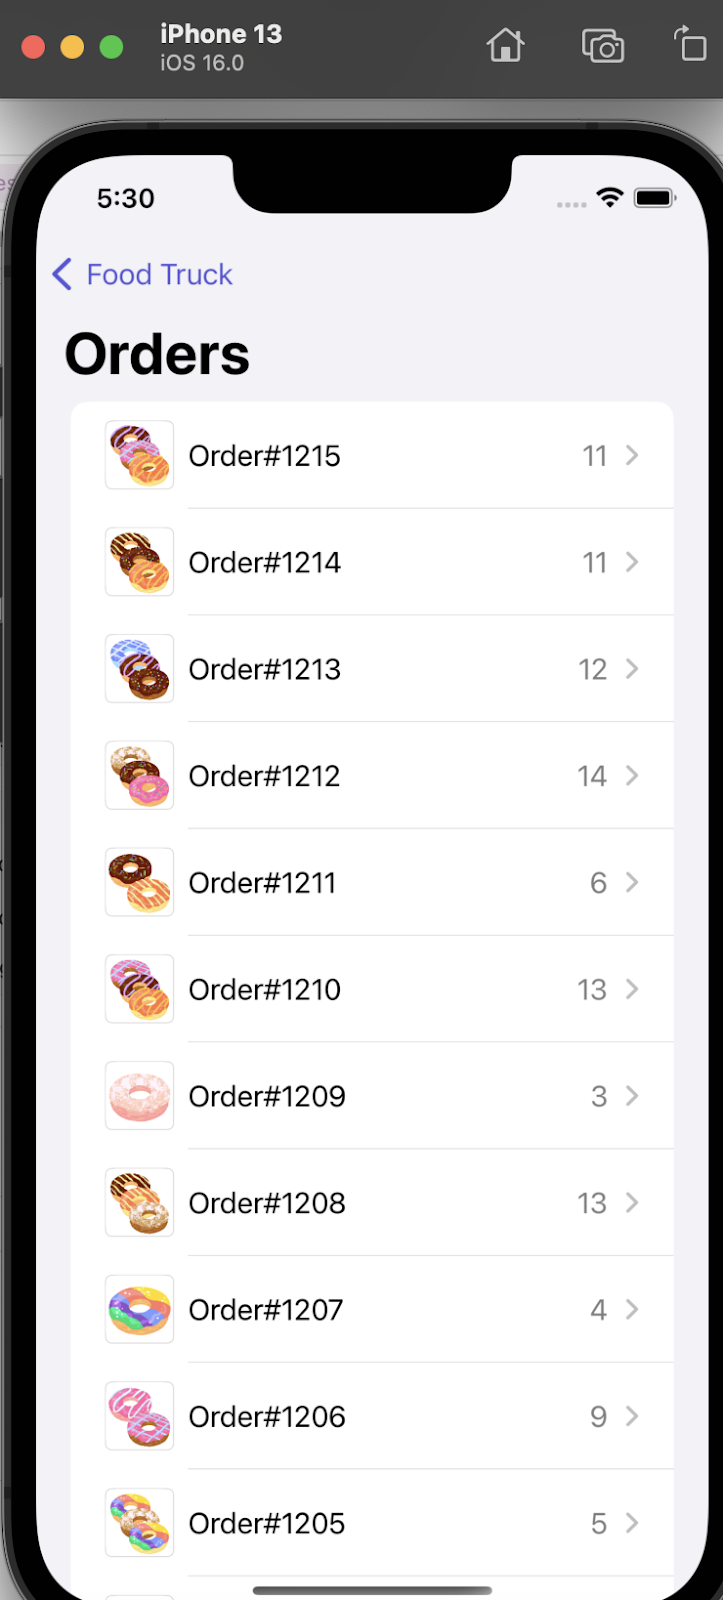
- Select the Food Truck project.
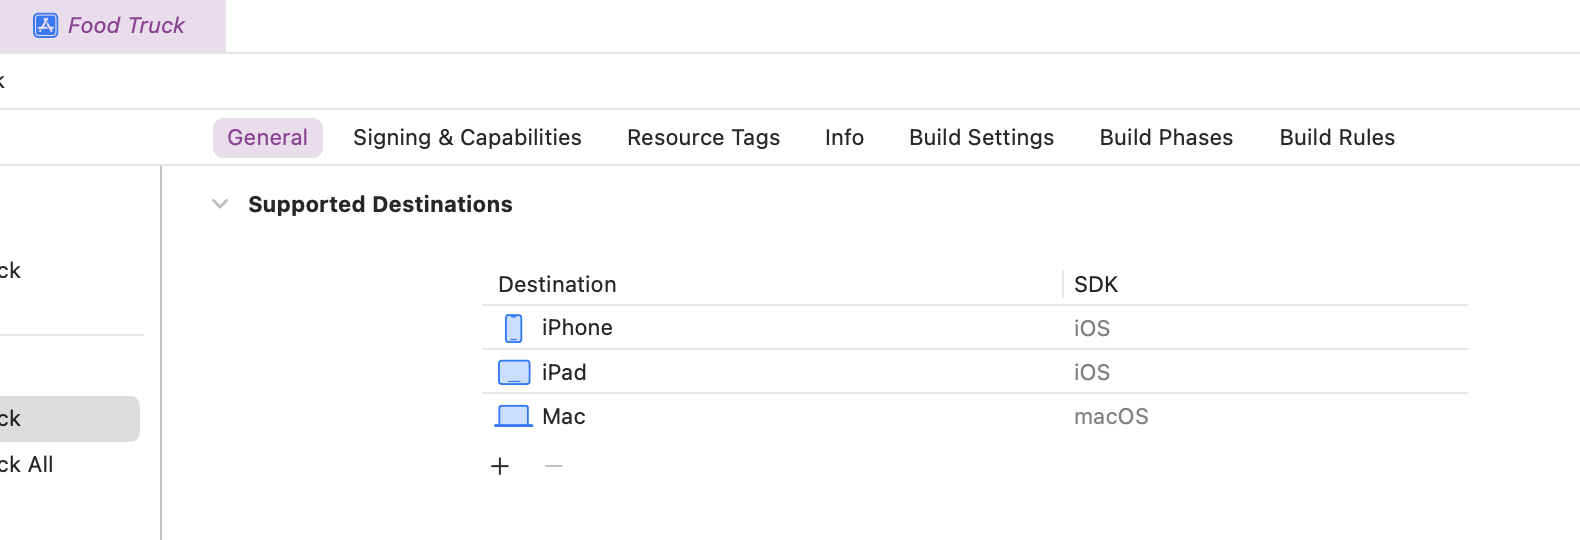
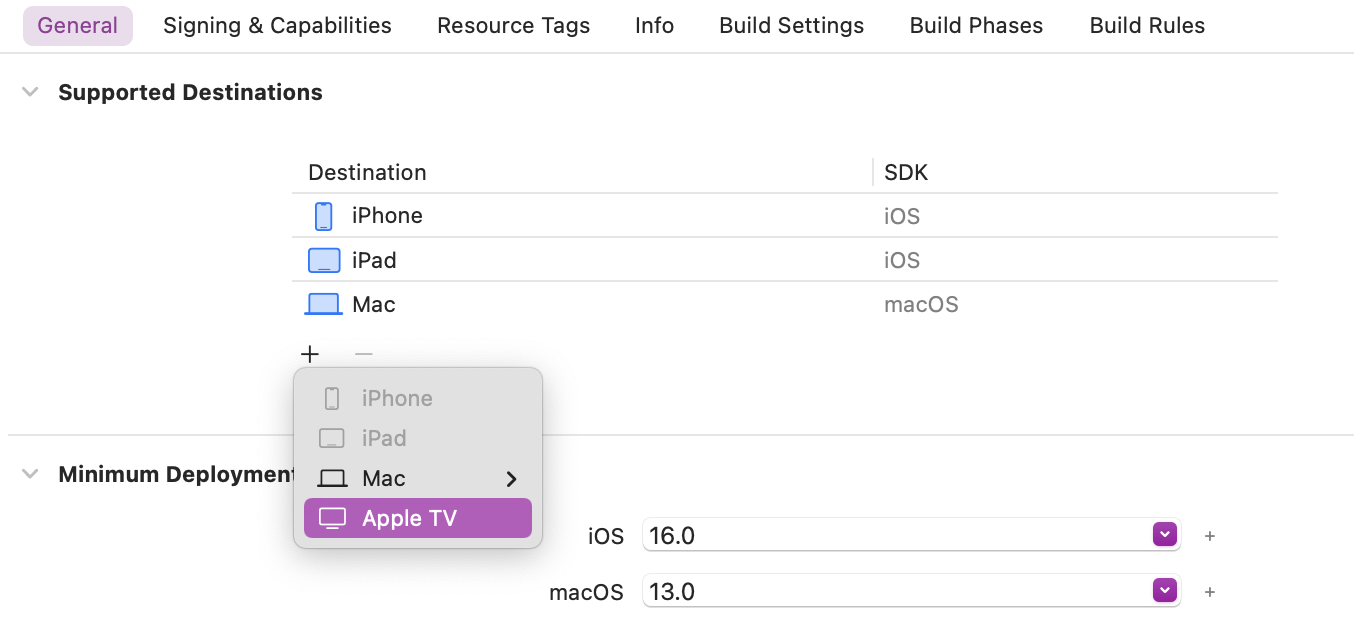
You will notice that now you can find different targets in the same scheme under The Supported Destination in the General tab. And you can for sure add another destination such as tvOS:
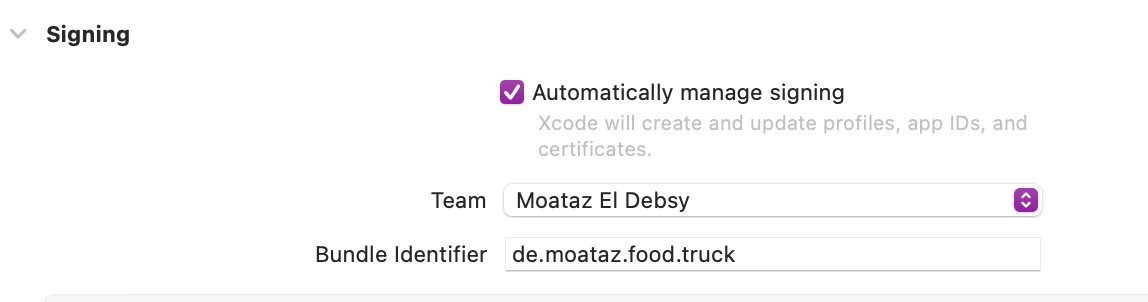
- For all targets, choose your team from the Team menu in the Signing & Capabilities, so Xcode can automatically manage your provisioning profile.
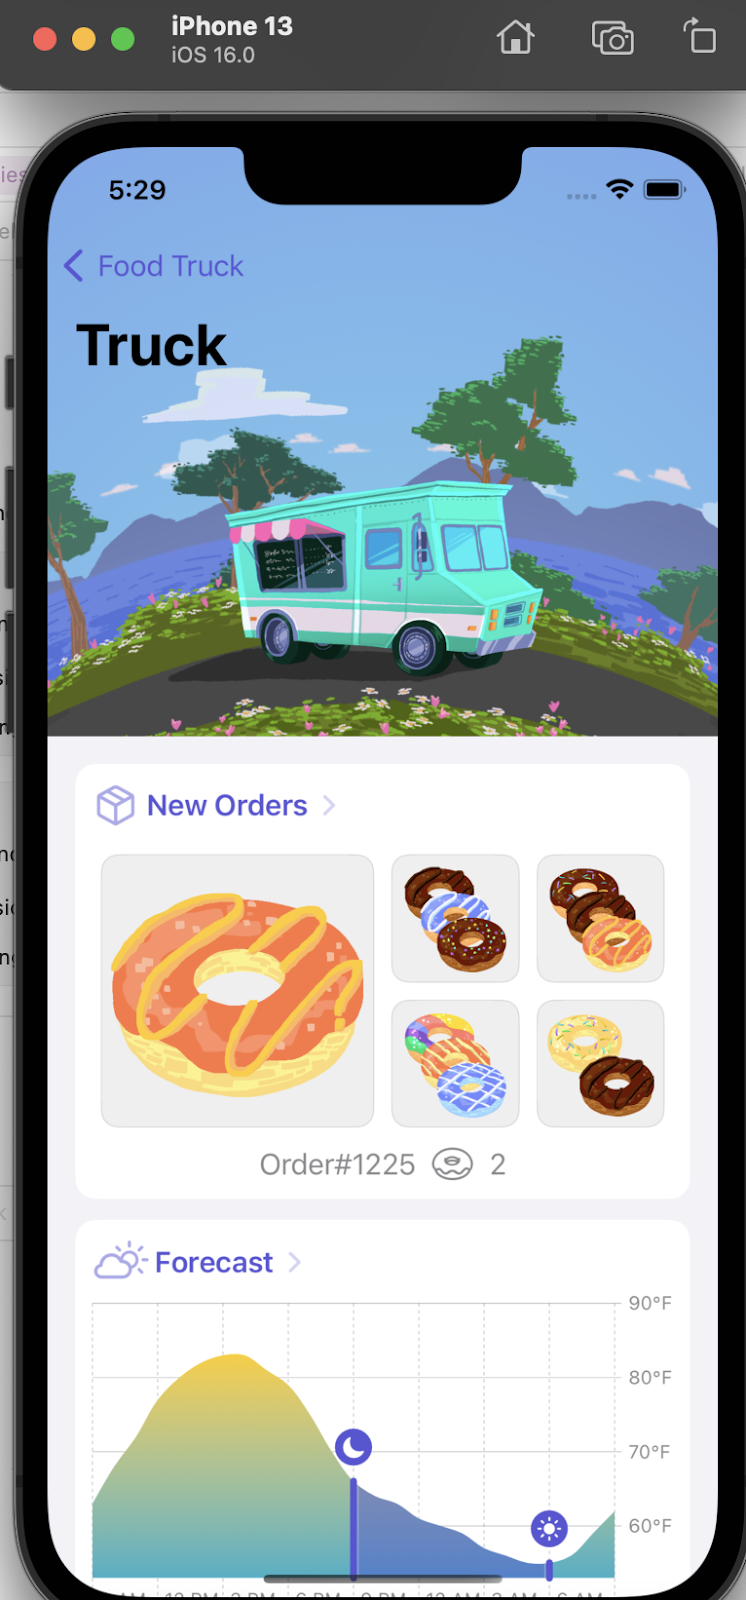
- Now you can try to build the iOS app by choosing the Food Truck scheme and selecting a device such as the iPhone 13.
Now what I want to do is add simple UI tests for the app to be able to run in the CI by the following steps:
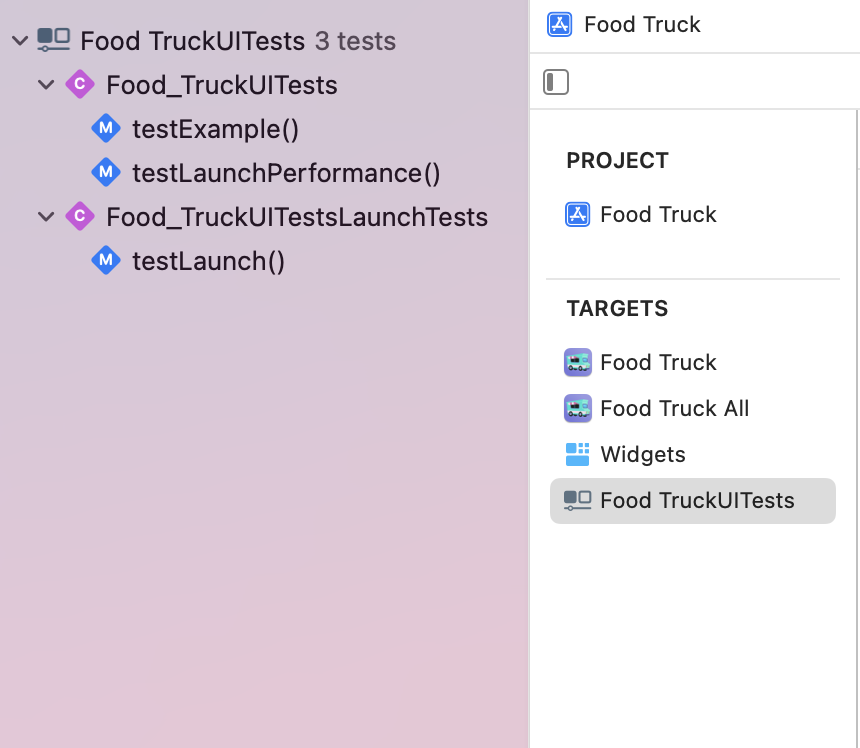
- Click on the Test navigator in the project and click on the + add button and select New UI Test Target.

- Choose the options and click the Finish button.
- You will notice that simple UI tests will be added to the project.

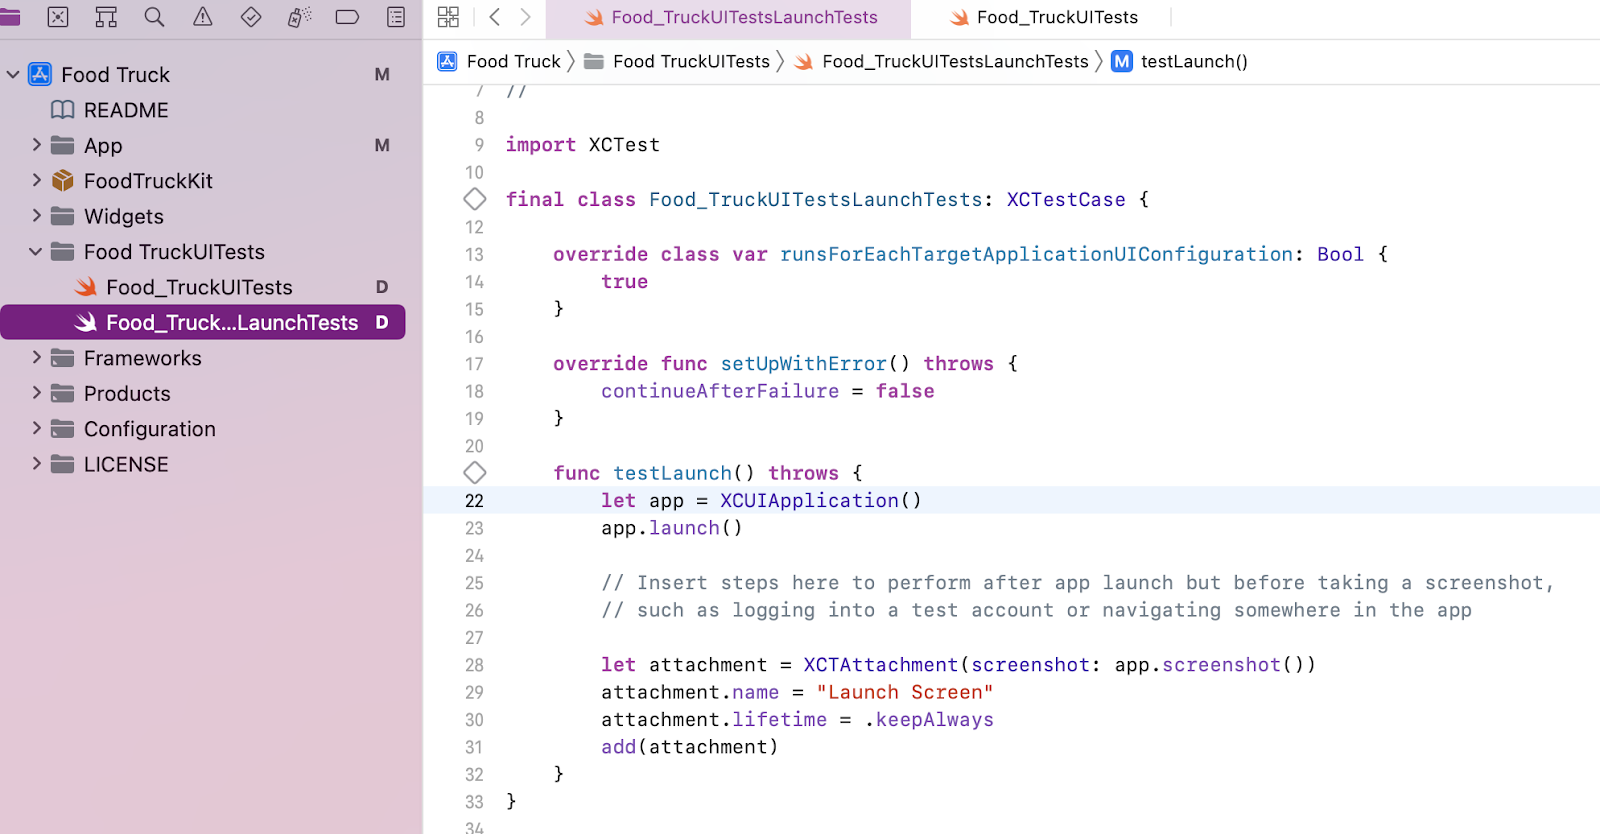
- Click on the Project navigator to view the tests if you want to add new UI tests or modify the existing tests.
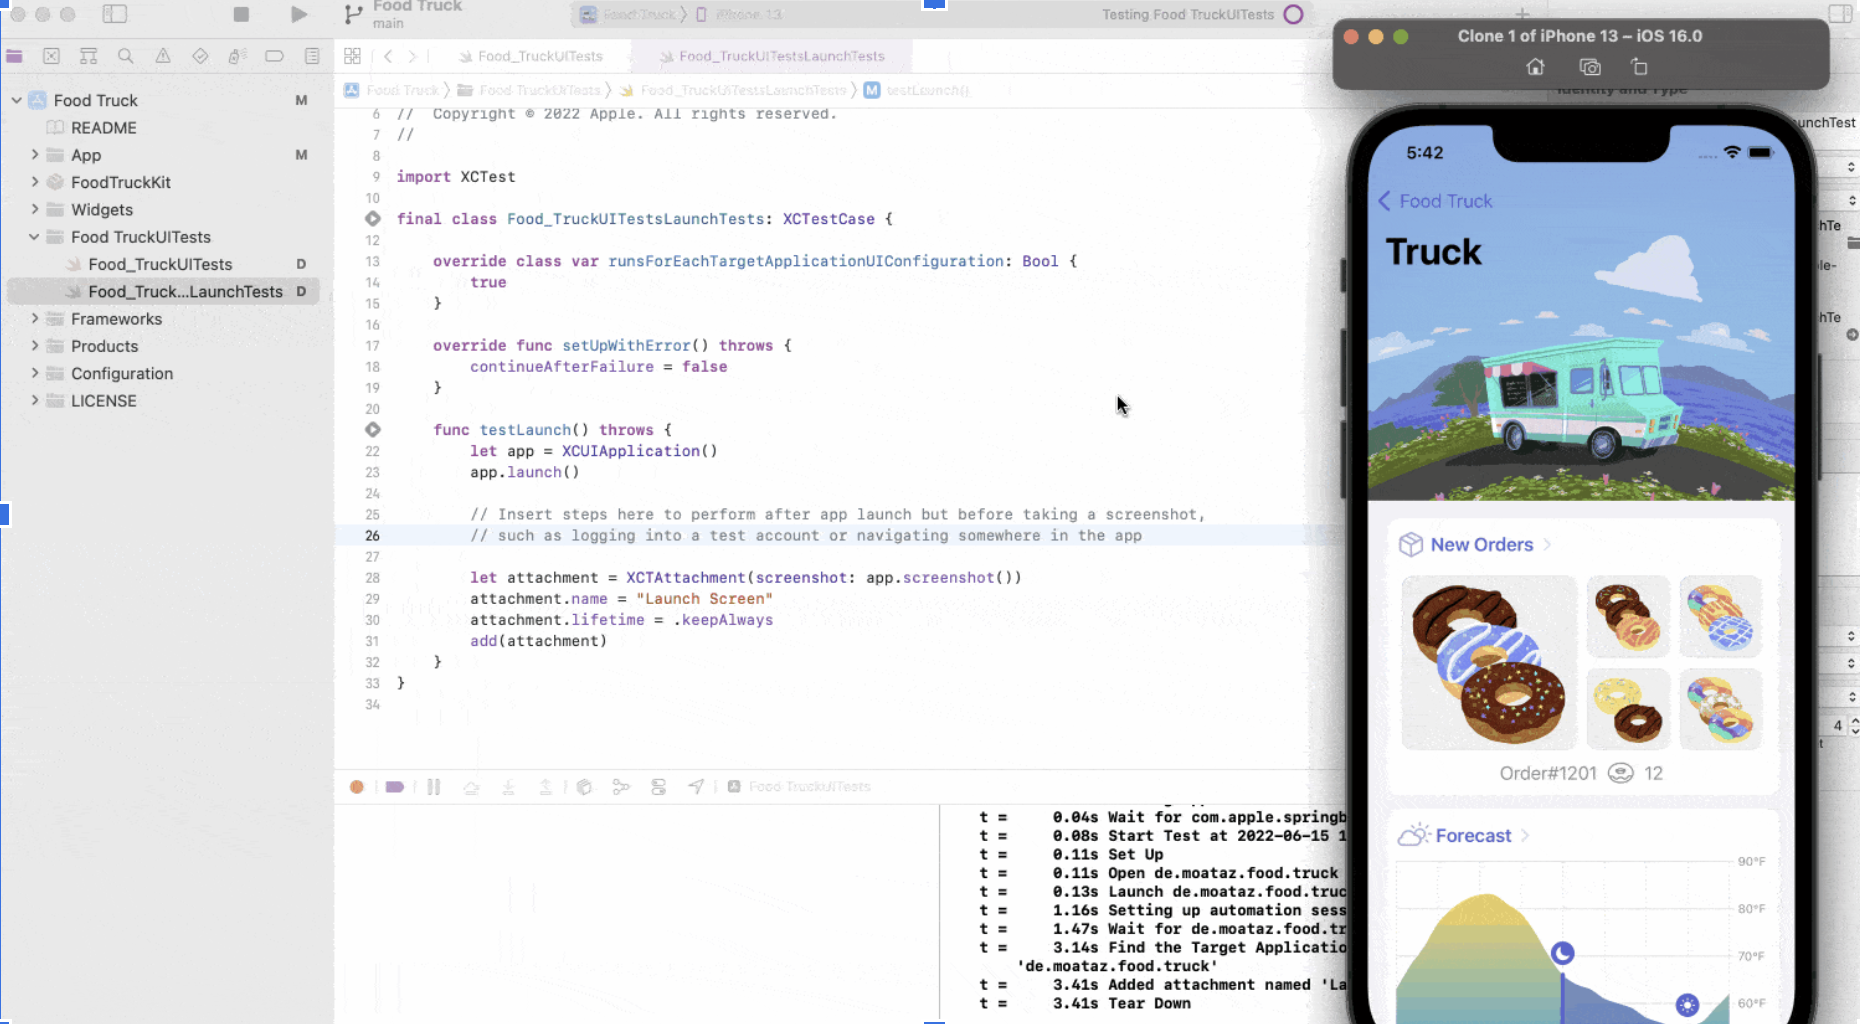
- Next, try to run the tests to make sure that there are no errors or building issues.
After that, let’s try to archive the project to make sure that the deploy steps will work successfully on the CI server to be able to submit the .ipa to the App Store.
- From the device, list select any iOS Device (arm64) and Food Truck scheme.

- From the Product menu select Archive.
- Wait till the archiving tasks are finished and the Archives screen displayed.
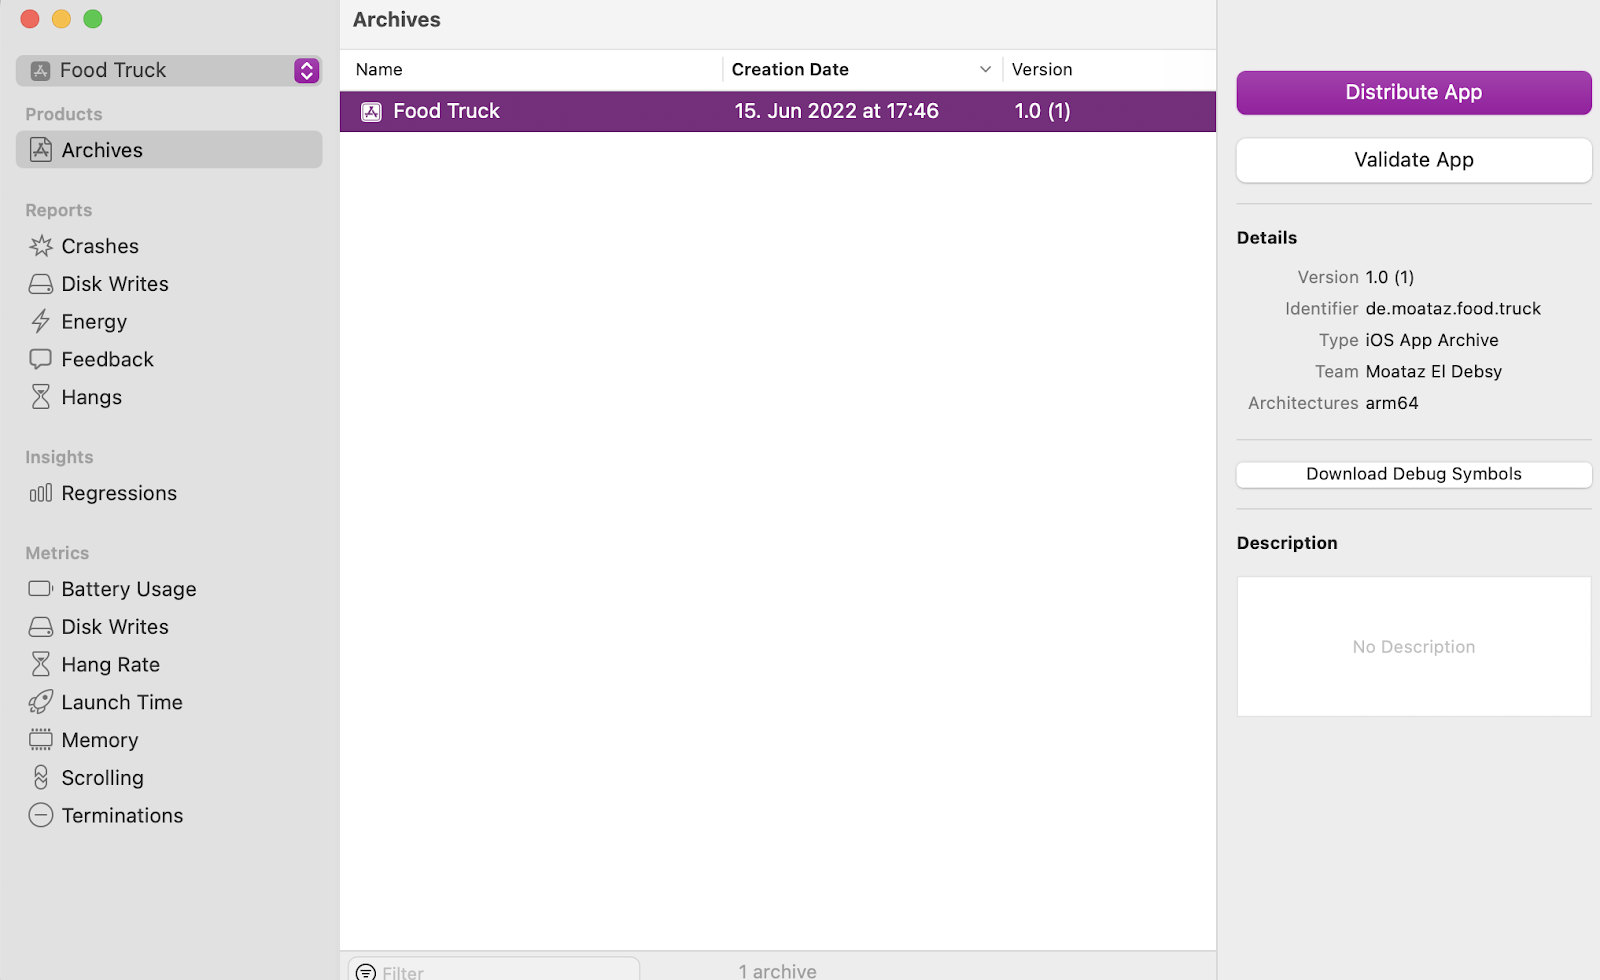
- Click on Distribute App and follow the steps.

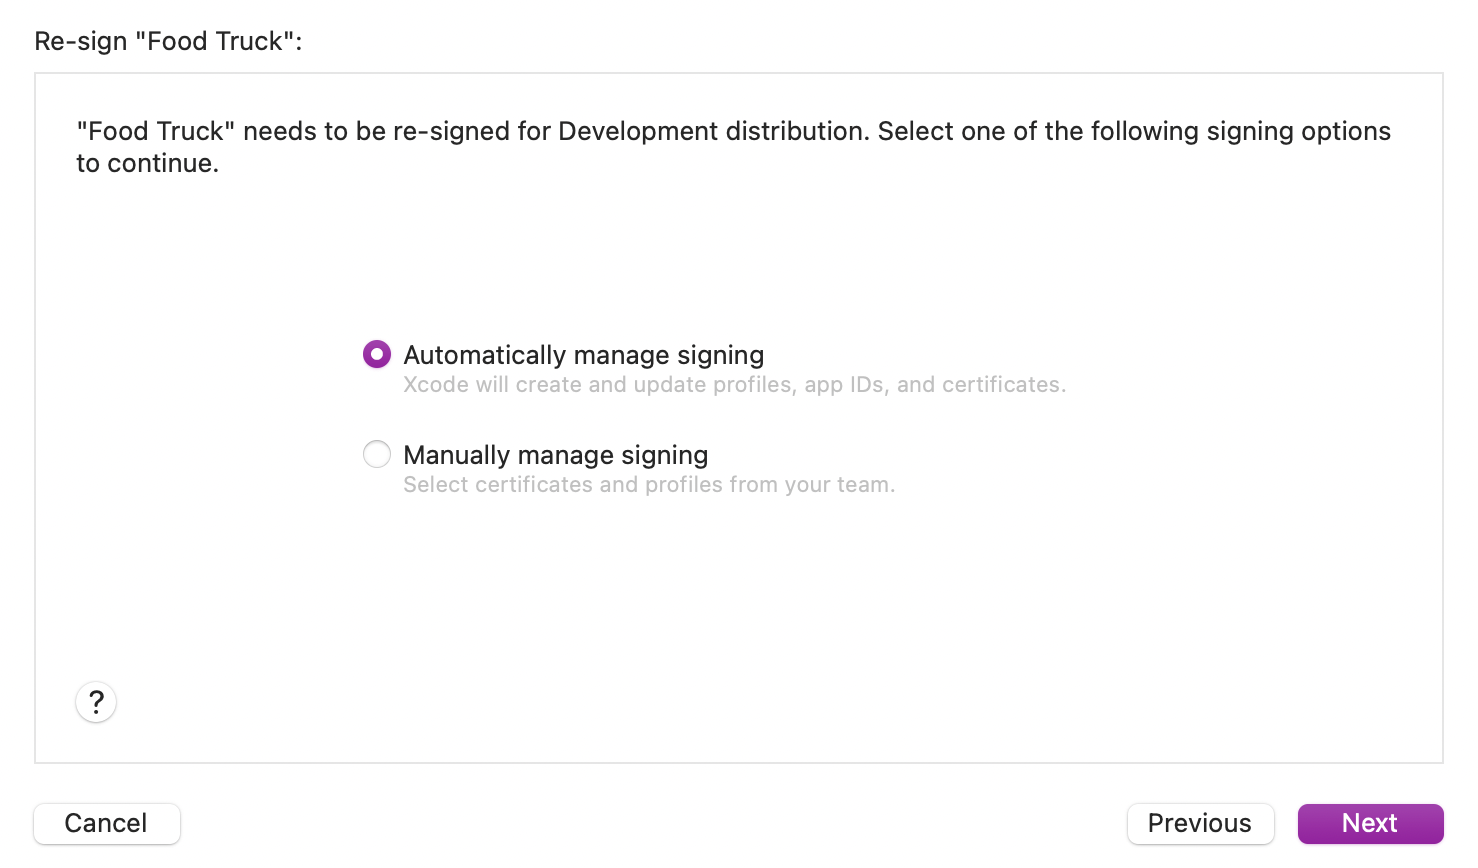
- If everything goes correctly, click on the Export button.
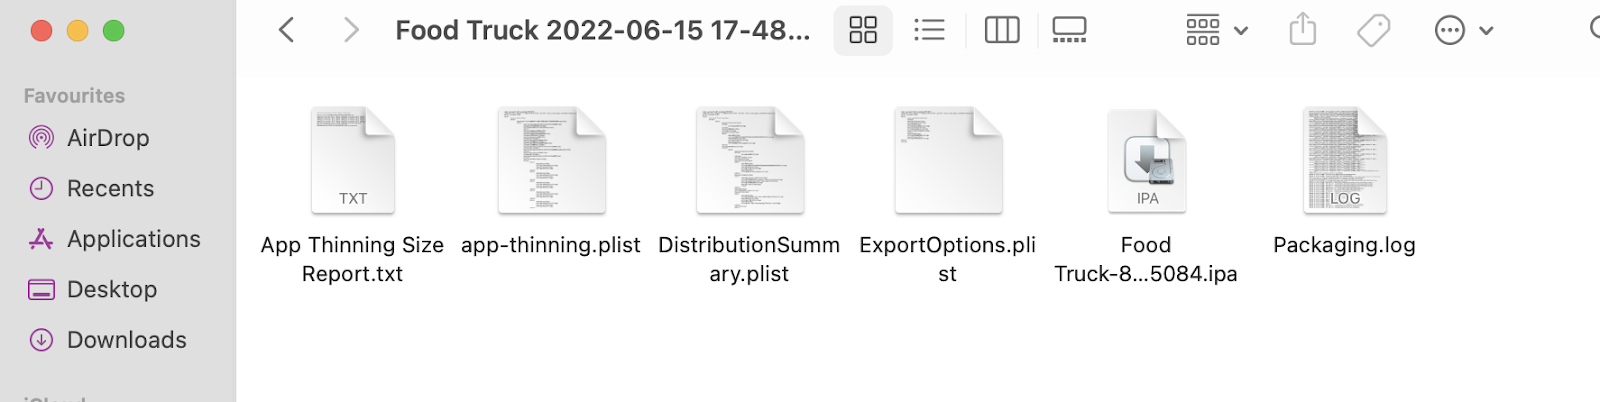
- The archiving process will be finished with the folder including the .ipa file for the application.
All the steps are working successfully now on our local machines, so now it’s time to add the application to Bitrise for CI/CD workflows.
Sounds interesting!
Let’s do it!
I’m assuming that you already have a Bitrise account and you know how to add a project to Bitrise. If not, you can create a new account and follow the steps here to add the iOS app.
- Add New App

- Select the machine type and stack, and make sure that you selected the latest Xcode 14 and also the M1 machine. If you don’t have this choice make sure that you have a team workspace.

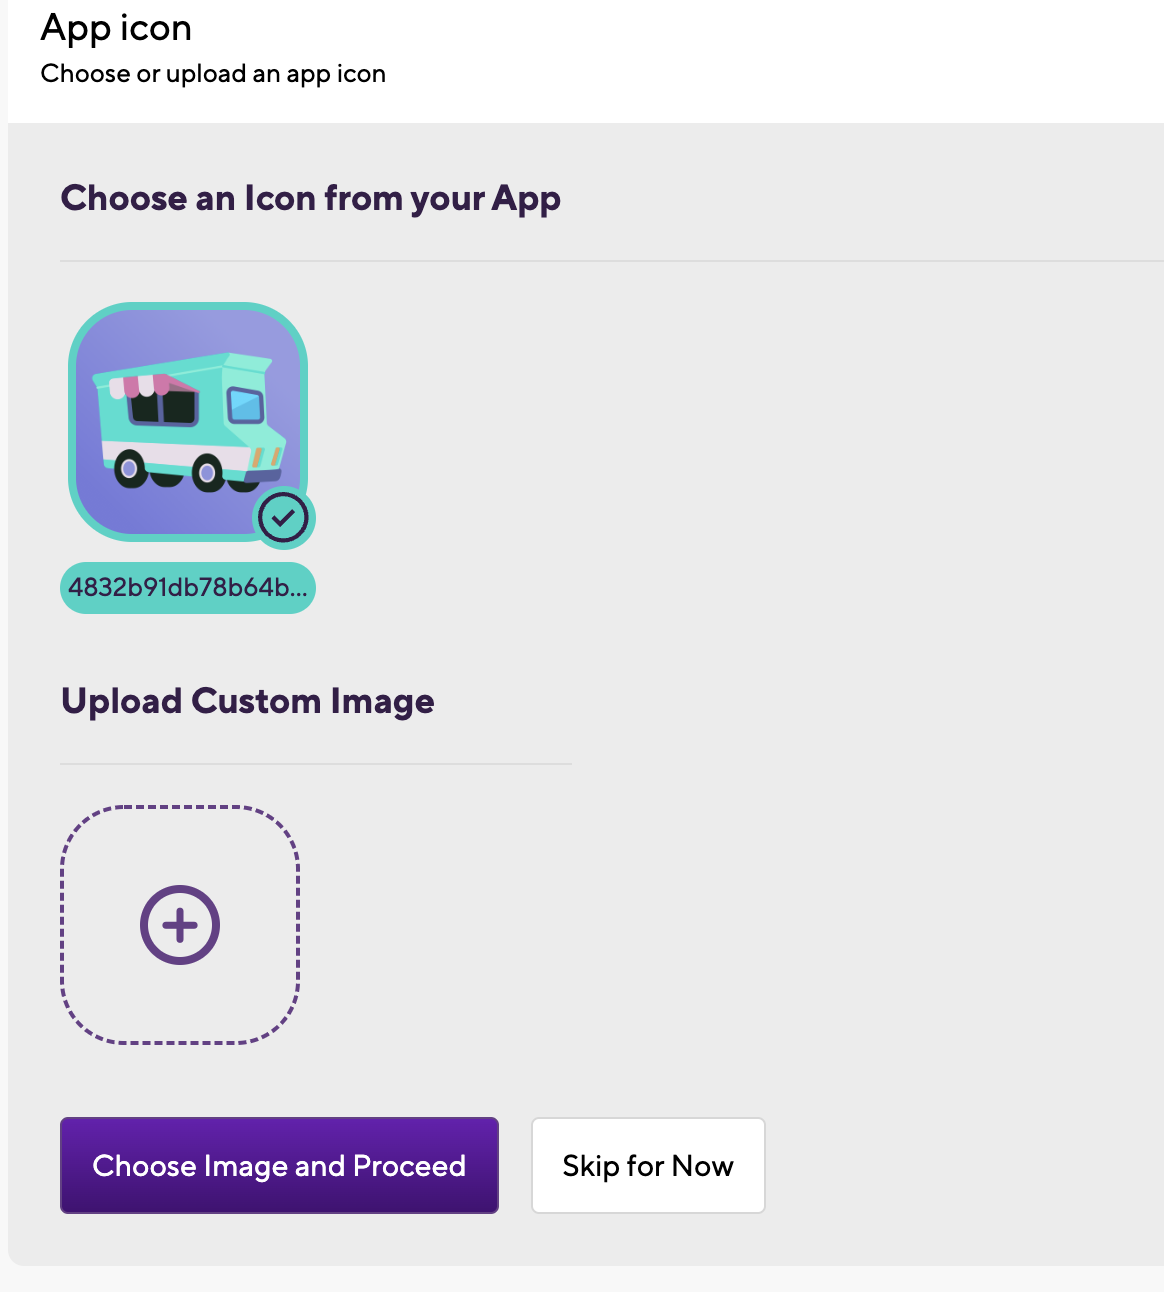
- Choose the App icon.
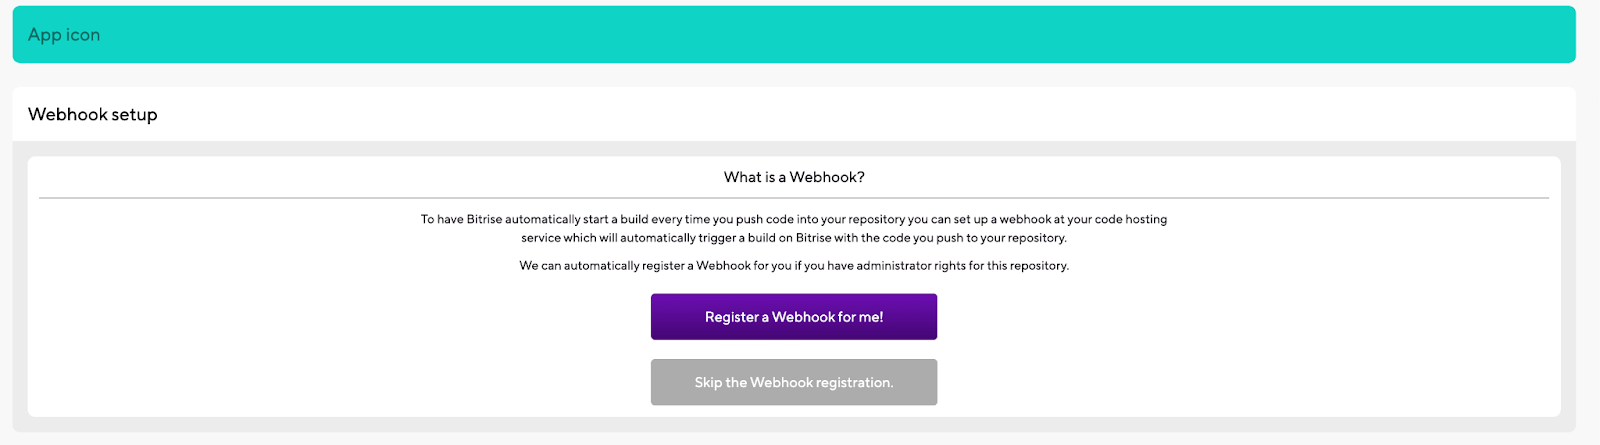
- Register the webhook and trigger the first build.
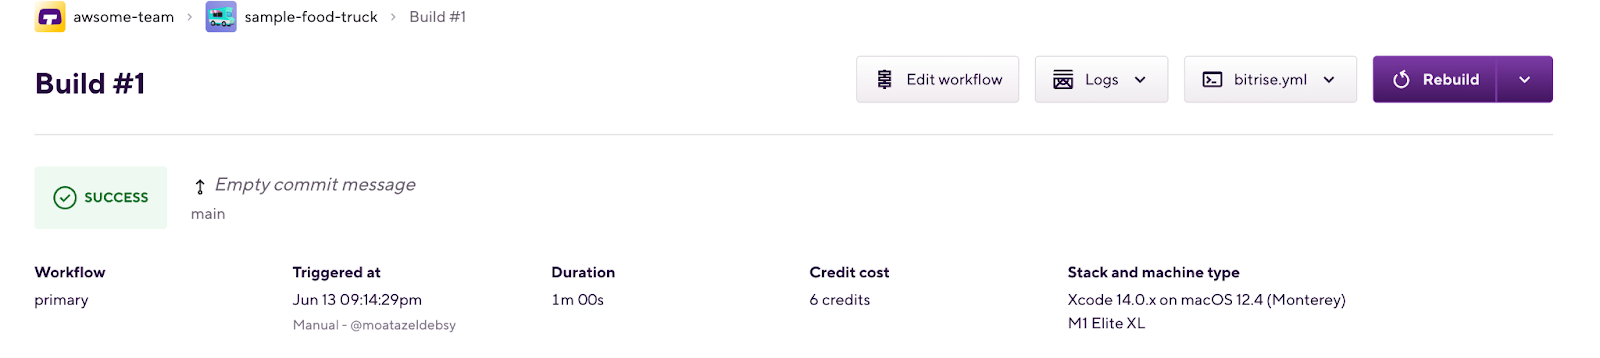
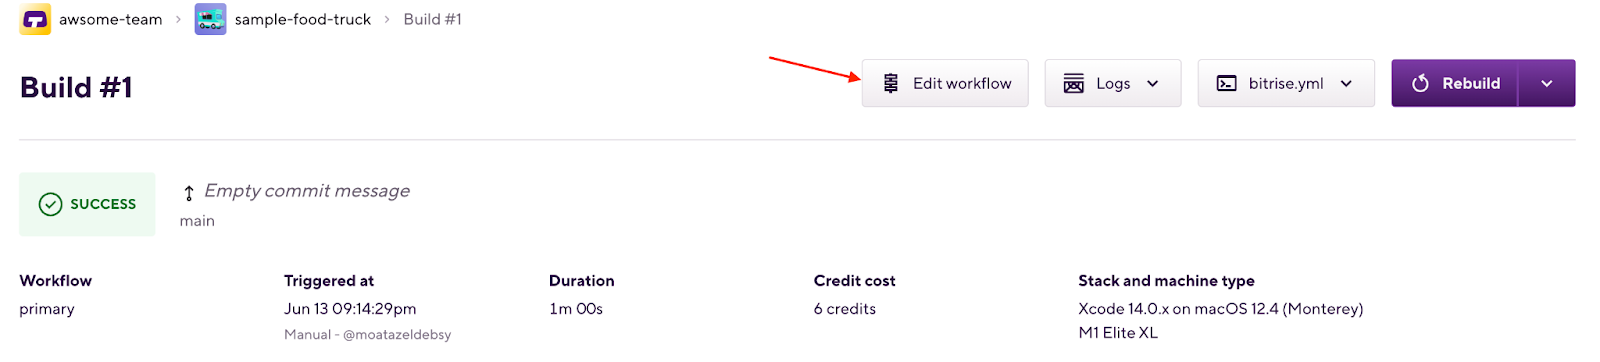
- Wait till the build finishes with successful status and now we can click on the Edit workflow button to add the required steps for UI testing, sign and archive the app.
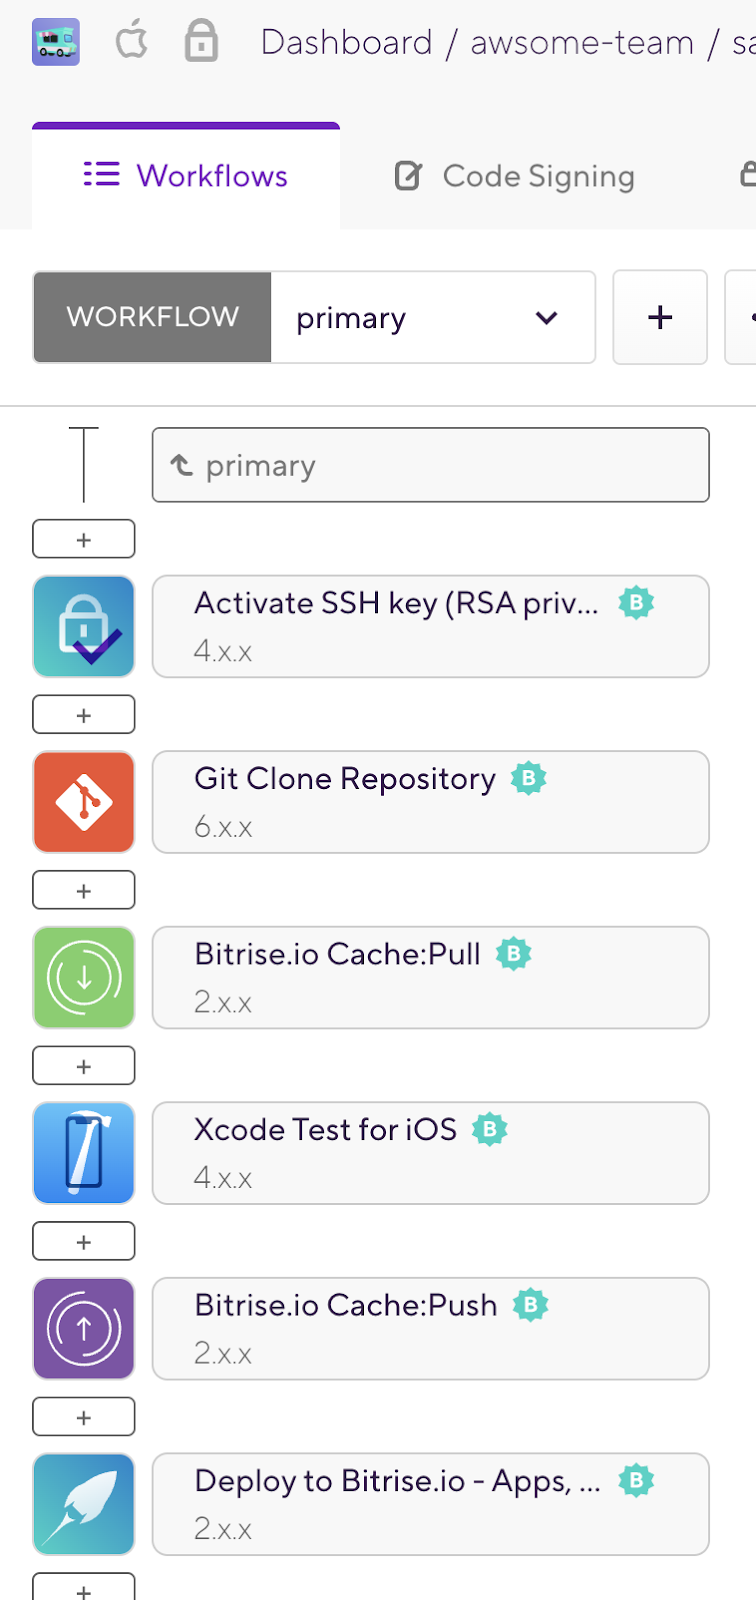
- You will find the default workflow and now we can add the required steps.
First things first, in order to be able to sign an app you’re going to need to have some assets like certificates, app identifiers, and provisioning profiles already created and ready to use.
If you don’t already have the necessary code-signing files ready, you can generate new files by following the instructions here.
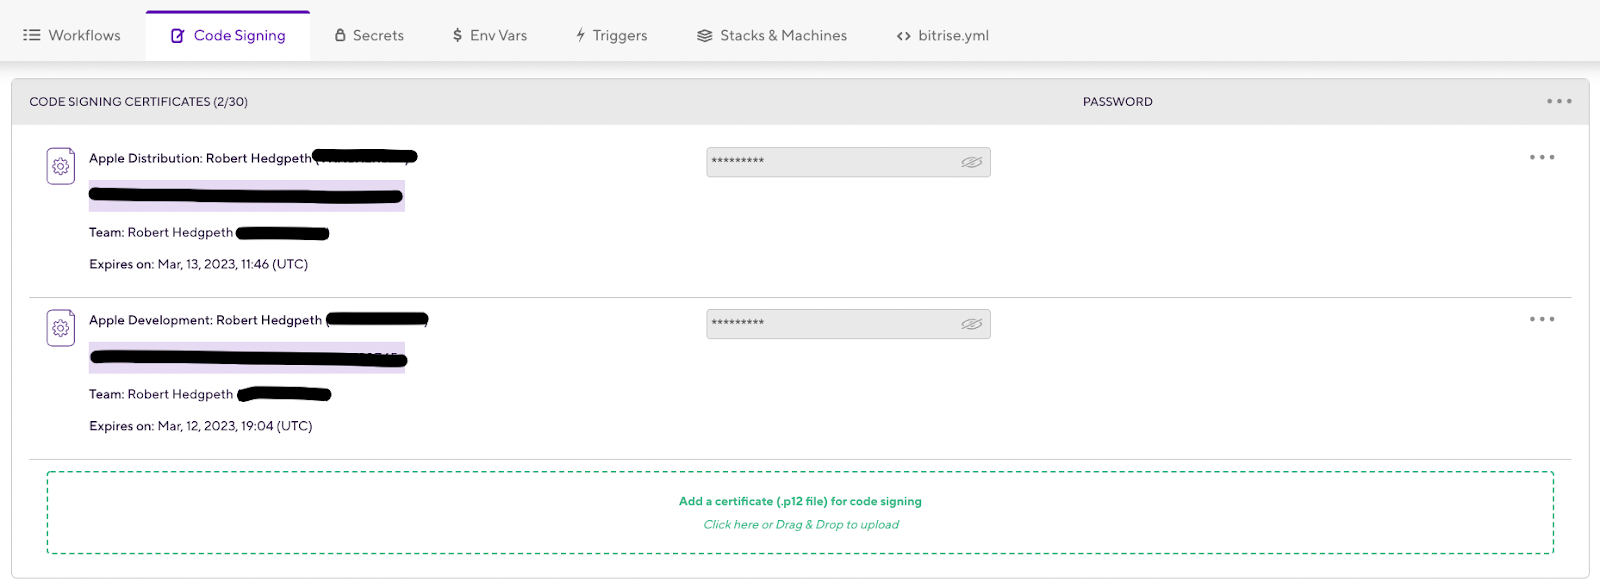
It’s important to note that before you can proceed, all Bitrise iOS code signing methods require you to export and upload your iOS code signing certificates directly to Bitrise.
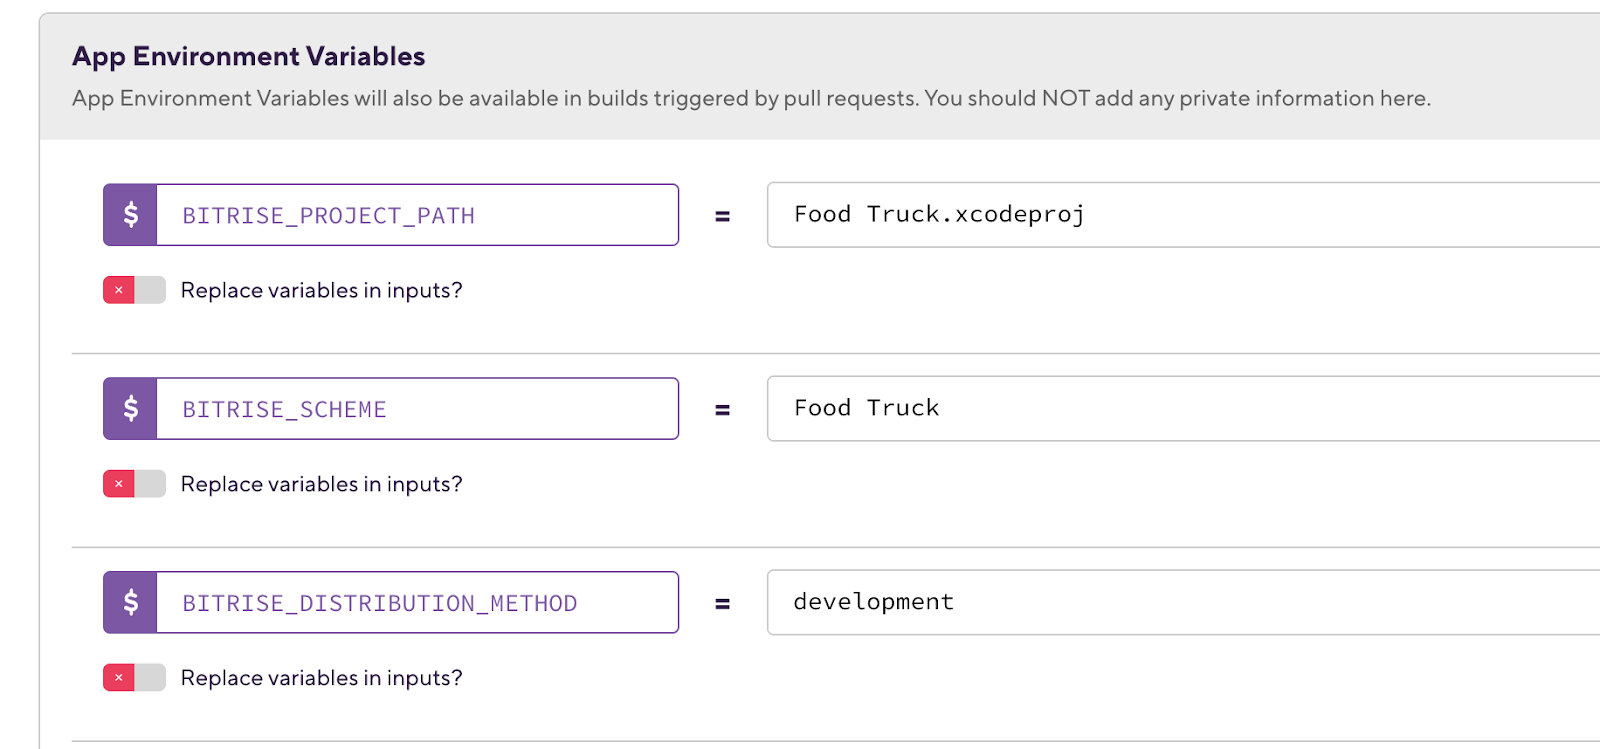
Also, make sure that the environment variables are set successfully for your app in the Env Vars tab.
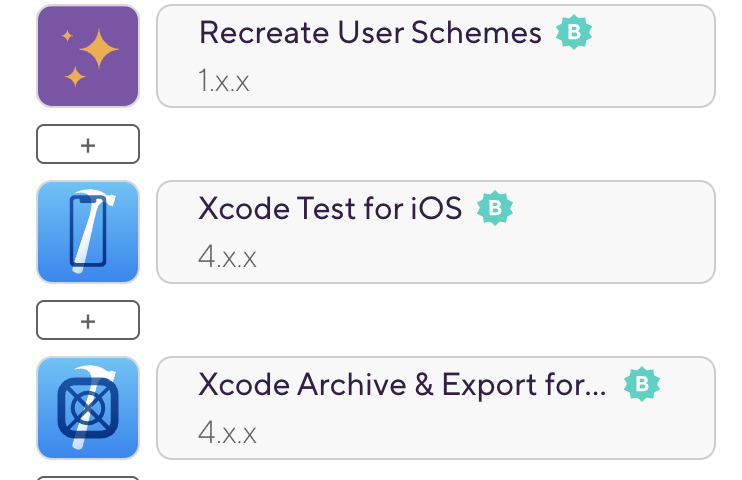
After adding the provisioning profile and certificate, you can add three steps:
- Recreate User Schemes
- Xcode Test for iOS
- Xcode Archive & Export for iOS
By clicking on the + or the add button, and searching for the steps, you have more than 330 steps on Bitrise helping you to build any workflow.

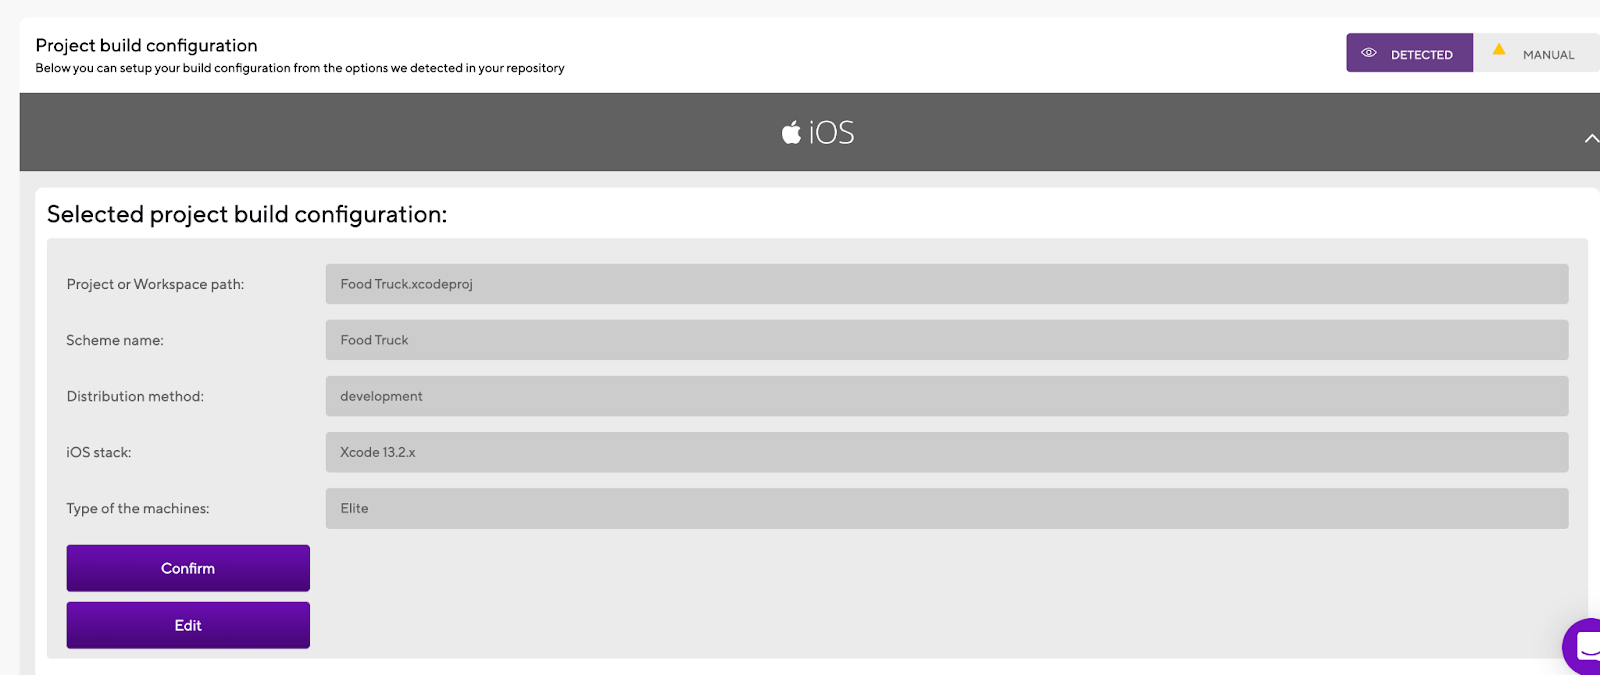
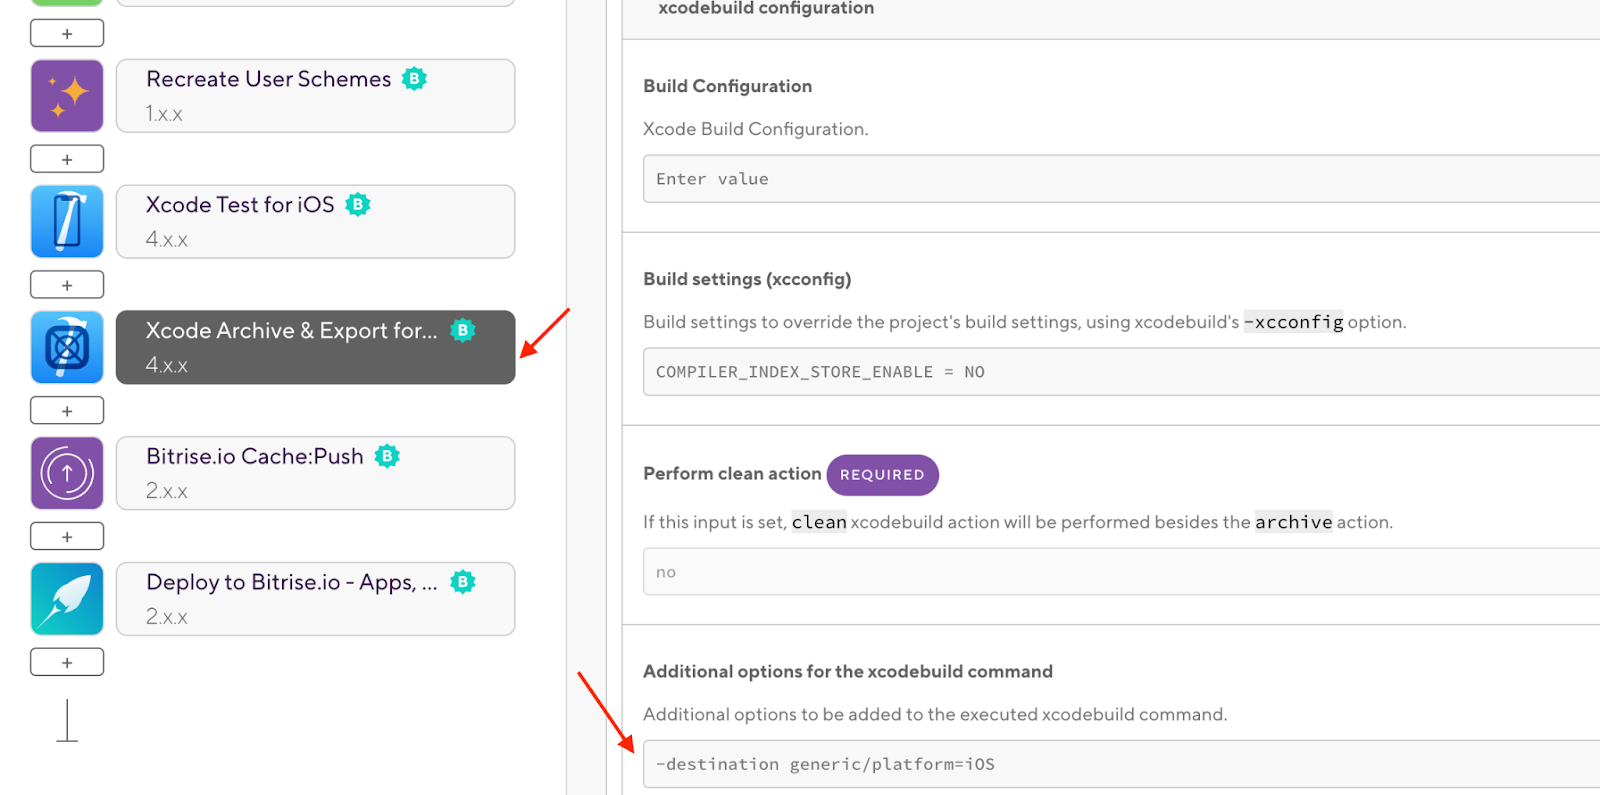
You can select the distribution method to the app store or development.

And because as we mentioned before we have now one scheme including different targets, in this case, we need to specify that we need to archive the iOS app only. So make sure that you added the destination in the xcodebuild command options.
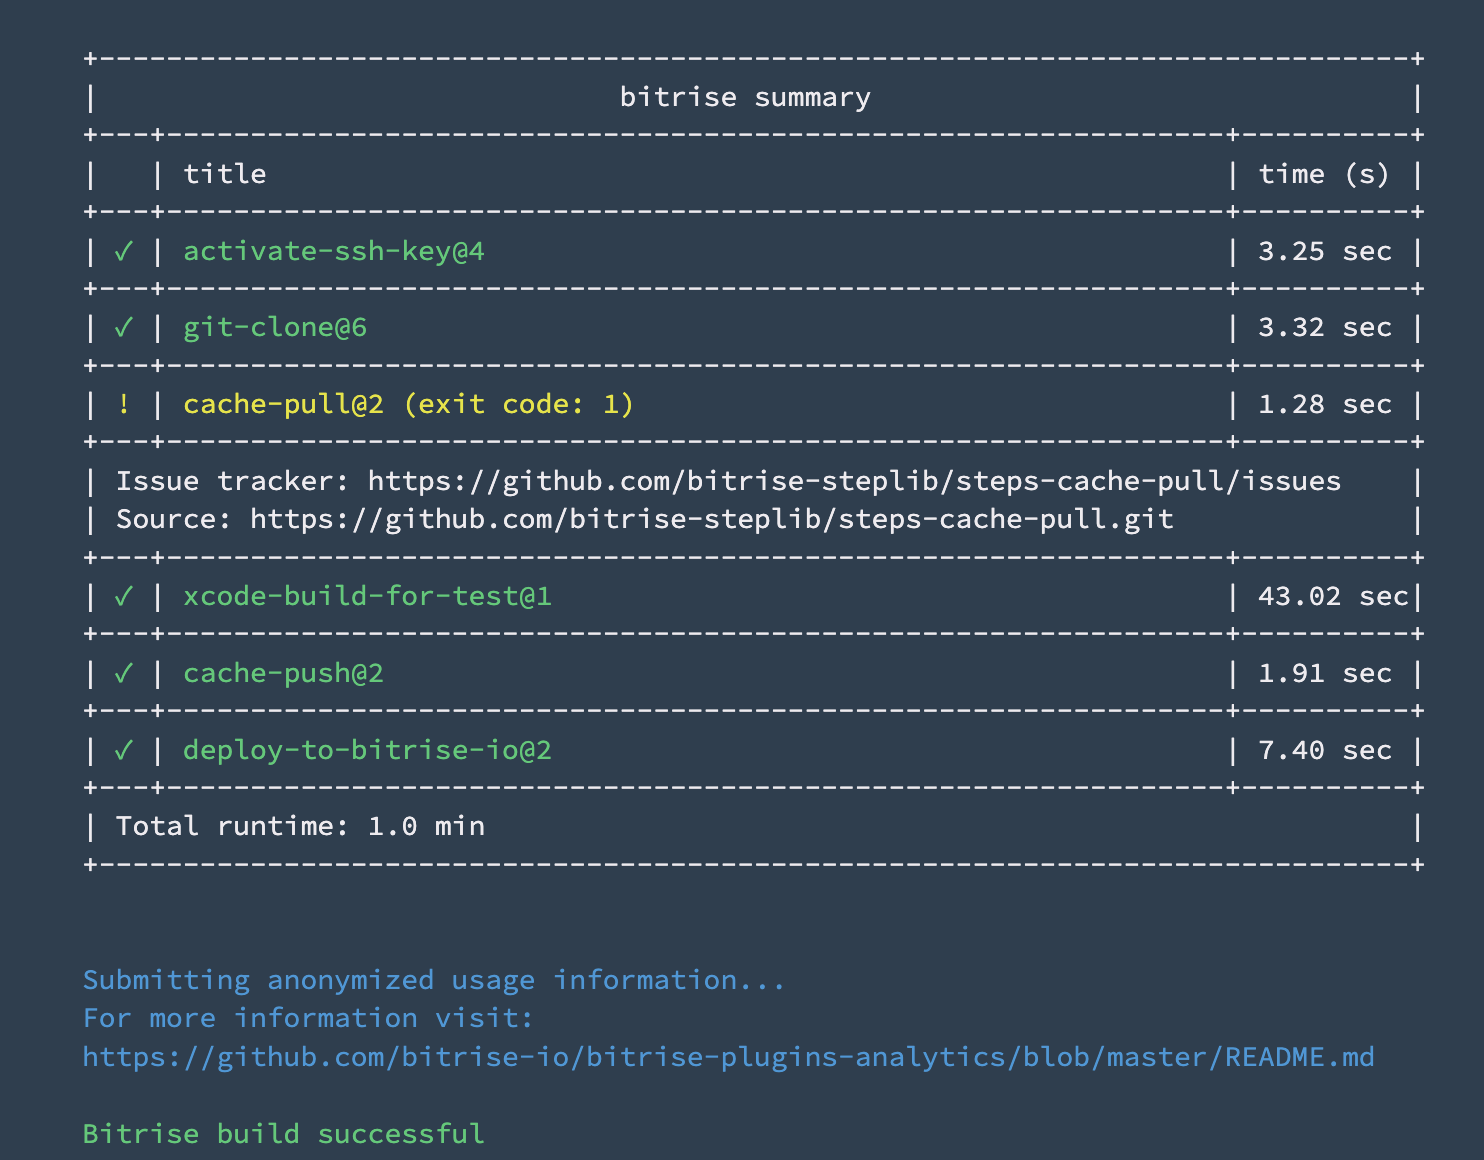
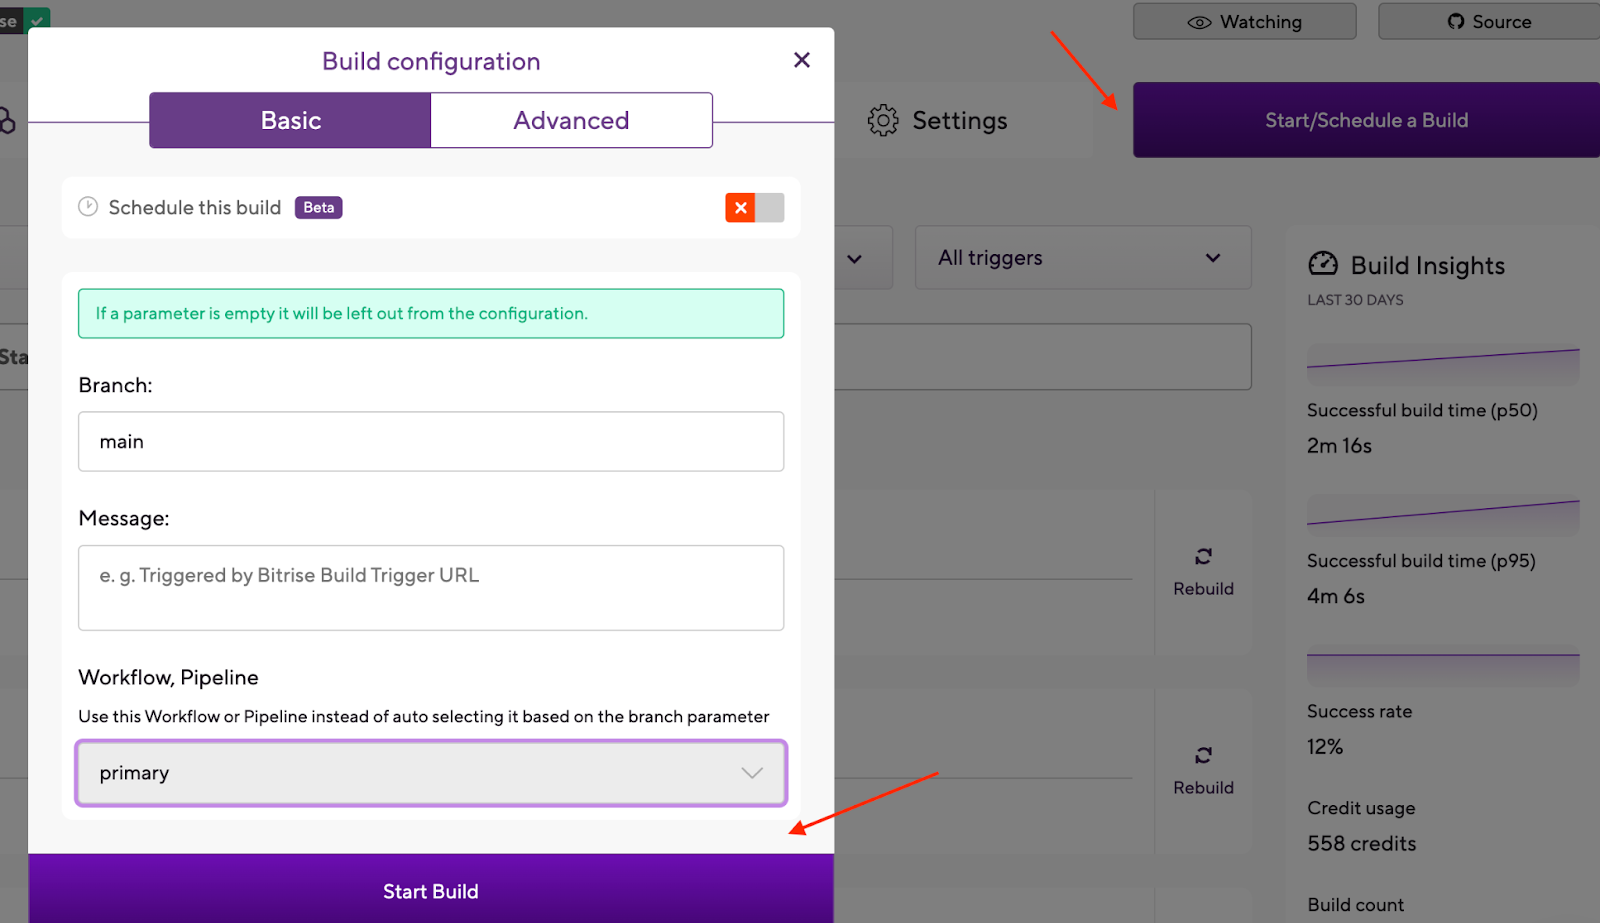
We finished the setup and now we can trigger a new build and check the results.
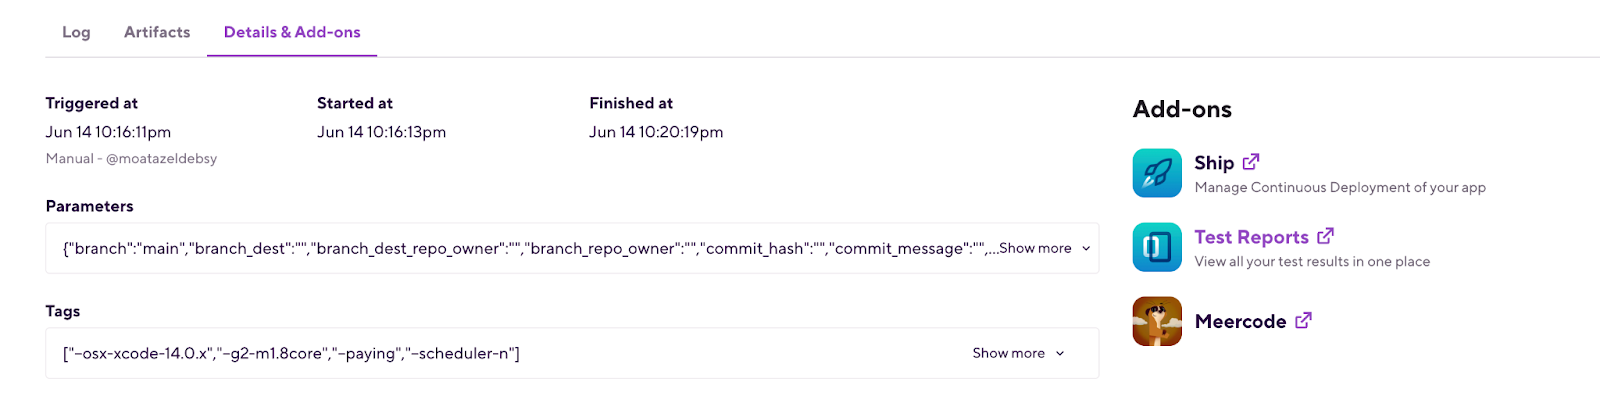
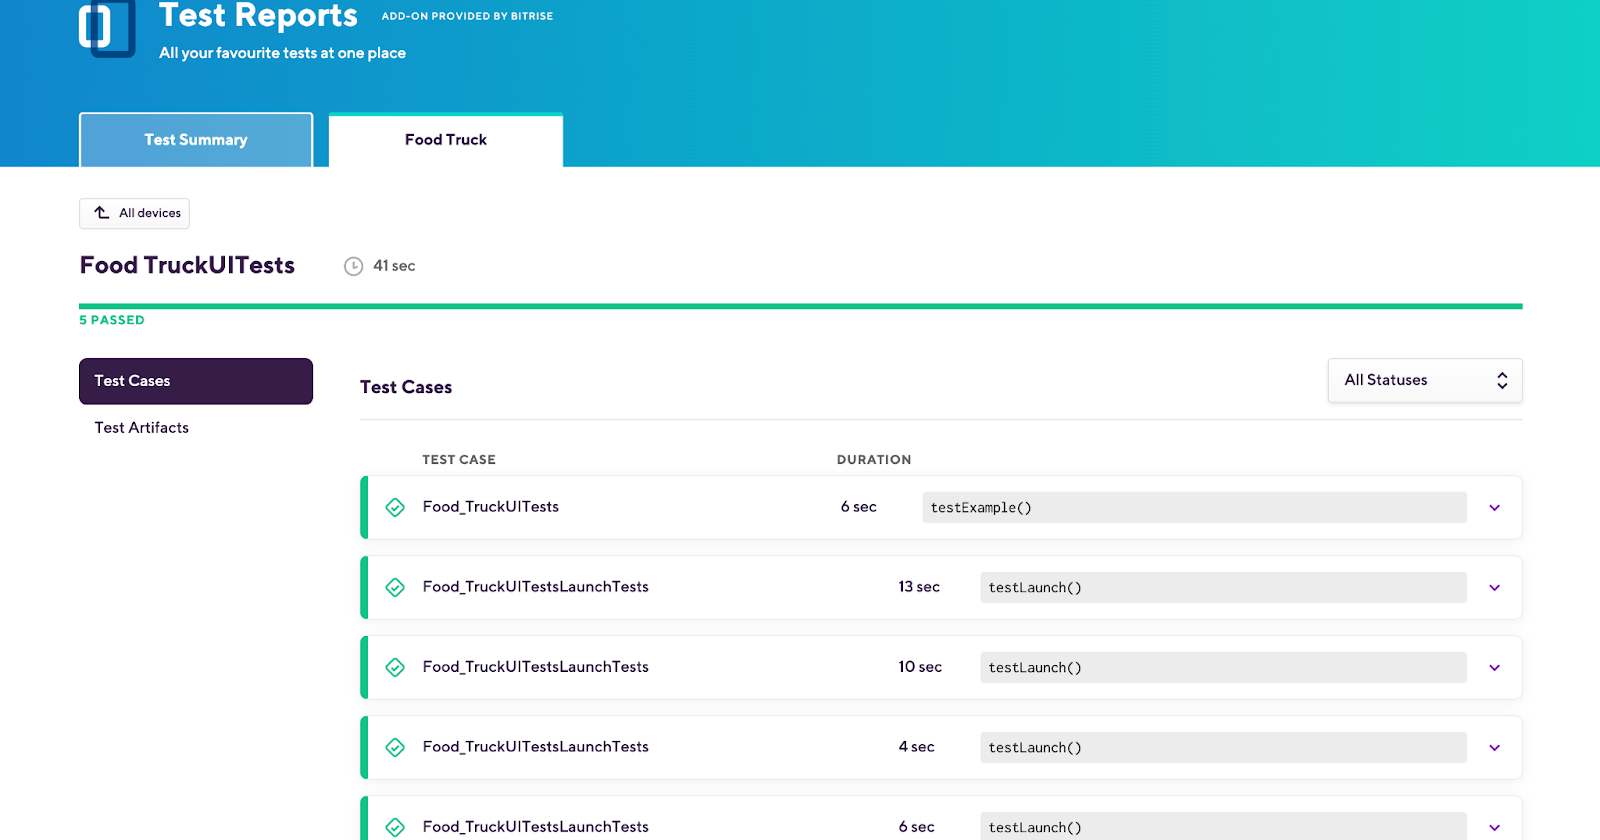
After the build is finished successfully, you can check the artifacts tab for the .ipa and also you can check the test results in the Test Report Add-on.

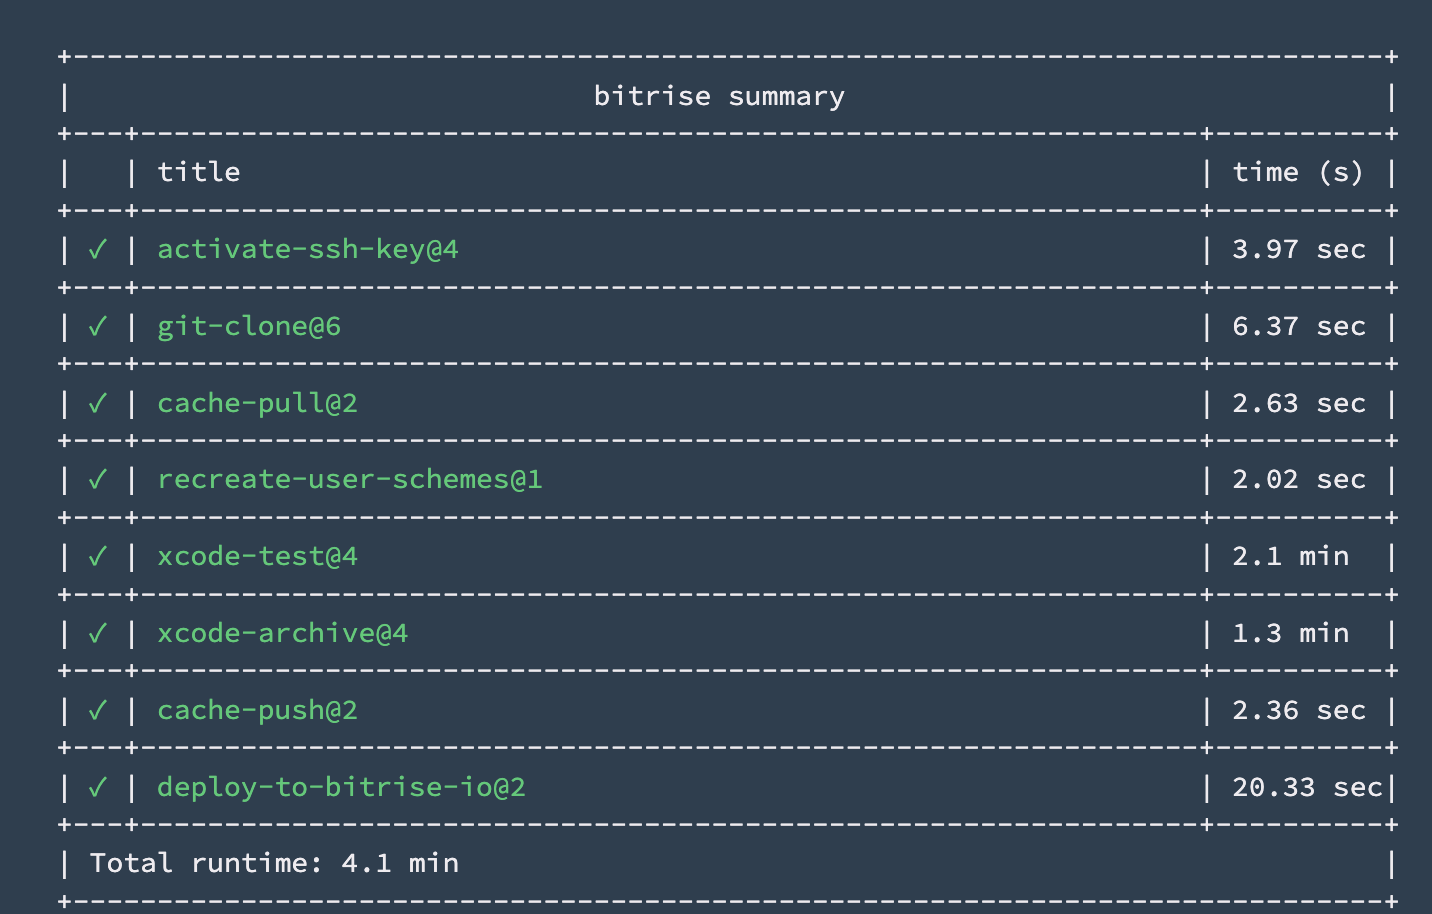


Congratulations 🥳 you have successfully built, tested, and archived the iOS app on Bitrise with Xcode 14 and M1 machine.
Happy building 🚀
Bitrise Developer Relations team


.jpg)
