If you need to write custom CI scripts, Bash is the usual tool to do the job — but if you prefer Javascript, the Bitrise Workflow editor lets you write scripts in your favorite language. Let's see how to set it up!
What is zx
zx is a Javascript library open-sourced recently by Google that makes it easier to write simple Bash-like scripts in Javascript. It's a wrapper around the process handling of Node.js, so you can easily call external commands from your code (eg. grep, find, ls ) and work with the output in Javascript.
Here is an example script from the project’s readme:
#!/usr/bin/env zx

await $`cat package.json | grep name`

let branch = await $`git branch --show-current`
await $`dep deploy --branch=${branch}`

await Promise.all([
  $`sleep 1; echo 1`,
  $`sleep 2; echo 2`,
  $`sleep 3; echo 3`,
])

let name = 'foo bar'
await $`mkdir /tmp/${name}`
Why should I care?
Bitrise has hundreds of workflow steps for the most common operations, but every project's needs are different. If you have to do something custom, we provide the Script step for you that lets you write Bash code to do the task. This is often used for CI-specific actions, such as:
- compressing and moving files to certain folders
- calling external commands
- making network requests and uploading files
If you don't like Bash for some reason or you feel more productive with Javascript, you can actually write those tasks in JS without leaving the workflow editor of Bitrise:

How to set up your workflow
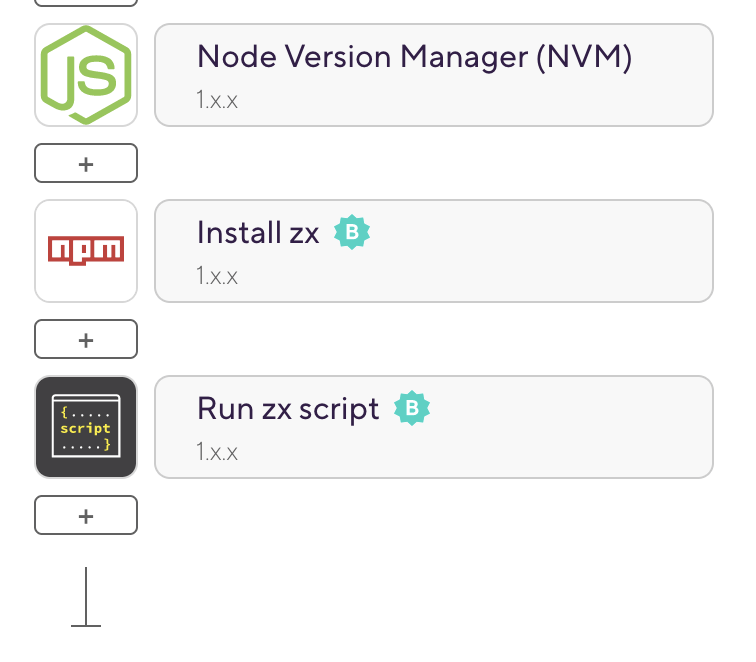
First, you need to install the correct version of Node.js on the build VM and install zx itself.
You can use our Node Version Manager step to set up Node.js version 14, which is the minimum required version for zx. Next, install zx globally using the NPM step or with a script step that runs npm install -g zx.

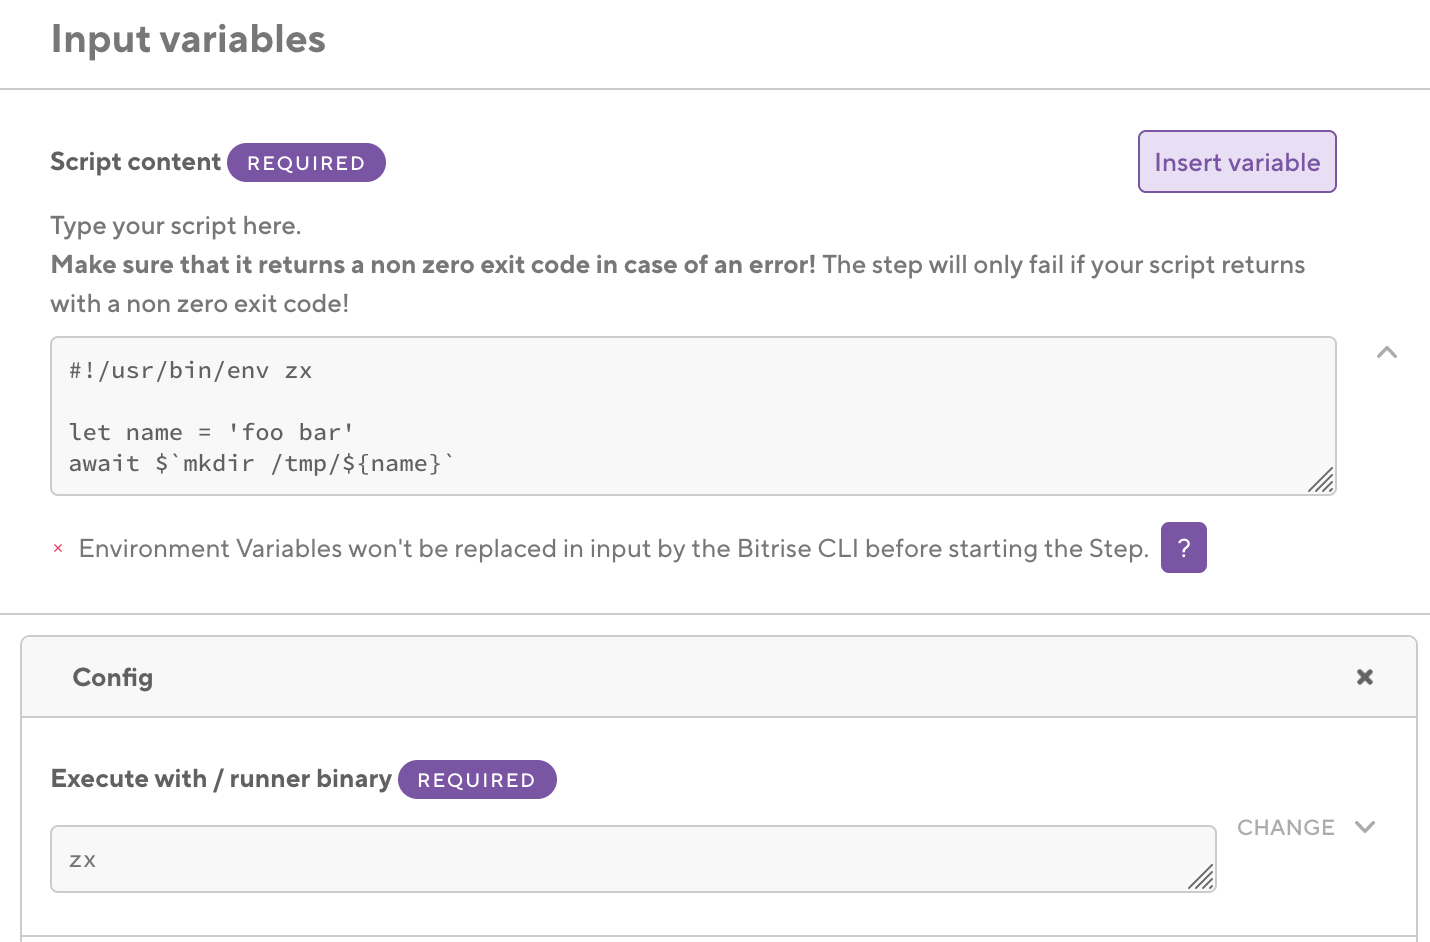
Next comes the main part: writing Javascript in the workflow editor. By default, our Script step is used for Bash scripts, but it's flexible enough to use a custom binary to execute the script contents. Make sure to set these inputs in the step:
- Script content: This is the place for your code
- Execute with / runner binary: zx . This is the command we installed globally previously
- Script file path: $TMPDIR/zx_script.mjs . We define this explicitly because the file extension matters when Node.js executes our script.
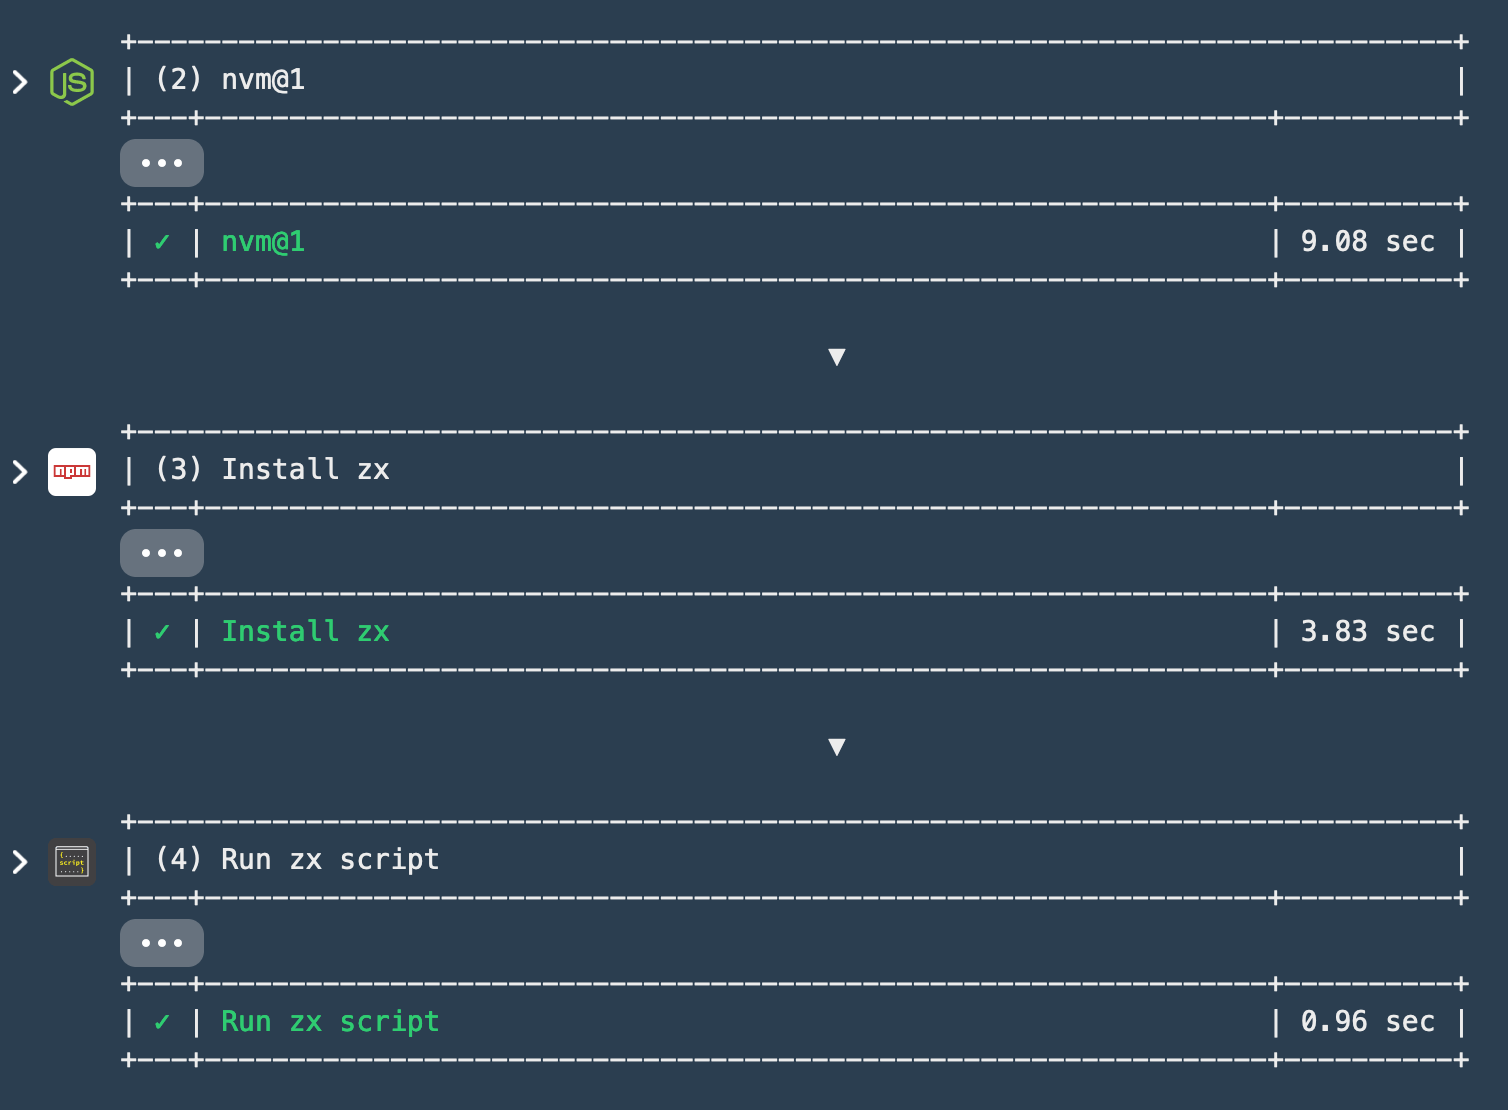
Running the workflow, you can see that the setup only takes a few seconds and the script itself is executed instantly:

What zx gives you
There are a few functions that zx gives you that makes writing scripts easier (for the full list, check out the project docs):
$`command`: Executes a given external command and returns a Promise, so you can await it to get the output:
let branch = await $`git branch --show-current`cd() changes the current working directory
fetch() is a wrapper around the node-fetch package that makes HTTP requests easy.
There is also a list of packages that are available without imports: chalk (for styling terminal output), fs and os (the Node.js APIs).
For the full API check out the project documentation.
Example: a simple Slack notification
Let's look at a real-world example in a few lines of code. We are going to create a script that sends a Slack notification if a build fails.
Note: Bitrise has a dedicated Slack step with a lot more configuration options than this script, we recommend using that in your workflows. This is just a demonstration of the simplicity of a Javascript step using zx.
#!/usr/bin/env zx

const slack_token = process.env.SLACK_TOKEN
const api_url = "<https://slack.com/api/chat.postMessage>"
const channel = "build-alerts"
const username = "Bitrise Bot"
const message = `Build failed: ${process.env.BITRISE_BUILD_URL}`

const isBuildSuccessful = process.env.BITRISE_BUILD_STATUS == 0

if (isBuildSuccessful) {
    console.log("Build is successful, moving on...")
} else {
    const requestBody = {
        token: slack_token,
        channel: channel,
        icon_emoji: ":rotating_light:",
        text: message,
        username: username
    }

    let response = await fetch(api_url, {
        method: "post",
        body: JSON.stringify(requestBody),
        headers: {
            "Content-Type": "application/json",
        }
    })

    if (response.ok) {
        let responseData = JSON.parse(await response.text())
        if (responseData.ok) {
            console.log(chalk.green(`Slack message sent to #${channel}`))
        } else {
            console.log(chalk.red(`Failed to send slack message: ${responseData.error}`))
            console.log(chalk.yellow(JSON.stringify(responseData)))
        }
    } else {
        console.log(`Slack API request failed: ${response.status}`)
        console.log(chalk.red(response))
    }
}
The script makes an HTTP POST request using the Slack API. We access a few environment variables using the process.env.ENV_VAR syntax:
- SLACK_TOKEN: we don't want to store the sensitive token in the workflow, so we created a secret on Bitrise that the script can read as an environment variable
- BITRISE_BUILD_URL: this variable is exposed by Bitrise at runtime
- BITRISE_BUILD_STATUS: this is also exposed by Bitrise. If its value is 0 then every previous step has been successful, so this script won't send a message.
Further tips
Environment variables: Bitrise exposes a lot of useful environment variables during the build that will come in handy for writing scripts. Check out our docs for the full list of variables.
Faster iteration: Did you know you can run Bitrise workflows on your local machine with Bitrise CLI? This can help in writing and debugging scripts. You can iterate on your script faster locally than doing real builds on Bitrise.

.jpg)
.jpg)
