
What’s React Native?
React Native is a framework for building native mobile apps for iOS and Android in one shared JavaScript or TypeScript codebase for which you will need to have an understanding of JavaScript fundamentals. The underlying build system is a normal iOS and Android project, with a JavaScript execution environment and libraries to render your bundled JavaScript code into actual native components.
There are various ways to install and build your first React Native app. If you are new to mobile development, the easiest way to get started is with Expo CLI. Expo is a set of tools built around React Native with many features, but if you are already familiar with mobile development, you may want to use React Native CLI. It requires Xcode or Android Studio to get started.
What’s end-to-end testing?
End-to-end (E2E) testing is a technique used to test whether the flow of an application right from start to finish is behaving as expected. E2E tests simulate real user scenarios — essentially, testing how a real user would use the application.
The purpose of performing E2E testing is to identify system dependencies and to ensure that data integrity is maintained between various system components and systems. E2E tests are used to verify our system or the entire application is working correctly and prevent bugs and regression from happening.
What’s Detox?
Detox is a gray box E2E testing automation framework for mobile apps (Android and iOS) developed by Wix and does not rely on Selenium WebDriver. It tests your mobile app while it's running on real devices or simulators/emulators, interacting with it just like a real user. But currently, it offers more capabilities for iOS than Android.
Detox is built from the ground up to support React Native projects as well as pure native ones.
The most important features in Detox are:
- Cross-platform: Write cross-platform tests in JavaScript. For both Android and iOS.
- Runs on devices: Gain the confidence to ship by testing your app on a device just like a real user.
- Detox helps us to avoid flakiness by monitoring asynchronous operations in mobile apps.
- Execute your E2E tests on CI platforms like Bitrise easily.
- Detox uses Jest, Mocha, or any other JavaScript test runner you like.
Before you get started
To be able to build and test your React Native apps smoothly with Detox, you should have the following environment set up:
- macOS 10.15 (Catalina) or higher
- XCode 11.0 or higher
- Installed Node and NPM
- Installed Watchman
- Installed Homebrew.
- Installed React Native CLI or Expo CLI as you preferred (I will use React Native CLI in this demo)
- Installed CocoaPods
- Installed Java JDK +8
- Installed Android Studio, Android SDK, and Virtual Device
Note: You can use Windows and Linux but macOS is required to build projects with native code for iOS.
For more details on setting up the development environment, read this Getting Started guide. The code repository can be found here.
Let’s get started!
(If you already have a React Native app, you can scroll down to the 'Setting up Detox' section).
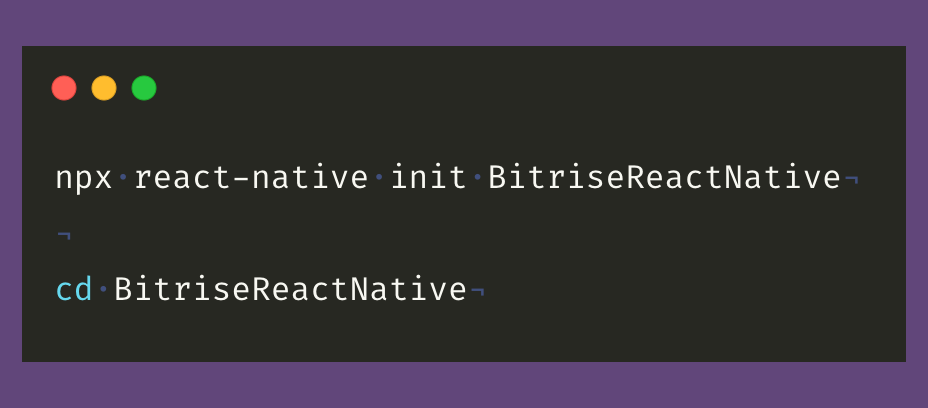
1. Use the following command to create a new React Native app:
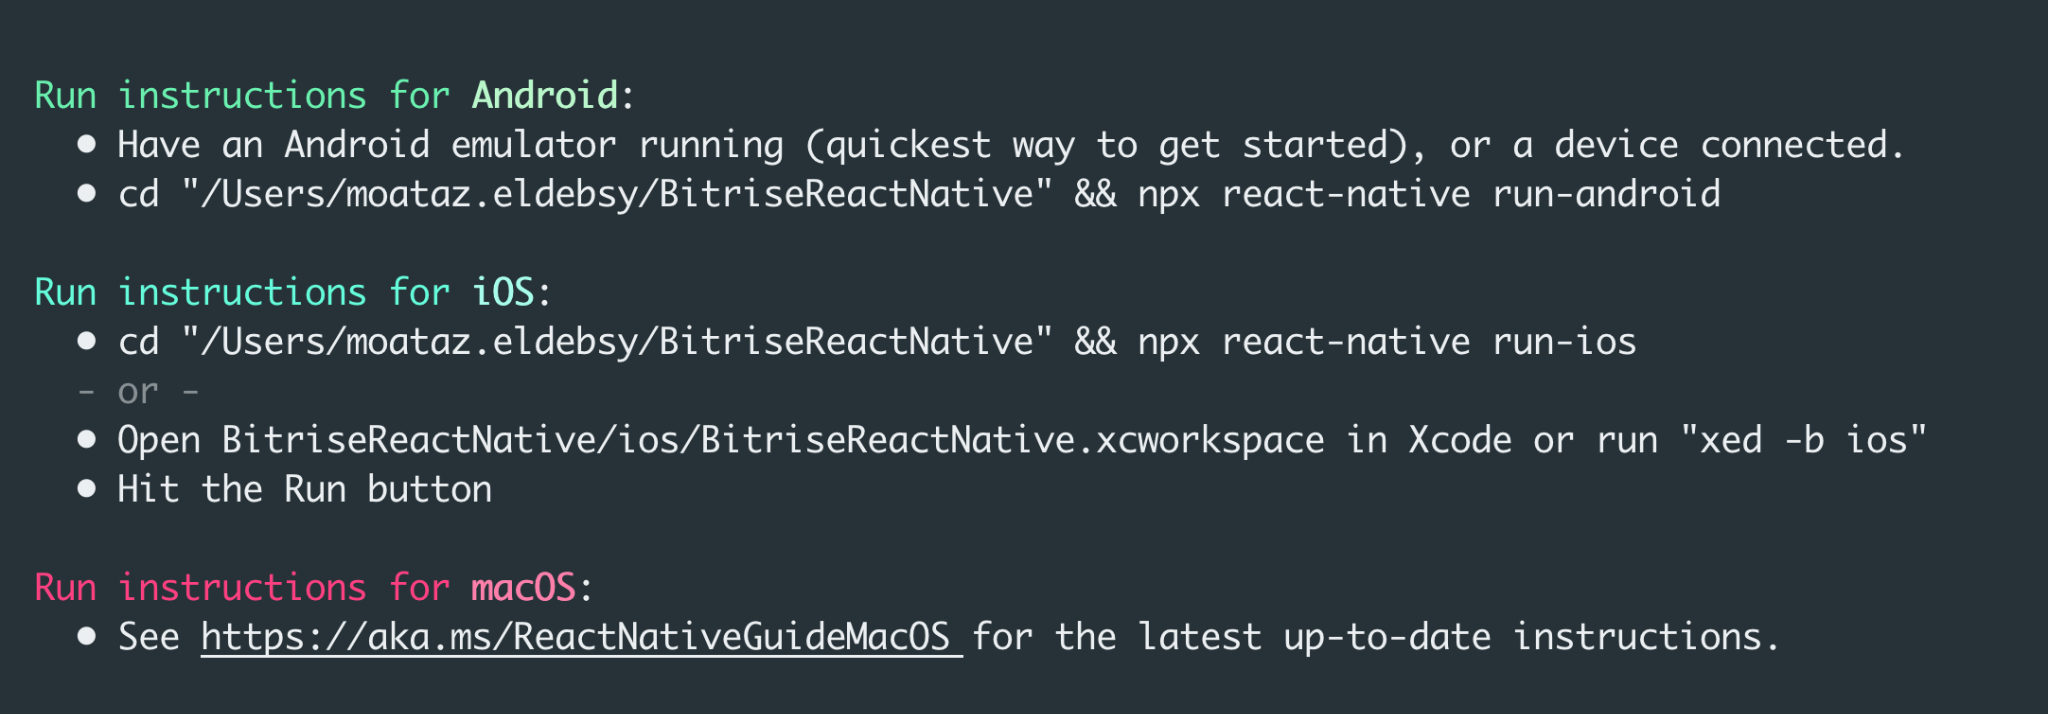
If the project is created successfully, you will find the instructions to build the Android and iOS apps:
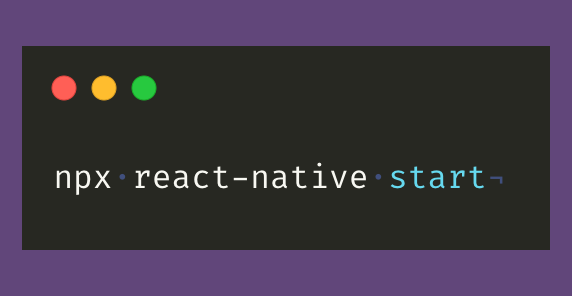
2. inside the project folder you can run the application using Metro, the JavaScript bundler that ships with React Native, with the following command:
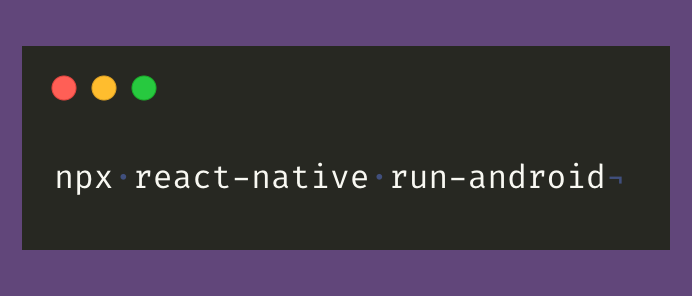
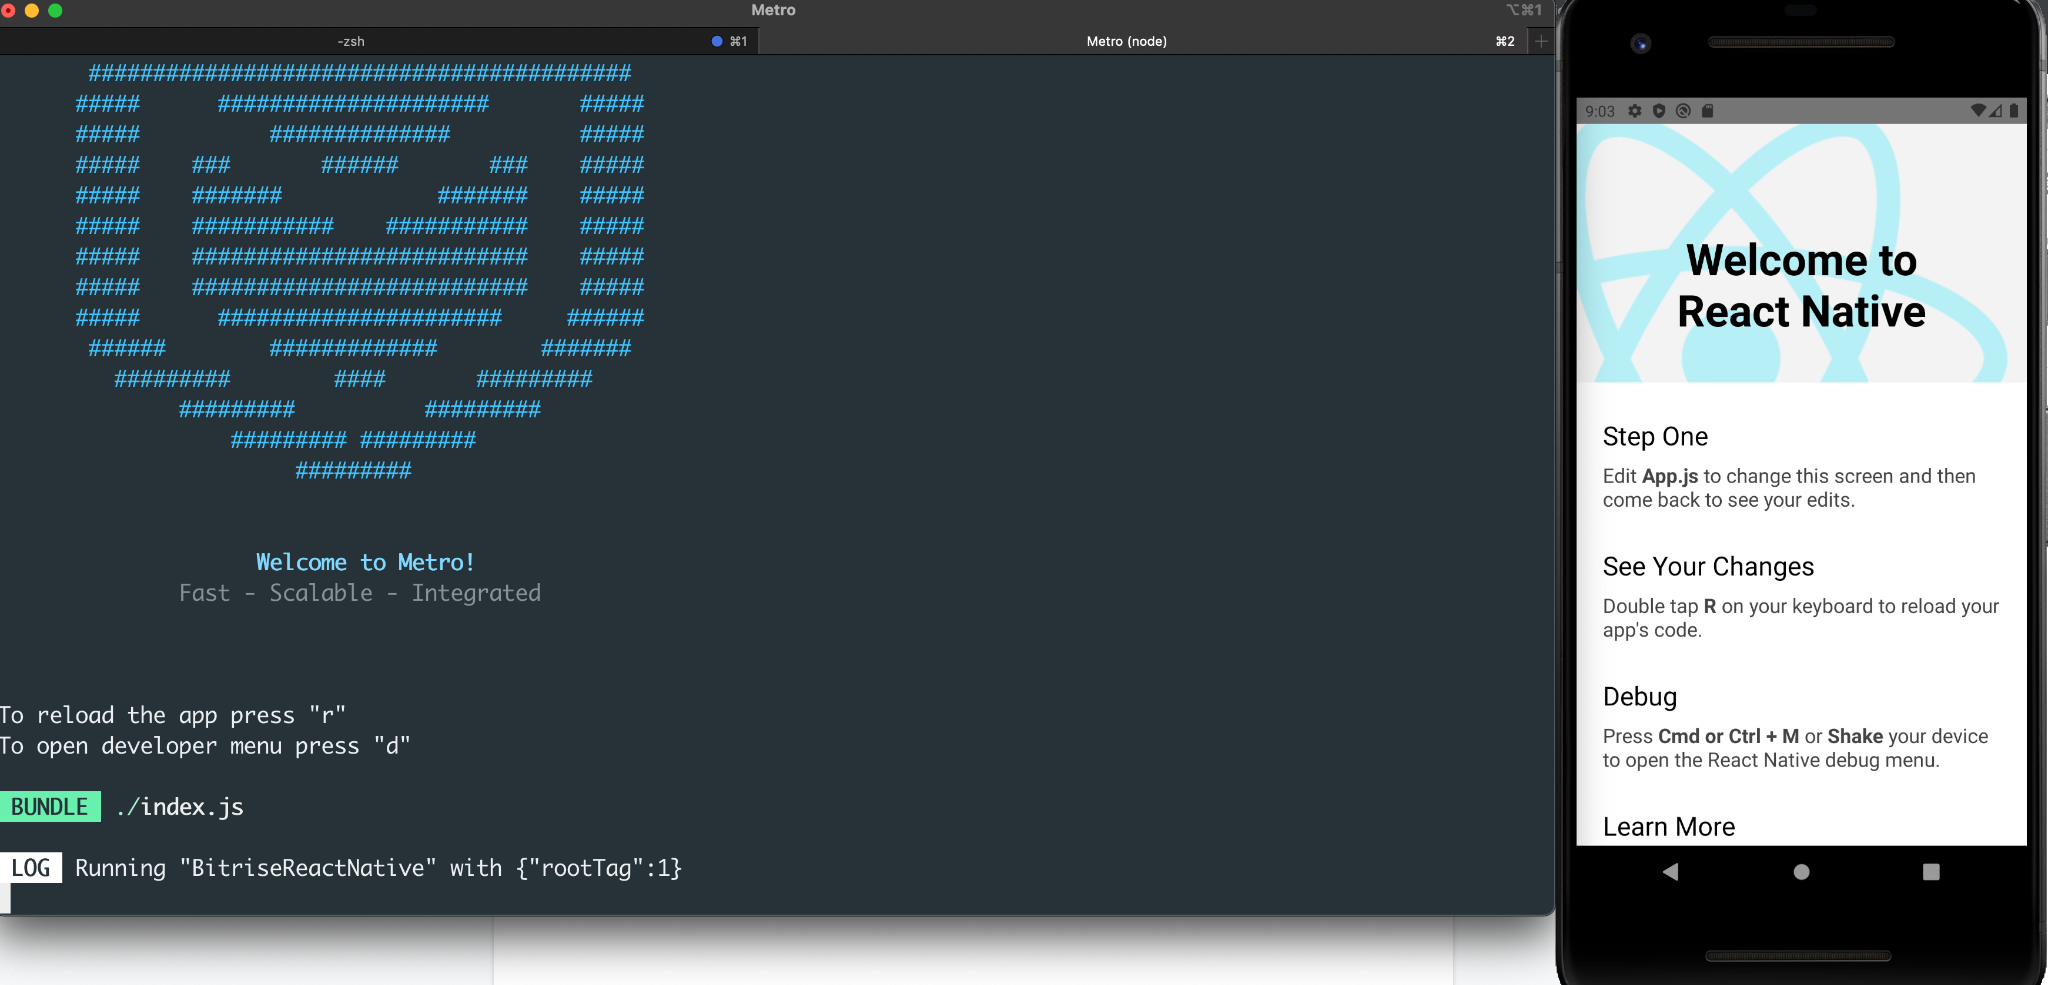
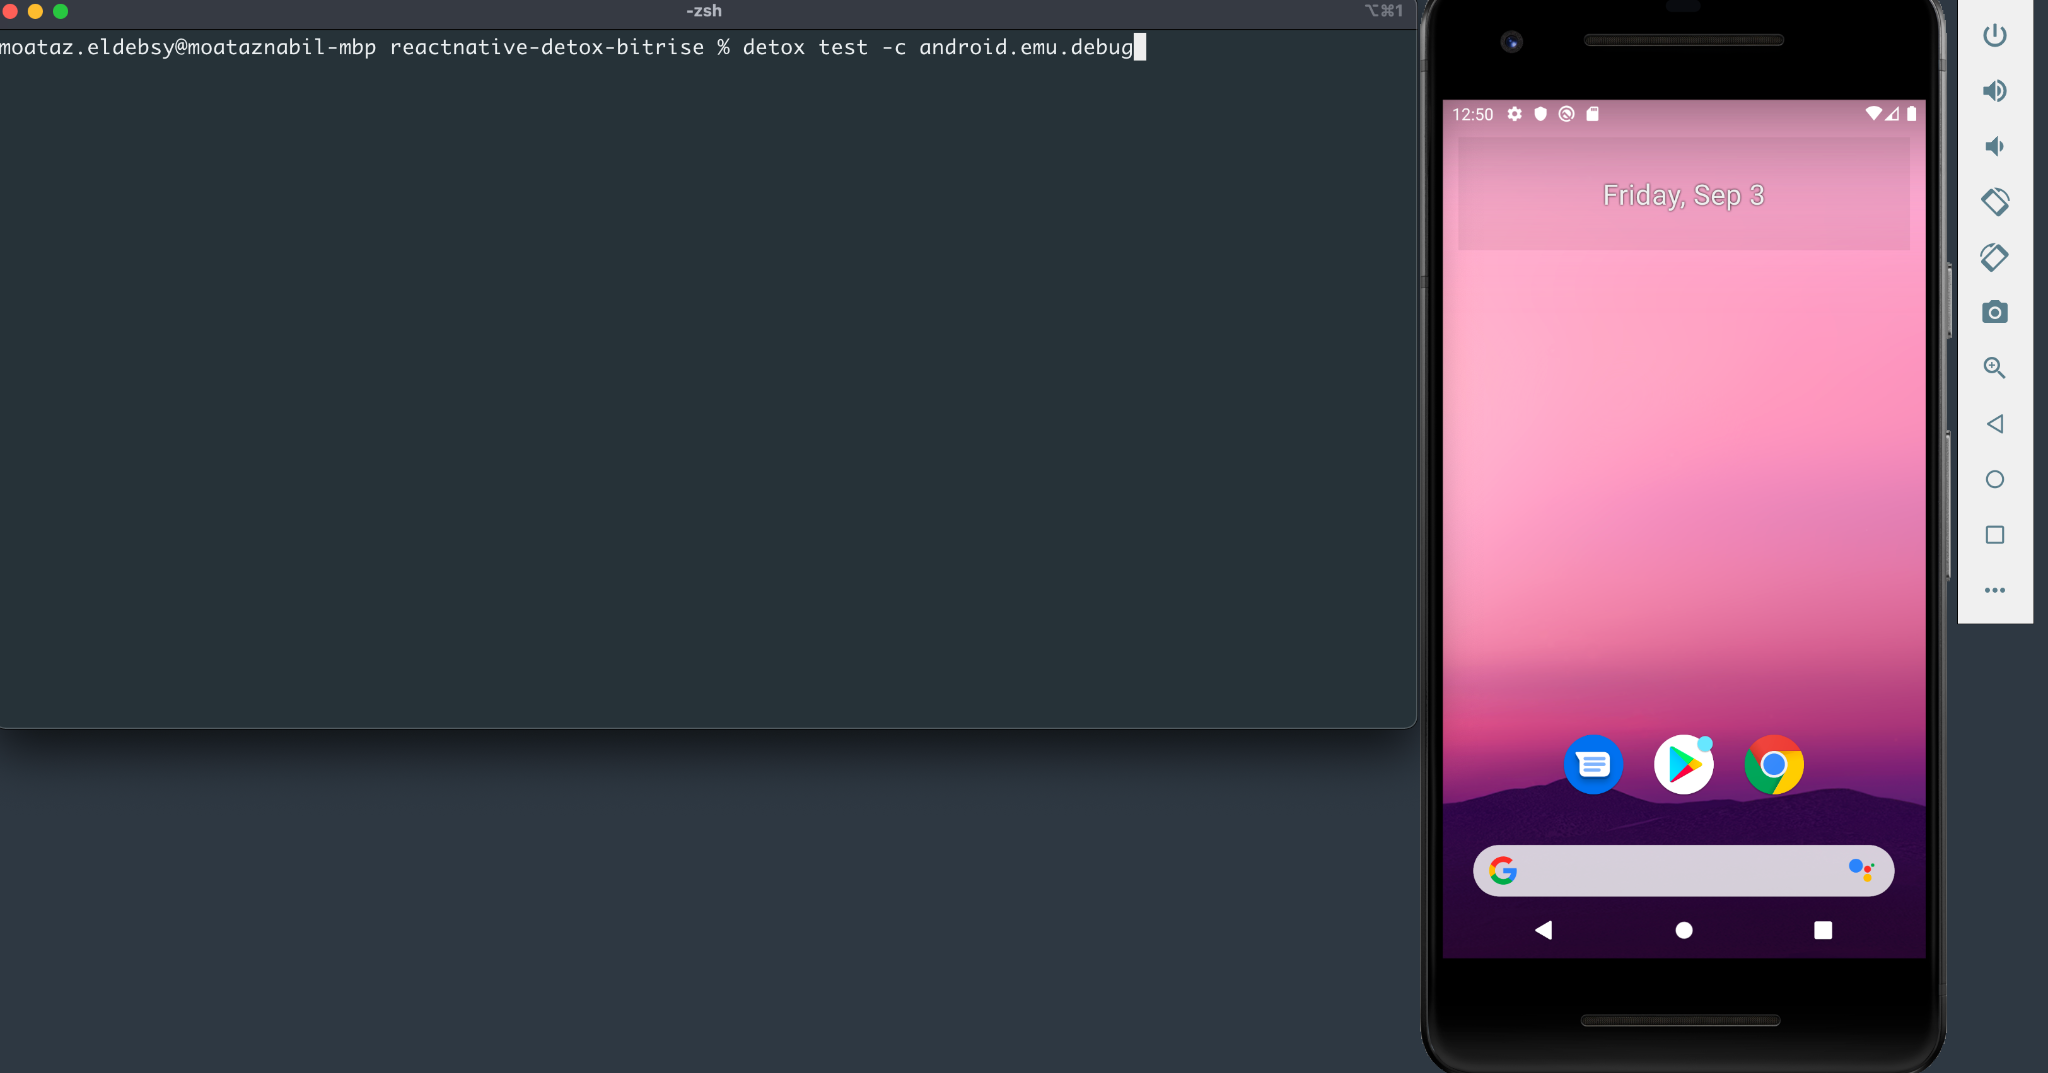
3. To run the Android application, open the emulator, open a new terminal inside your React Native project folder, and run the following command:
If everything is set up correctly, you should see your new app running in your Android emulator successfully:
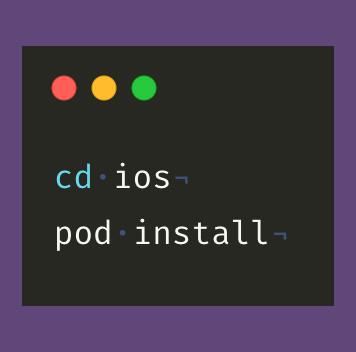
4. To run the iOS application, you need to enter inside the ios folder and run the pod install command with the following commands:

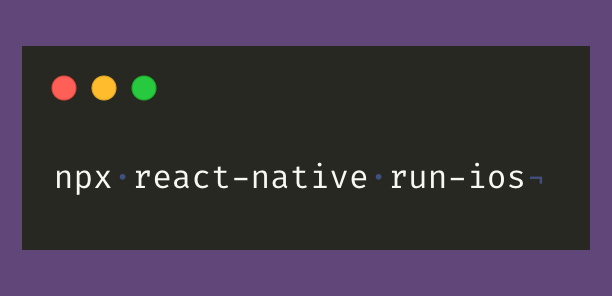
5. Inside your React Native project folder and run the following command:
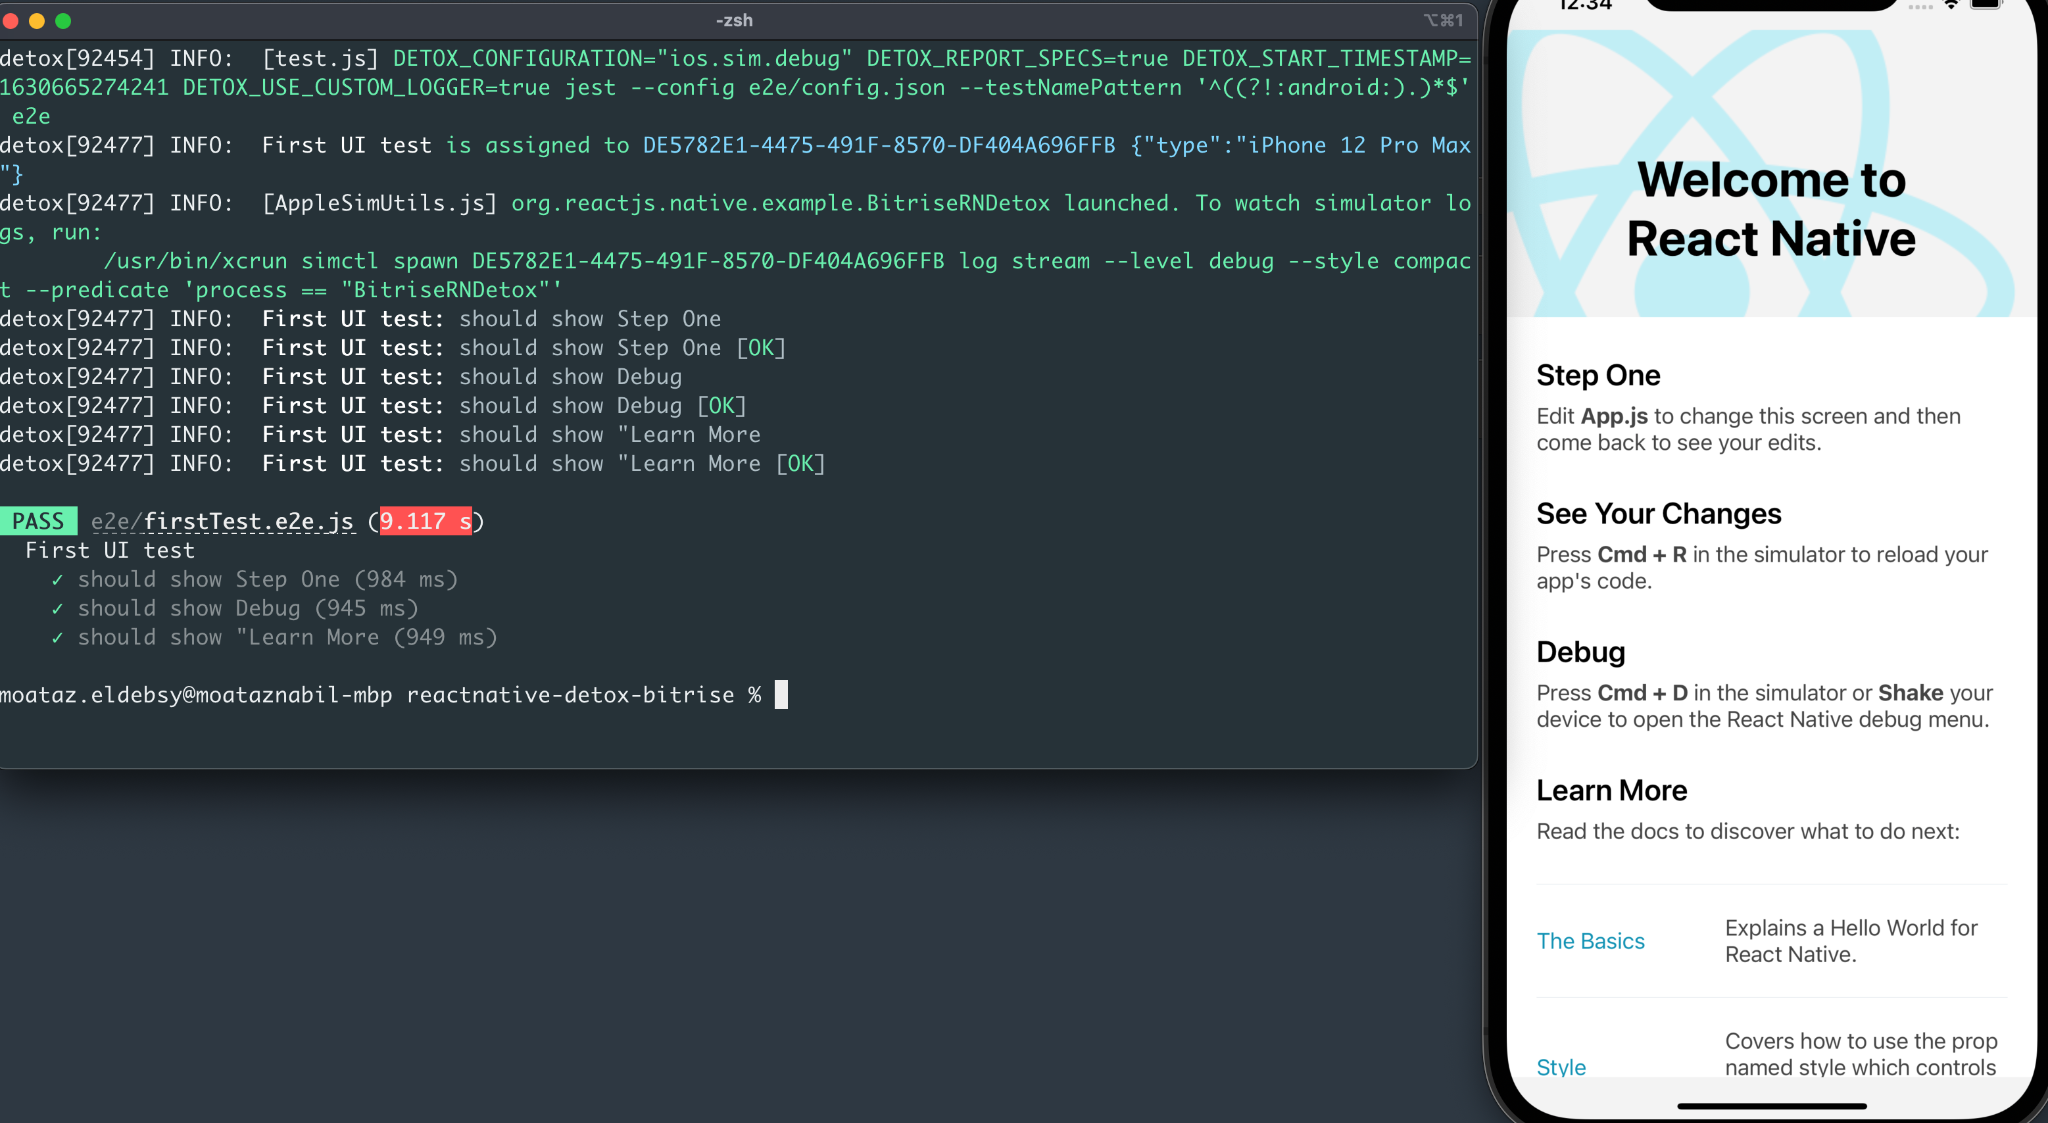
If everything is set up correctly, you should see your new app running in your iOS simulator successfully:
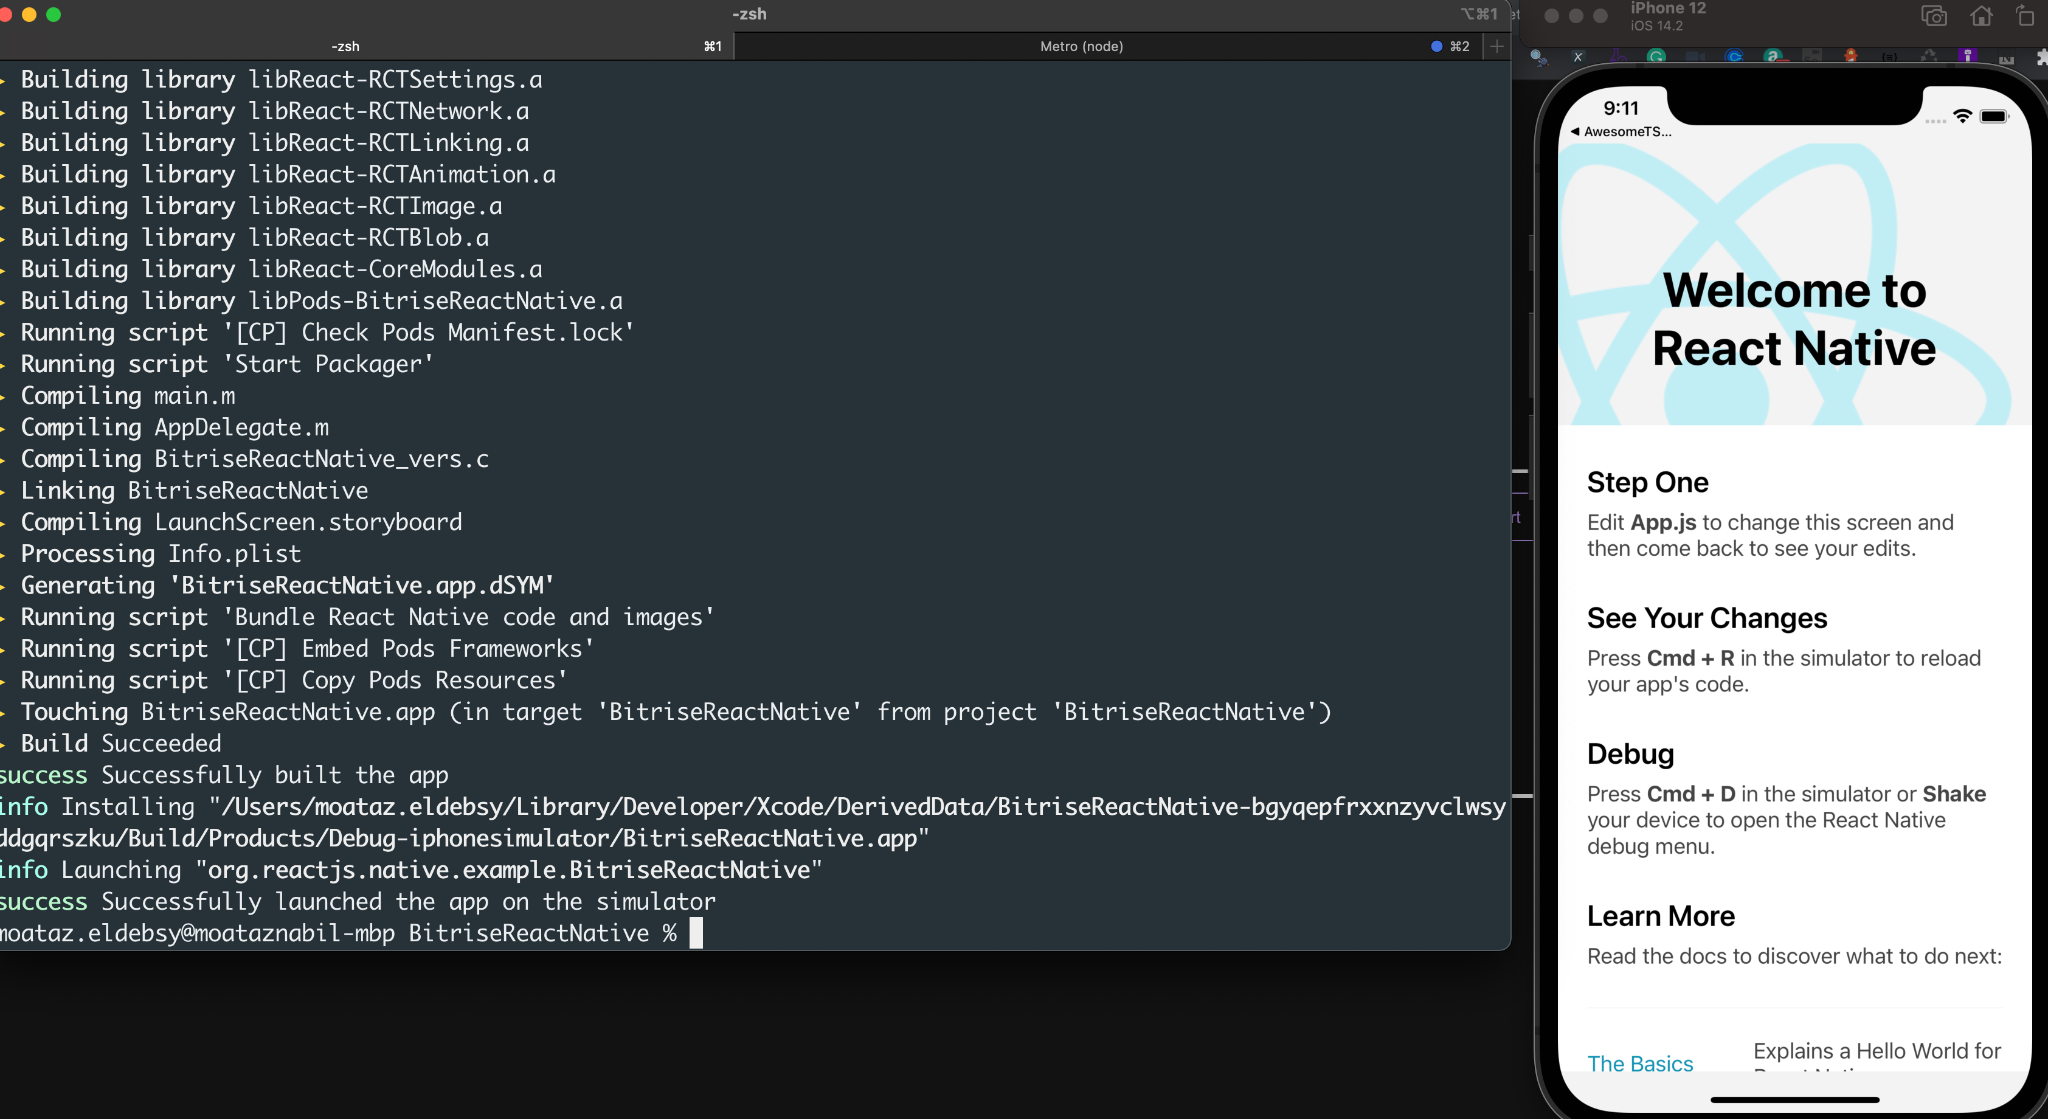
Congratulations! You've successfully run your first React Native app.
Setting up Detox
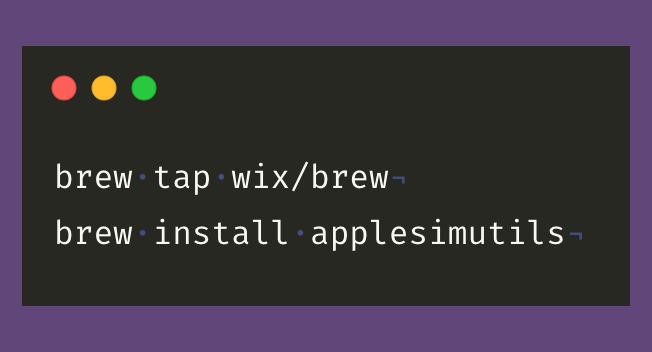
1. We will start by installing the Detox requirements with the following commands:
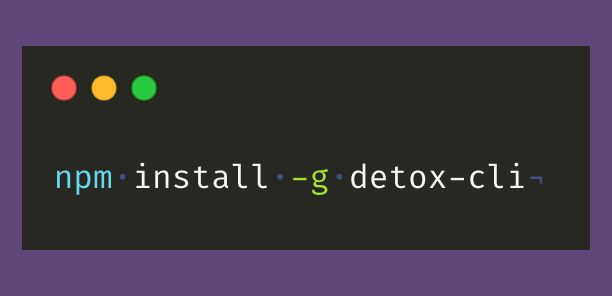
2. Then install Detox CLI with the following command:
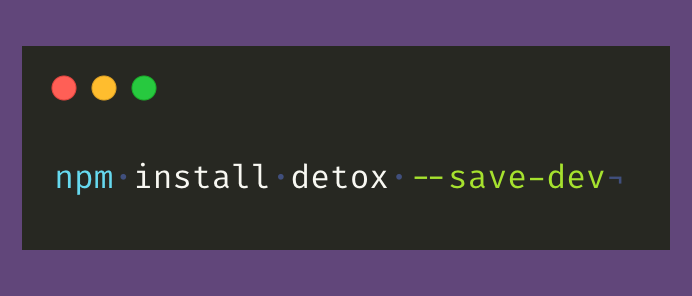
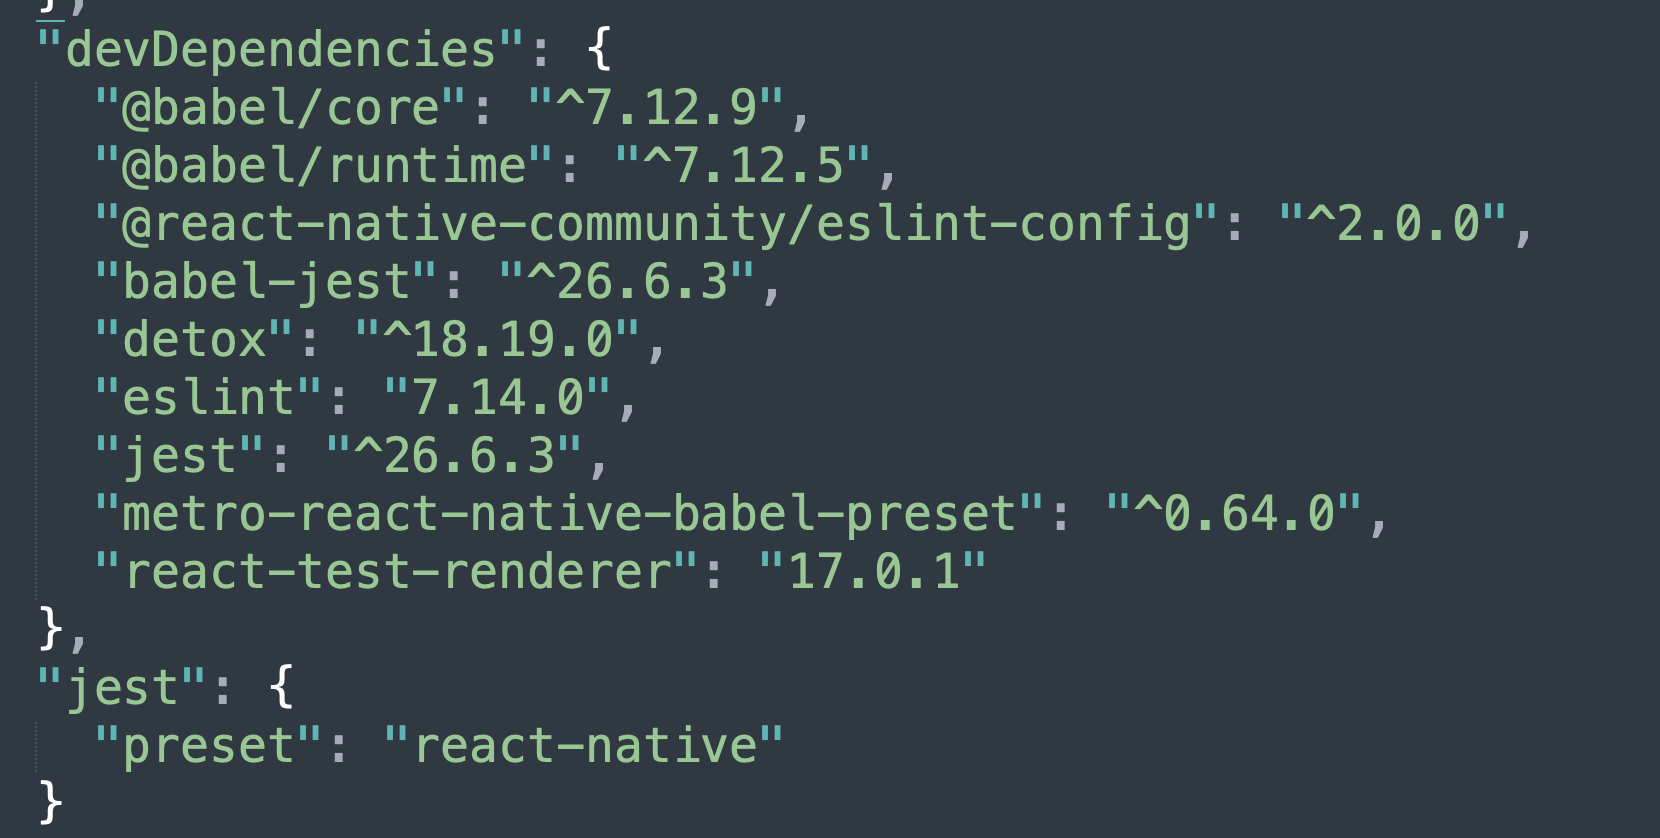
3. Inside your React Native project folder, install Detox with the following command to add the Detox dependencies in our package.json file:
4. In the React Native project folder initiate Detox in the project by the following command:
5. It will create a new folder with the name e2e including different .js files for Detox like:

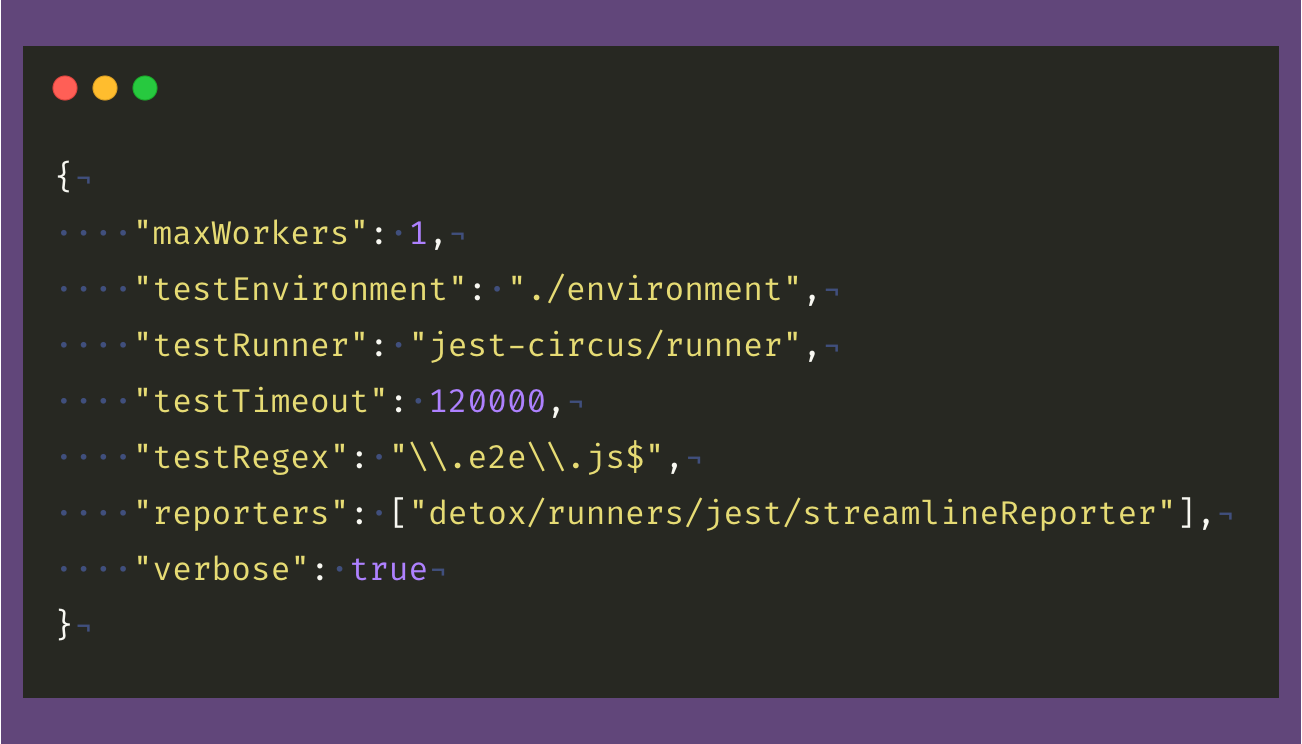
e2e/config.json: includes the configuration of the test runner, test environment, reports, and the maxWorkers
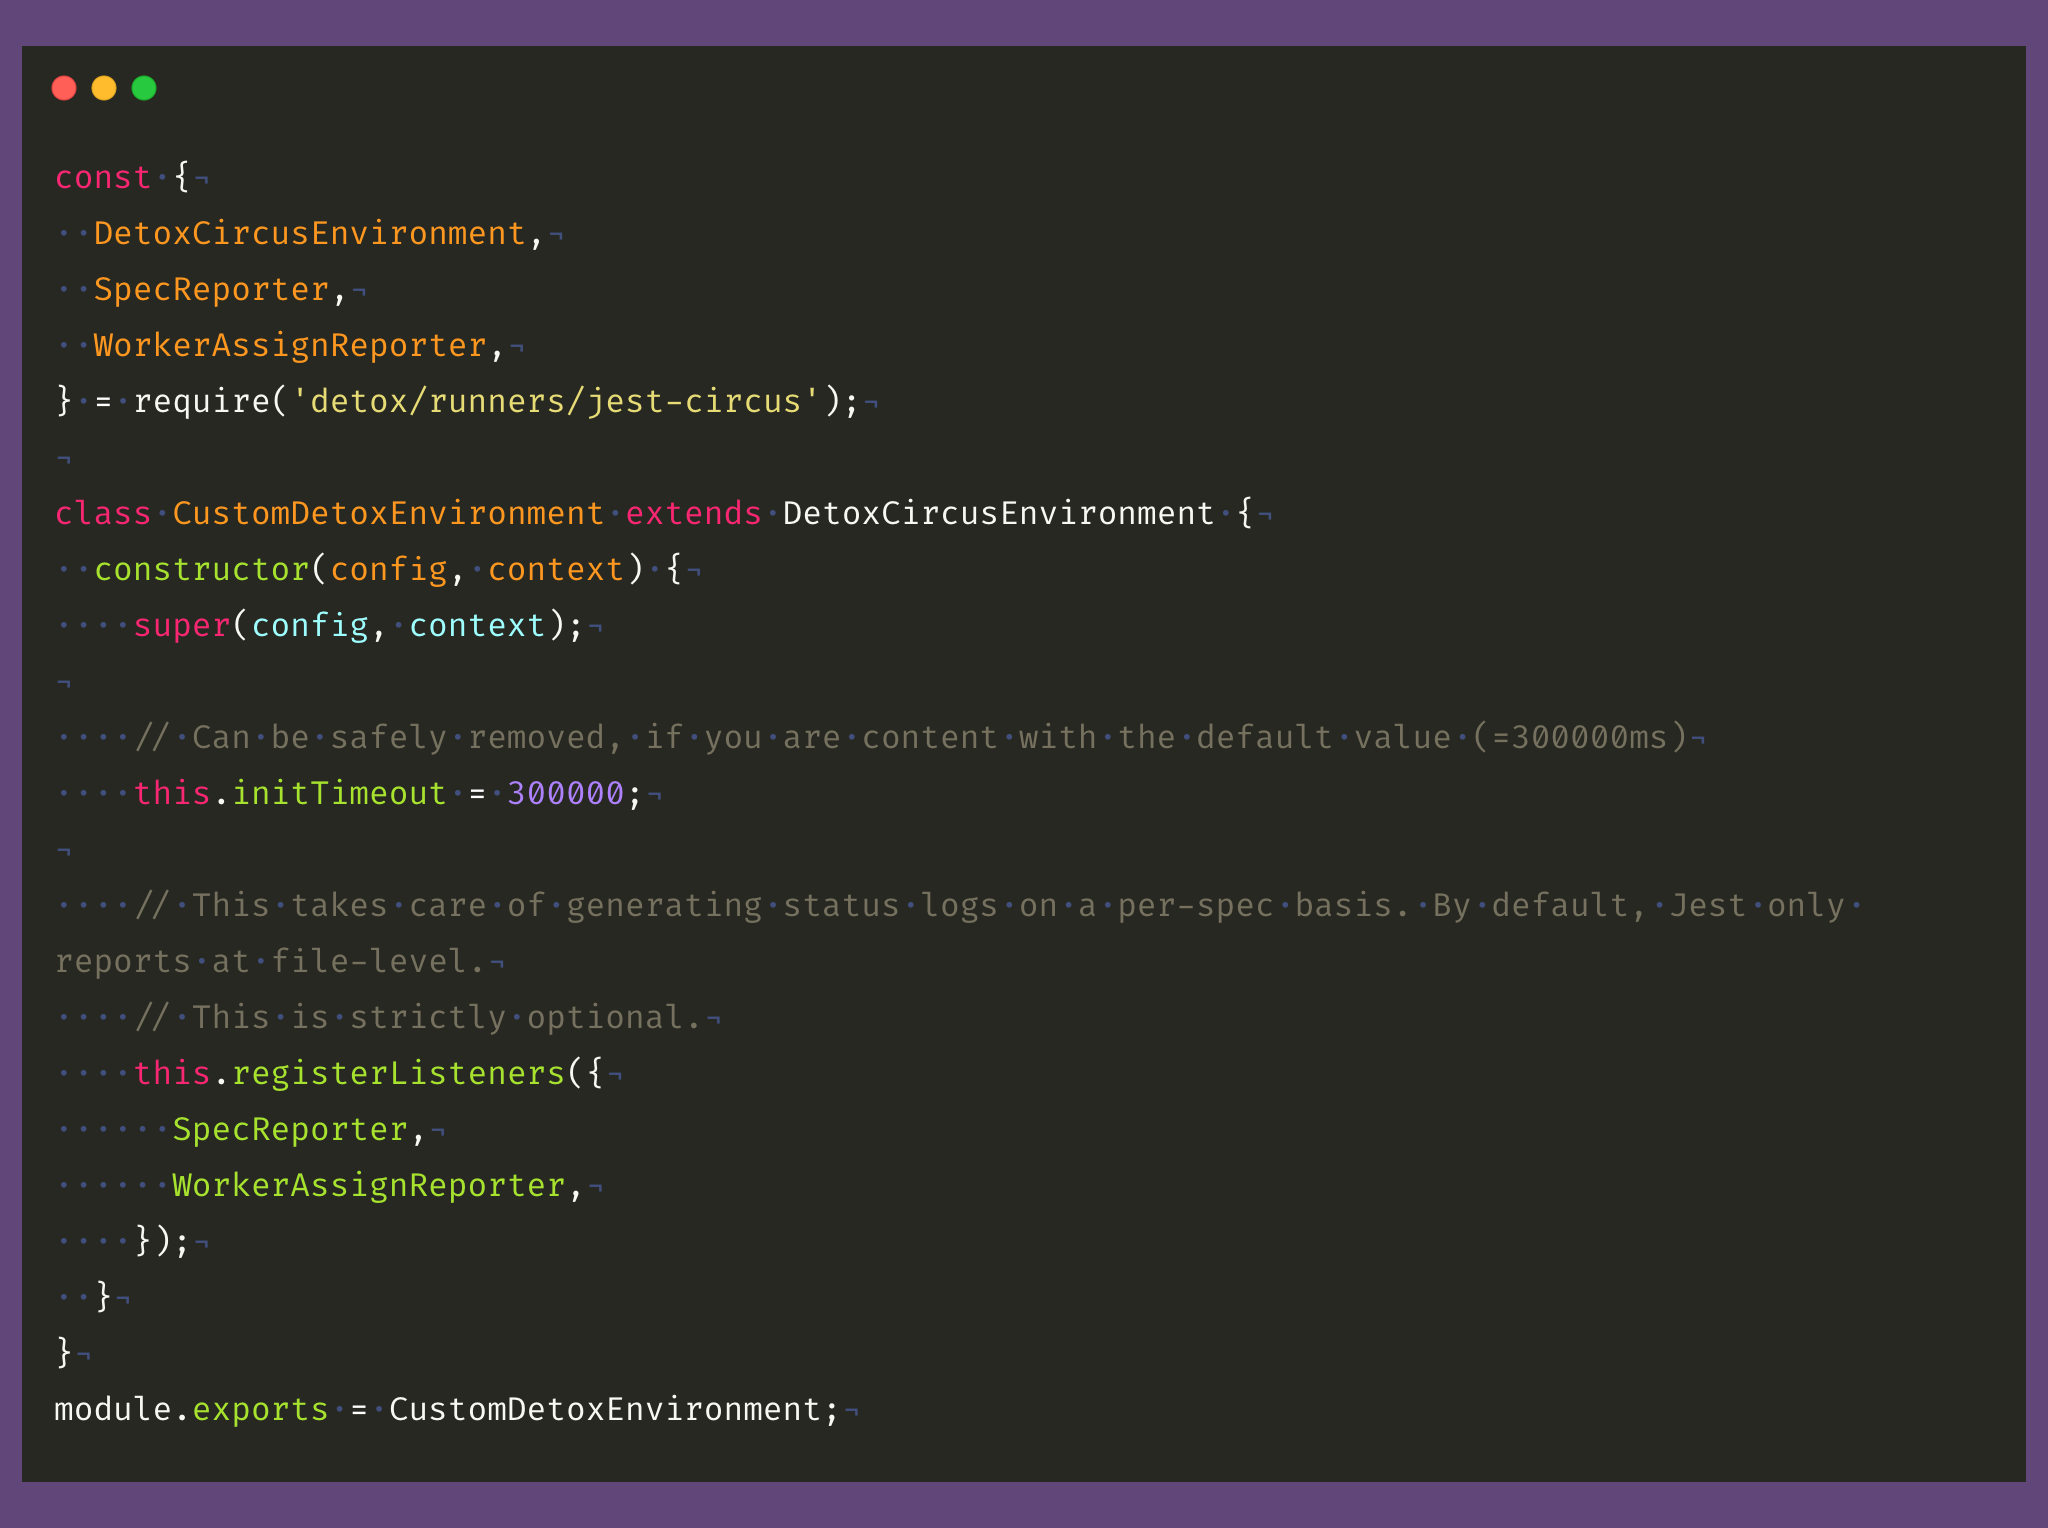
e2e/environment.js: includes the Detox custom configuration for the Detox Test Runner with jest-circus.
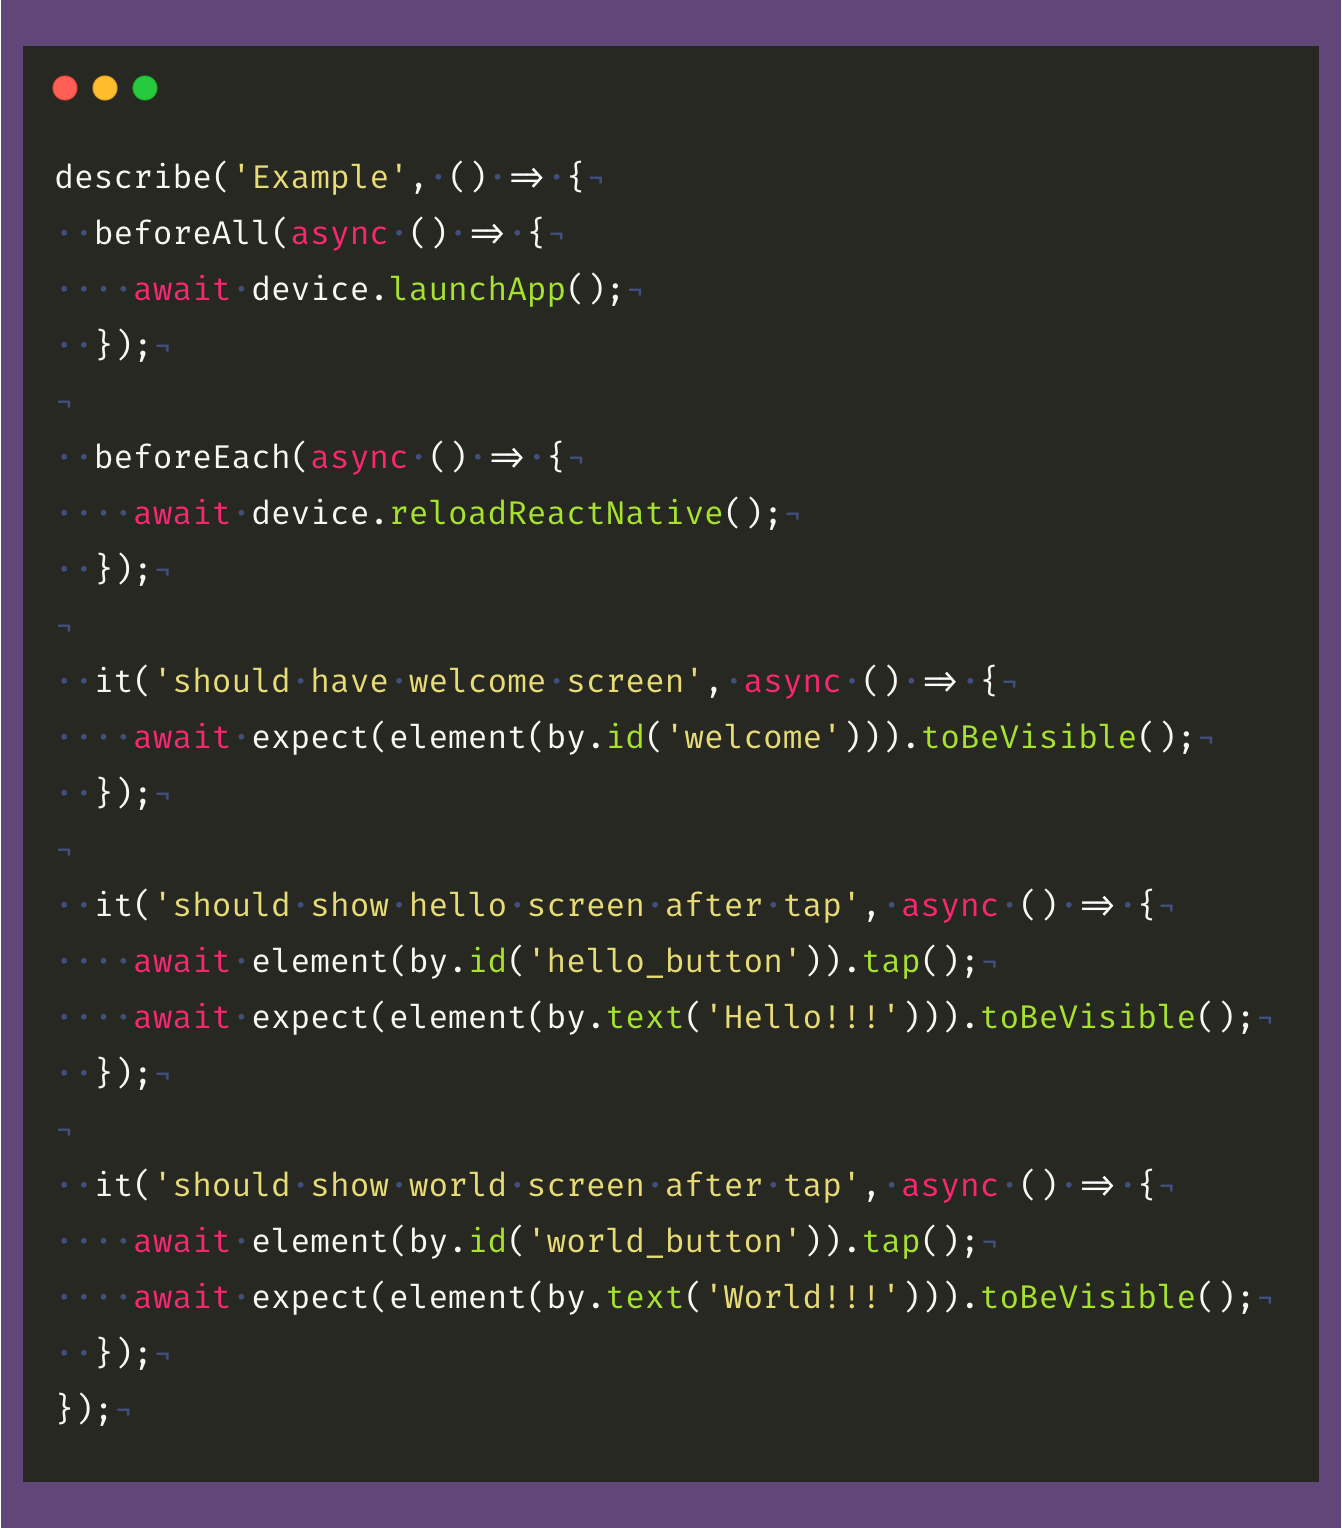
e2e/firstTest.e2e.js: a sample test case is written in Javascript and also you can use Typescript to write your tests with Detox
And in the project folder, Detox created a .detoxrc.json, which includes the Detox configuration for the apps, devices, and the other configuration that is required to run Detox for our iOS and Android apps.
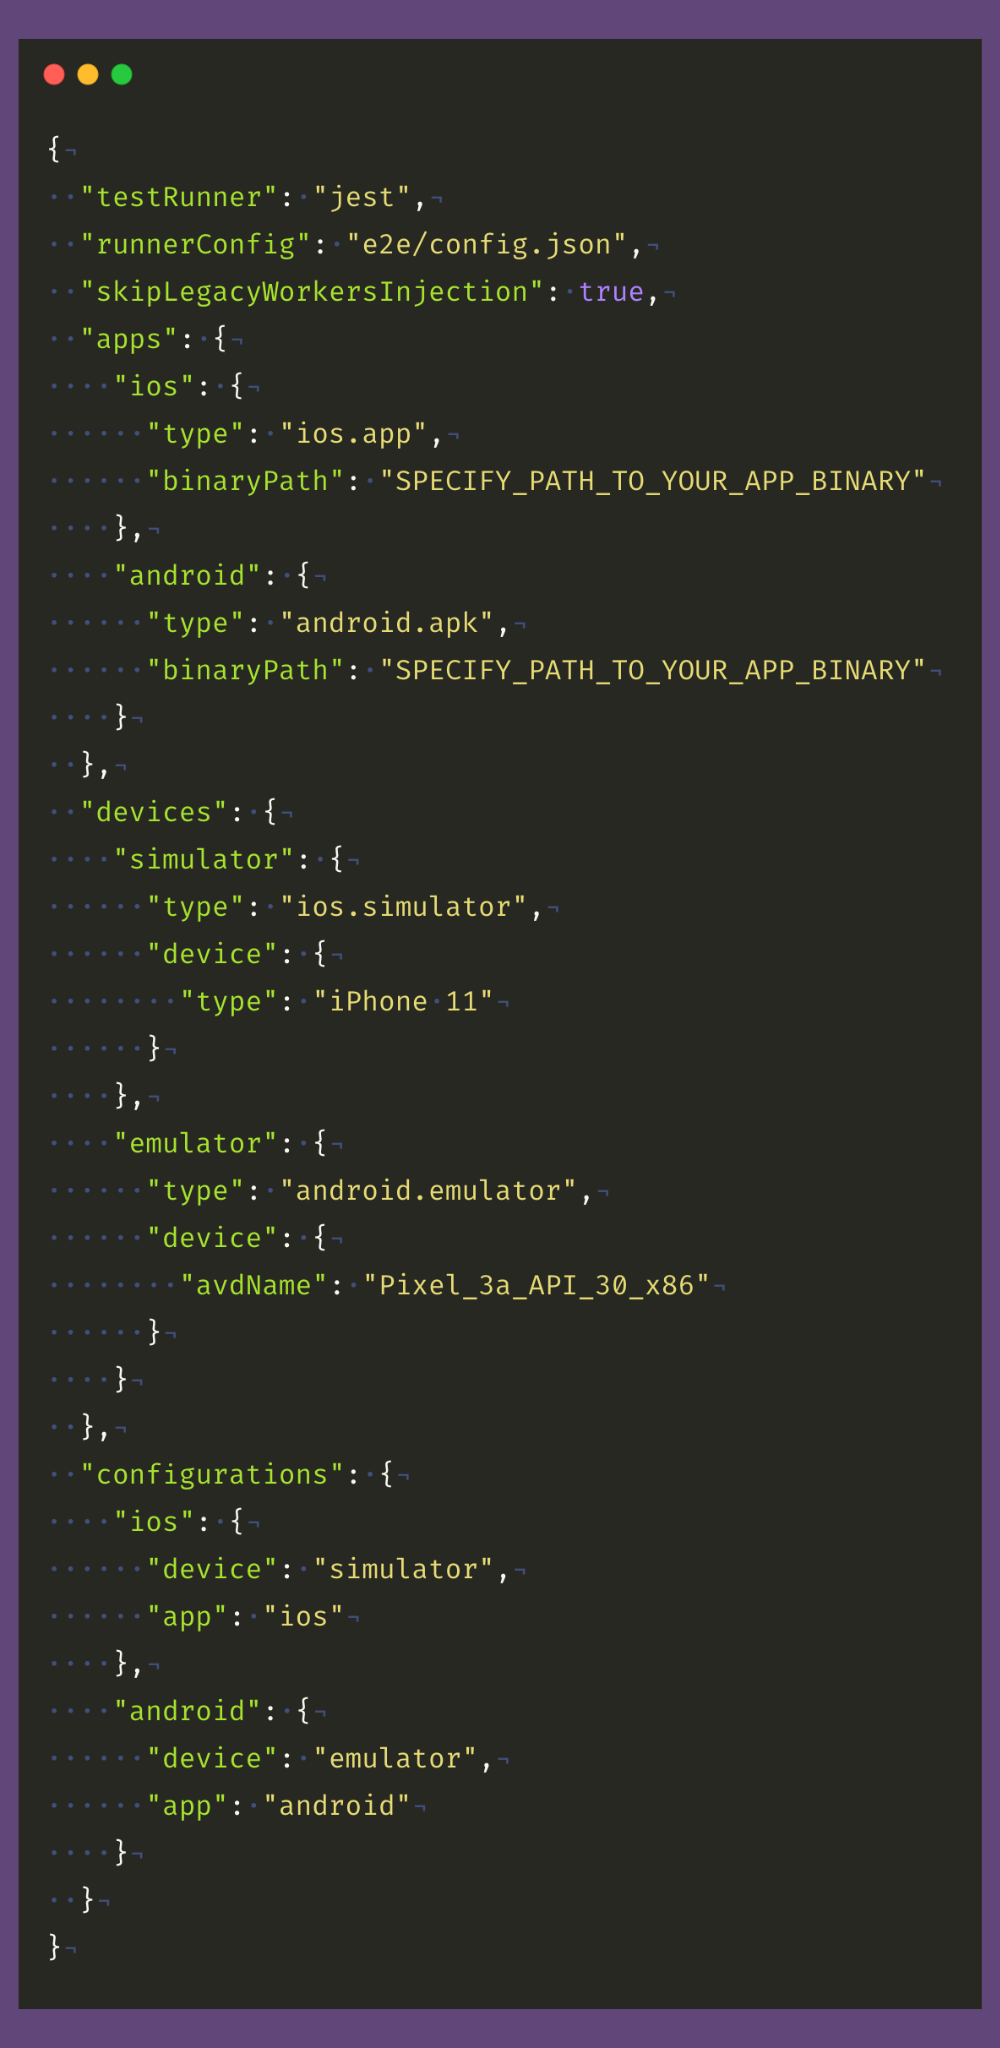
We will need to change the configuration by adding the binaryPath, devices that we have, and the build variants to match with our app:
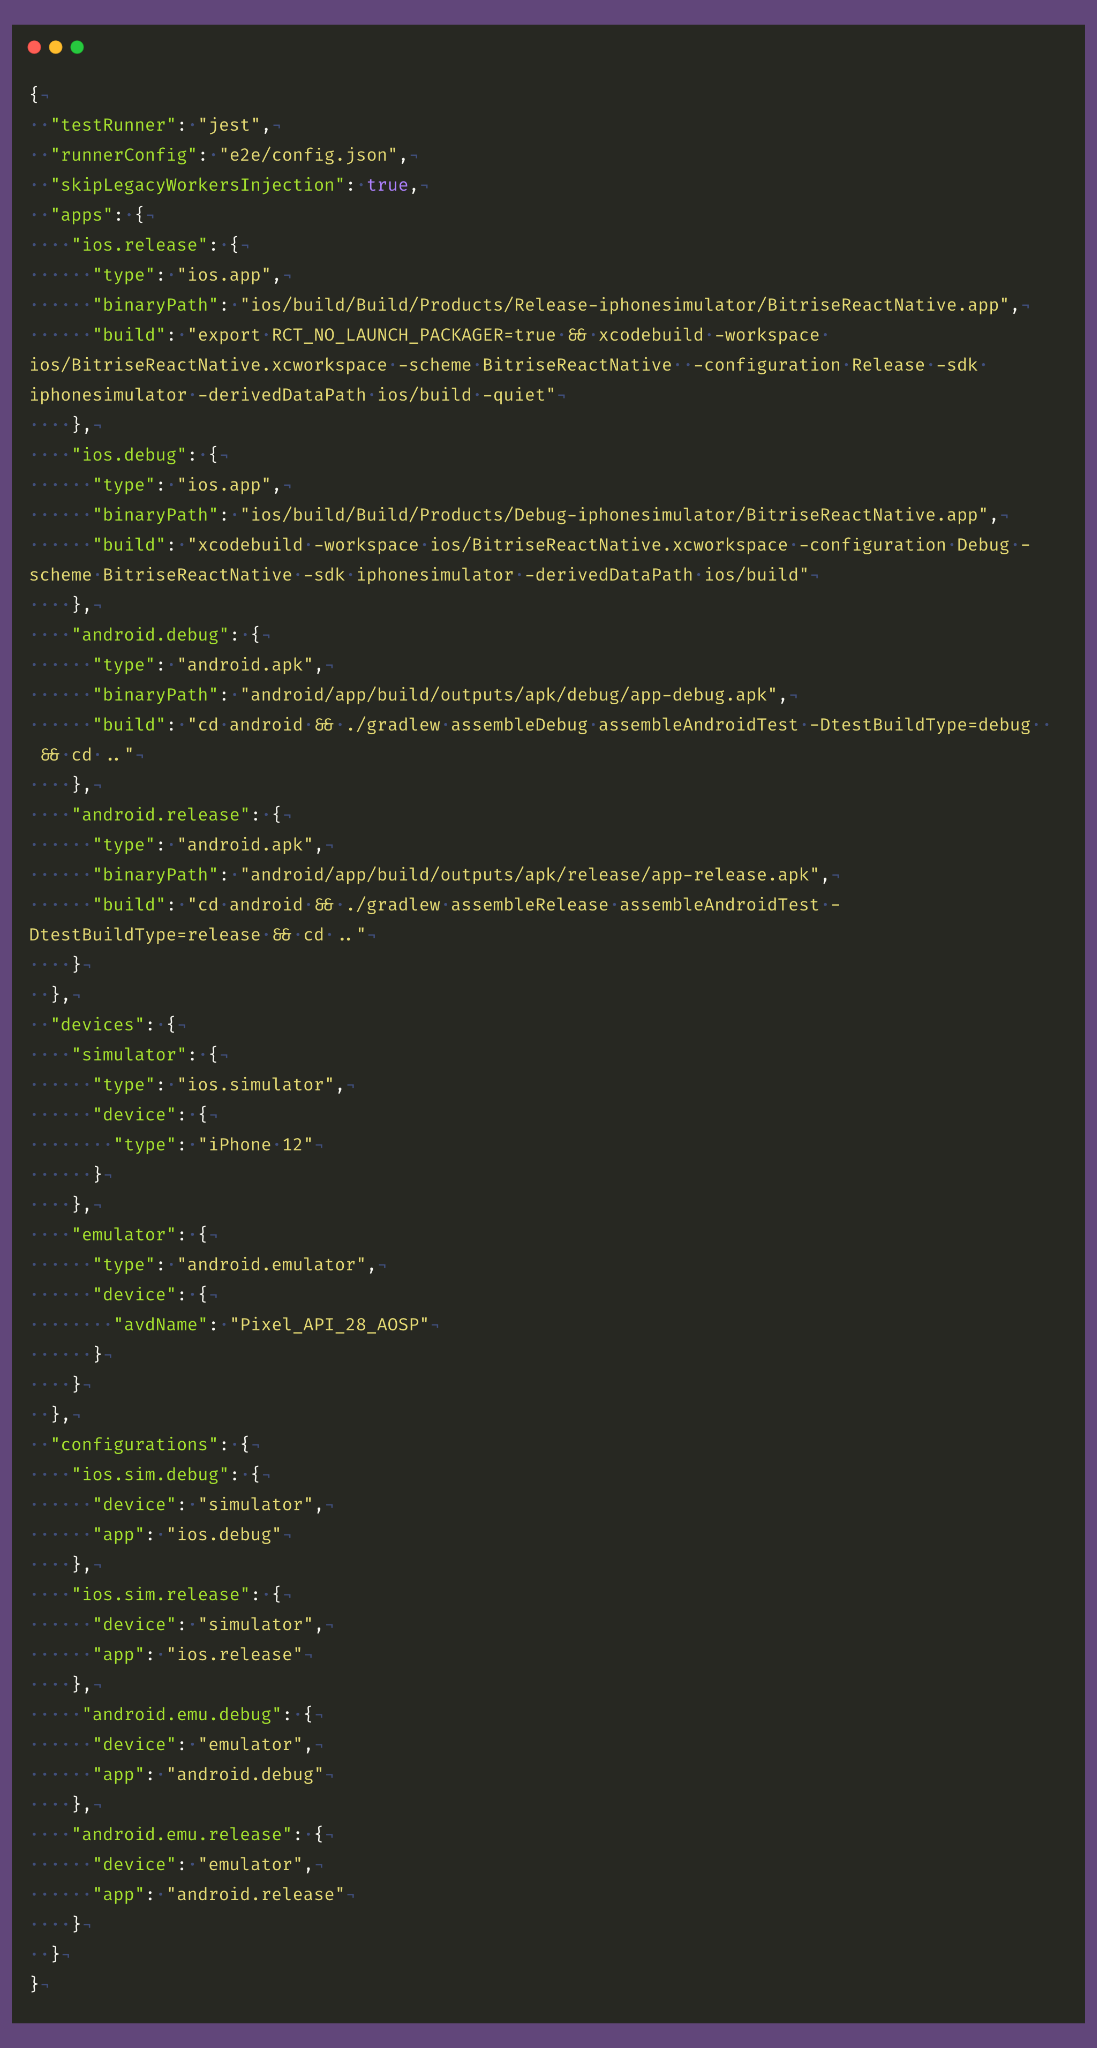
And a full example can be found here.
In the above Detox configuration file, we added two product flavors (debug and release), and also we changed the iOS Simulator and the Android Emulator.
And for iOS, we are using Xcodebuild to build our iOS with the scheme and for Android, we are using Gradle to do the same.
Note: The Detox team highly recommends using the AOSP Emulator for running automation/Detox tests.
Changes for Android app
In version 11, Detox switched to using Android Espresso of Android's new androidx.* support libraries in order to stay up to date with Google's latest features and bug fixes.
Because of that, you should make the following changes in your Android app to be able to test it with Detox.
Add the Native Detox dependency
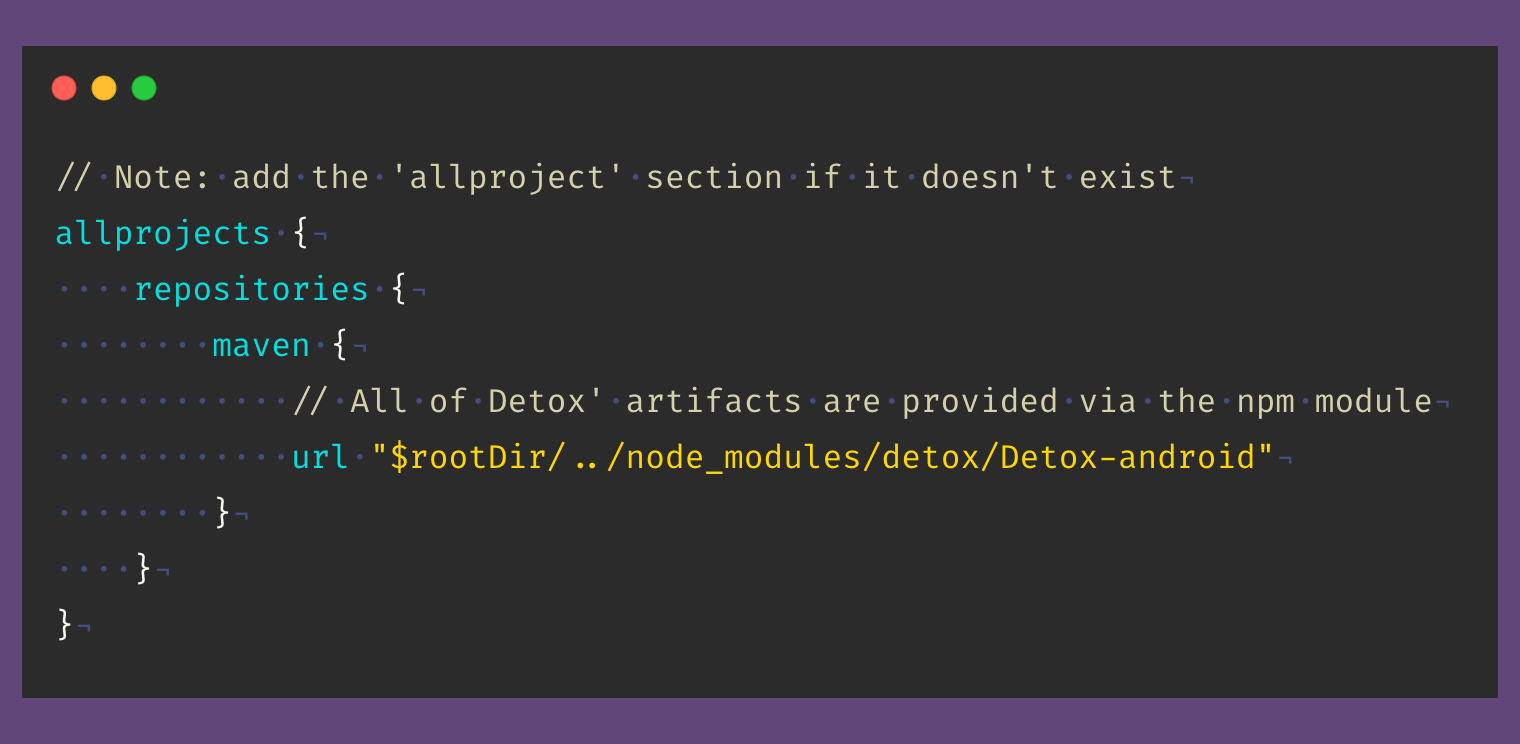
1. In your root android/build.gradle file add Detox as repository lookup points in all projects:
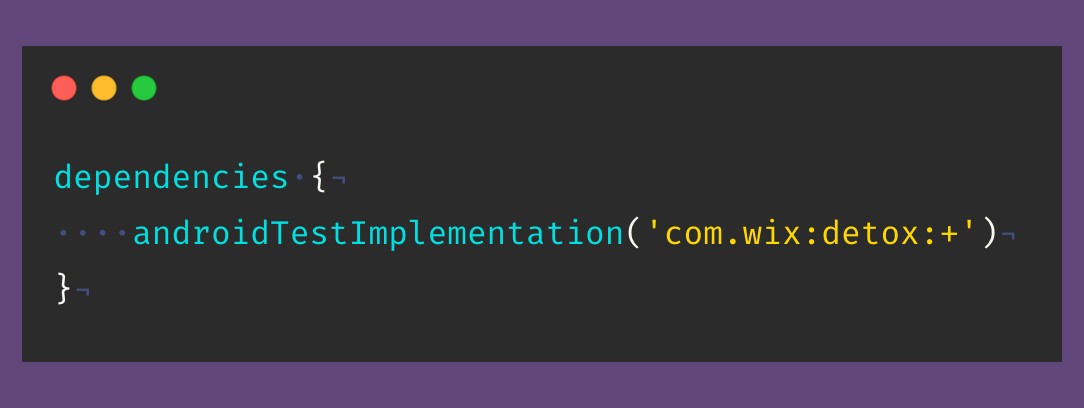
2. In your app build.gradle add this in the dependencies section:
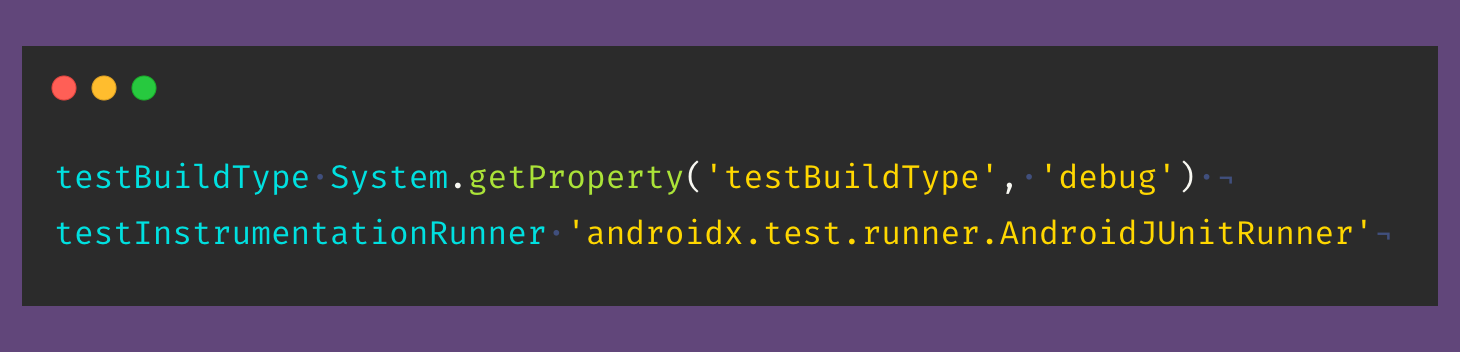
3. And add this to the defaultConfig section:
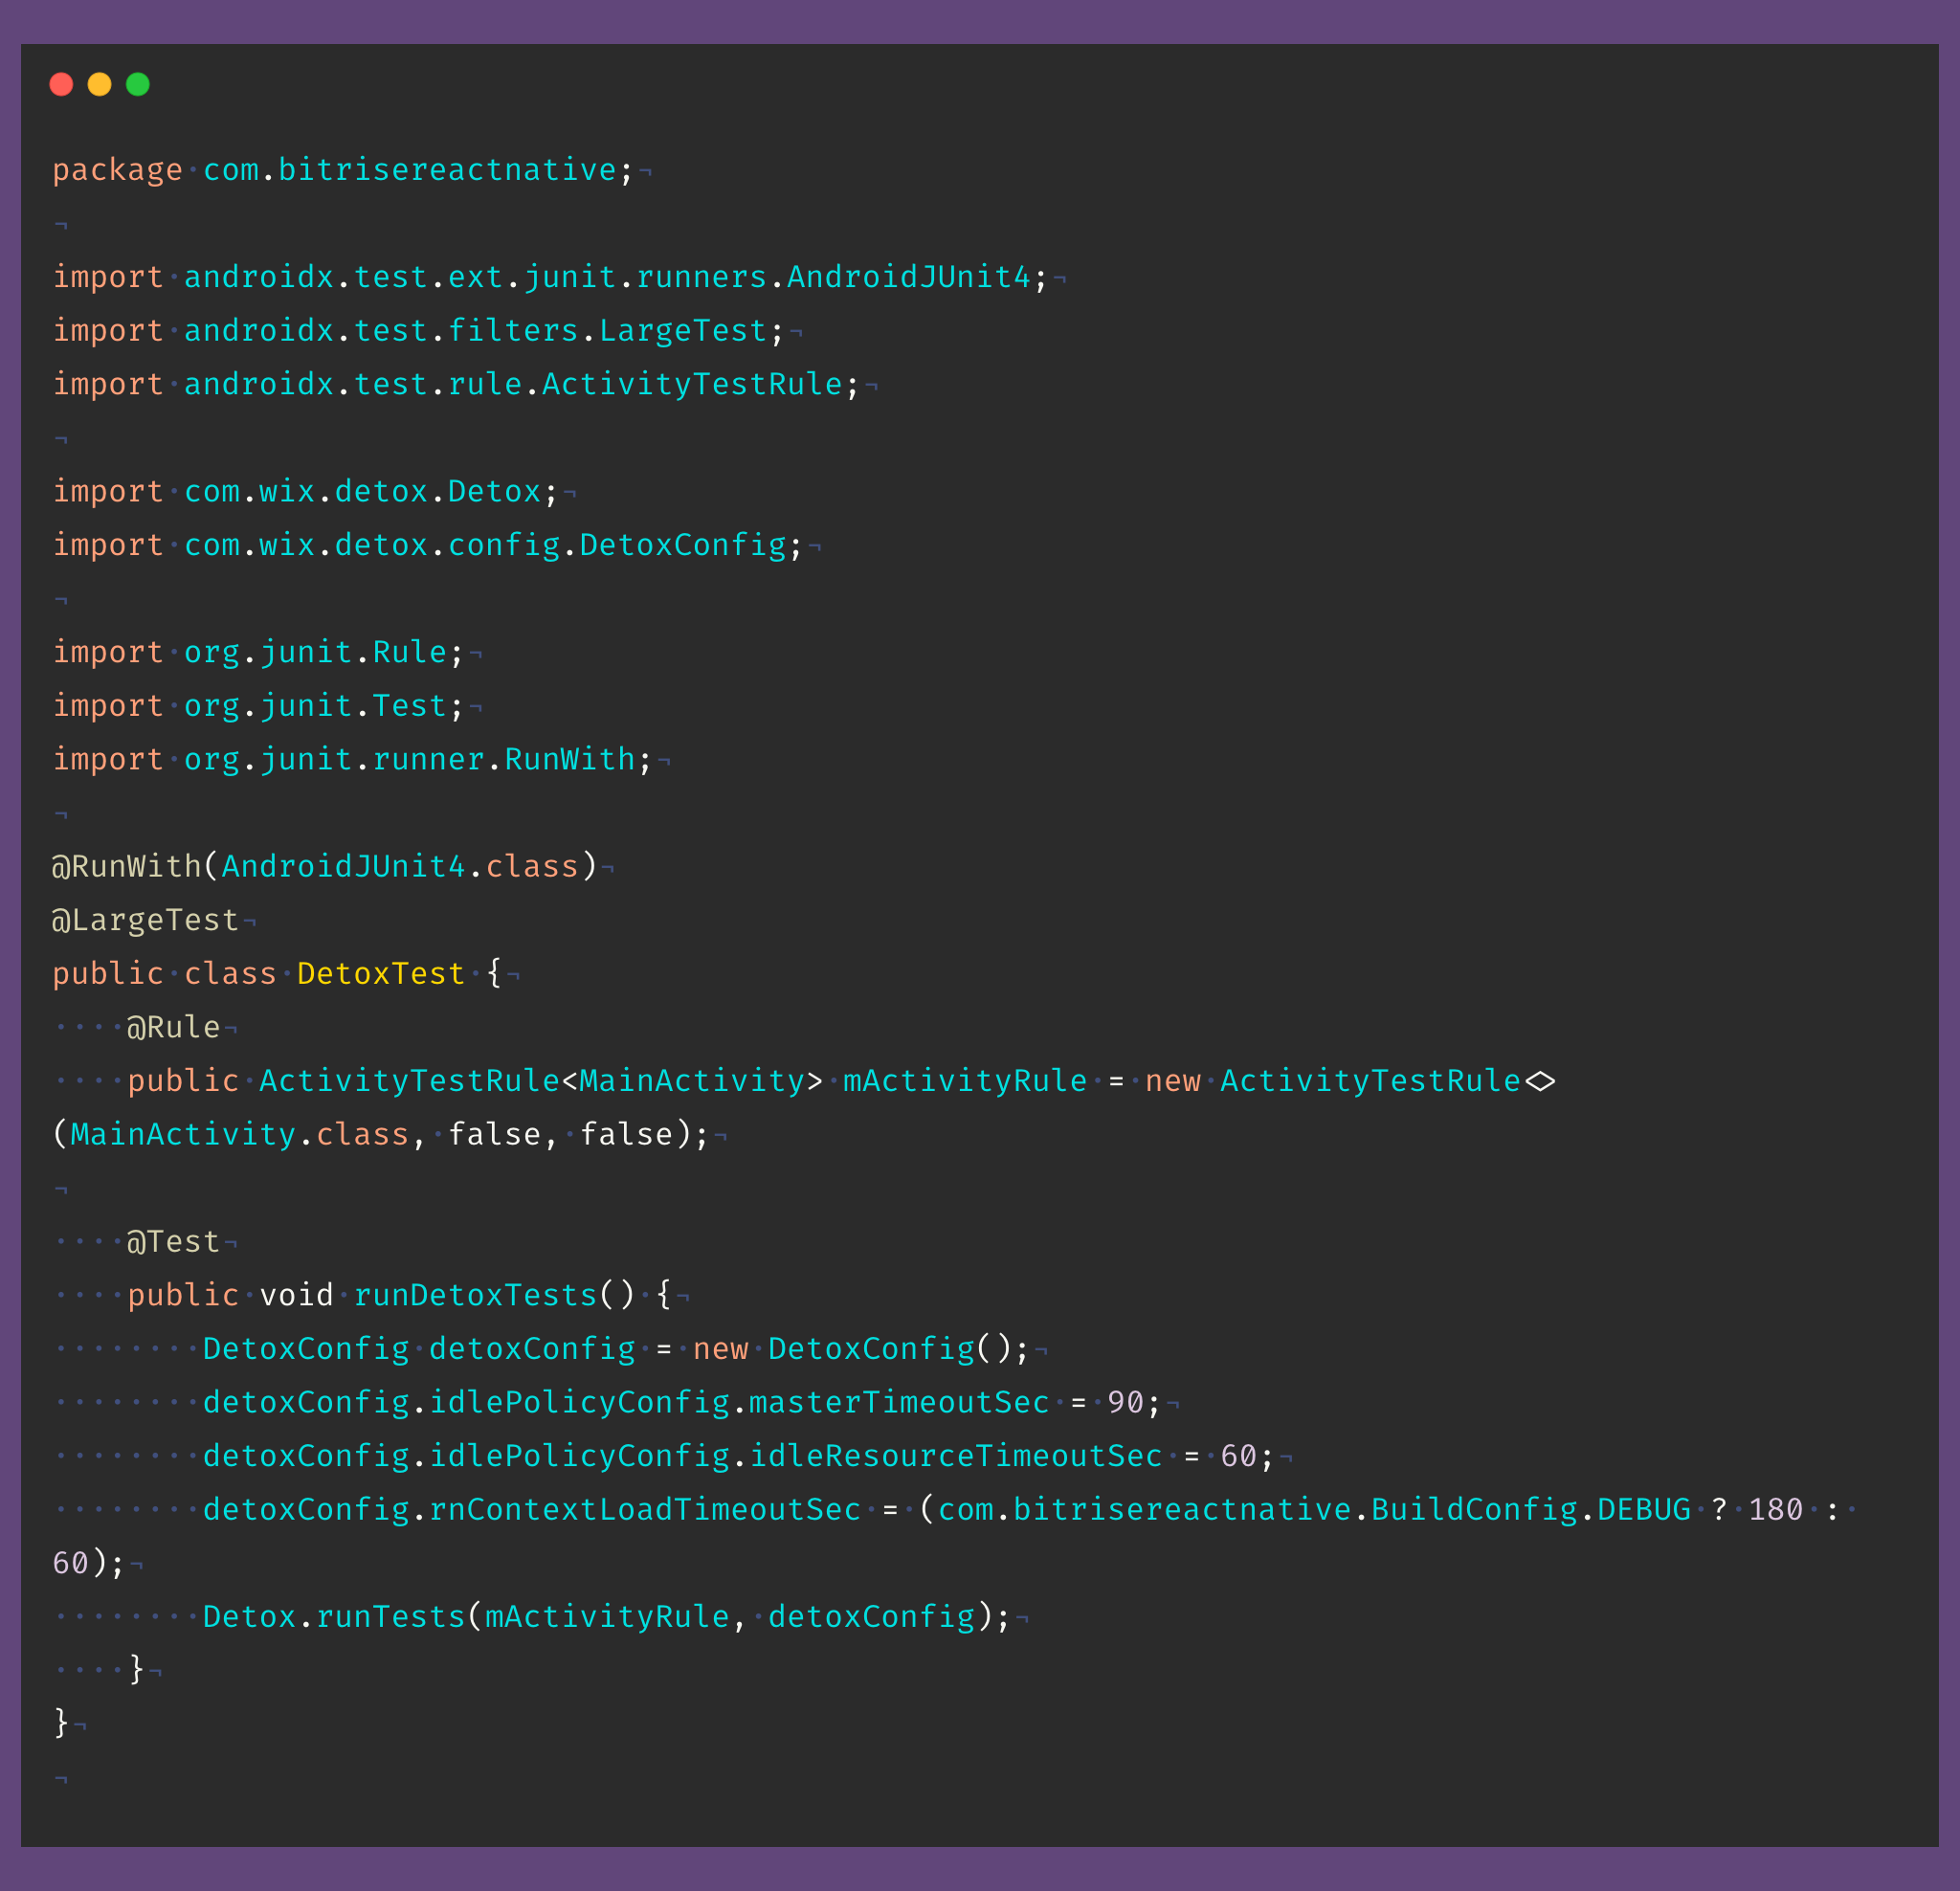
4. Add the file android/app/src/androidTest/java/com/[package name]/DetoxTest.java
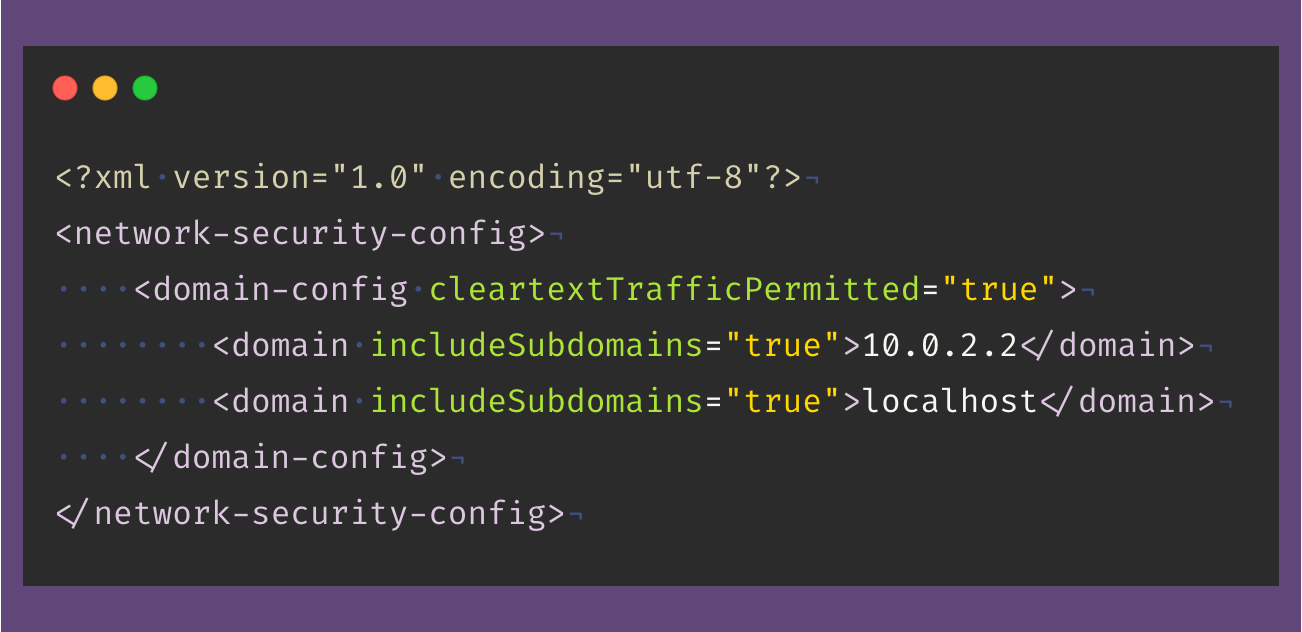
The Detox test code running on the device must connect to the test-running host through its virtual localhost interface using simple HTTP traffic. Therefore, the following network-security exemption configuration must be applied In an XML resource file, android/app/src/main/res/xml/network_security_config.xml
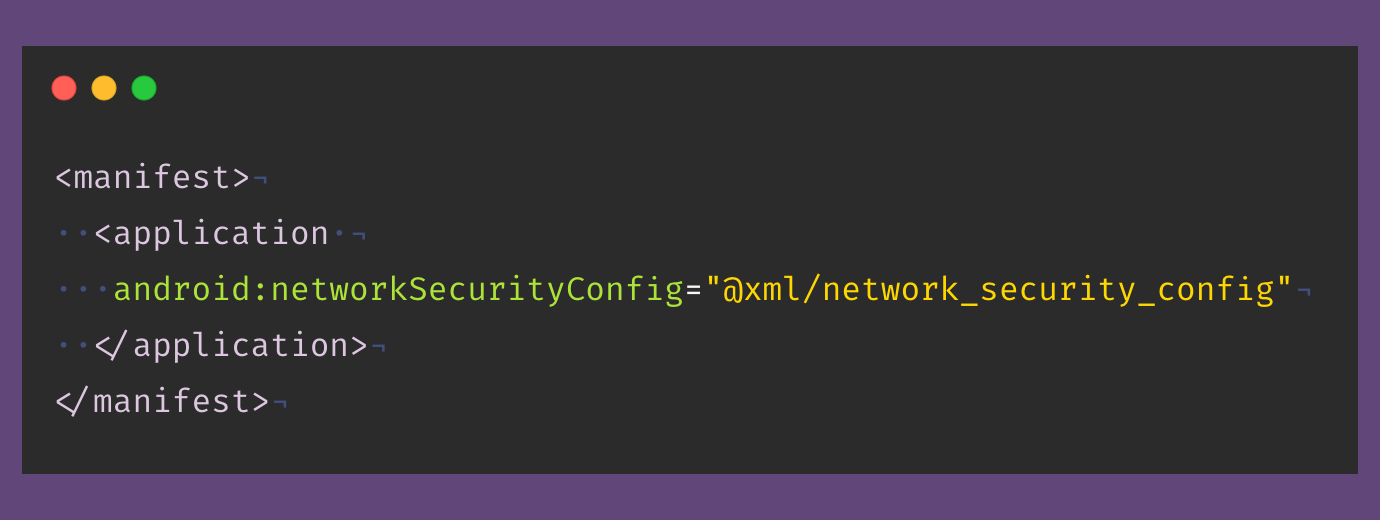
And finally, in the app's AndroidManifest.xml add the following line
More details can be found here.
Changes for E2E test
As we mentioned, inside the e2e folder you will find a simple test but we need to change the steps to match our app:
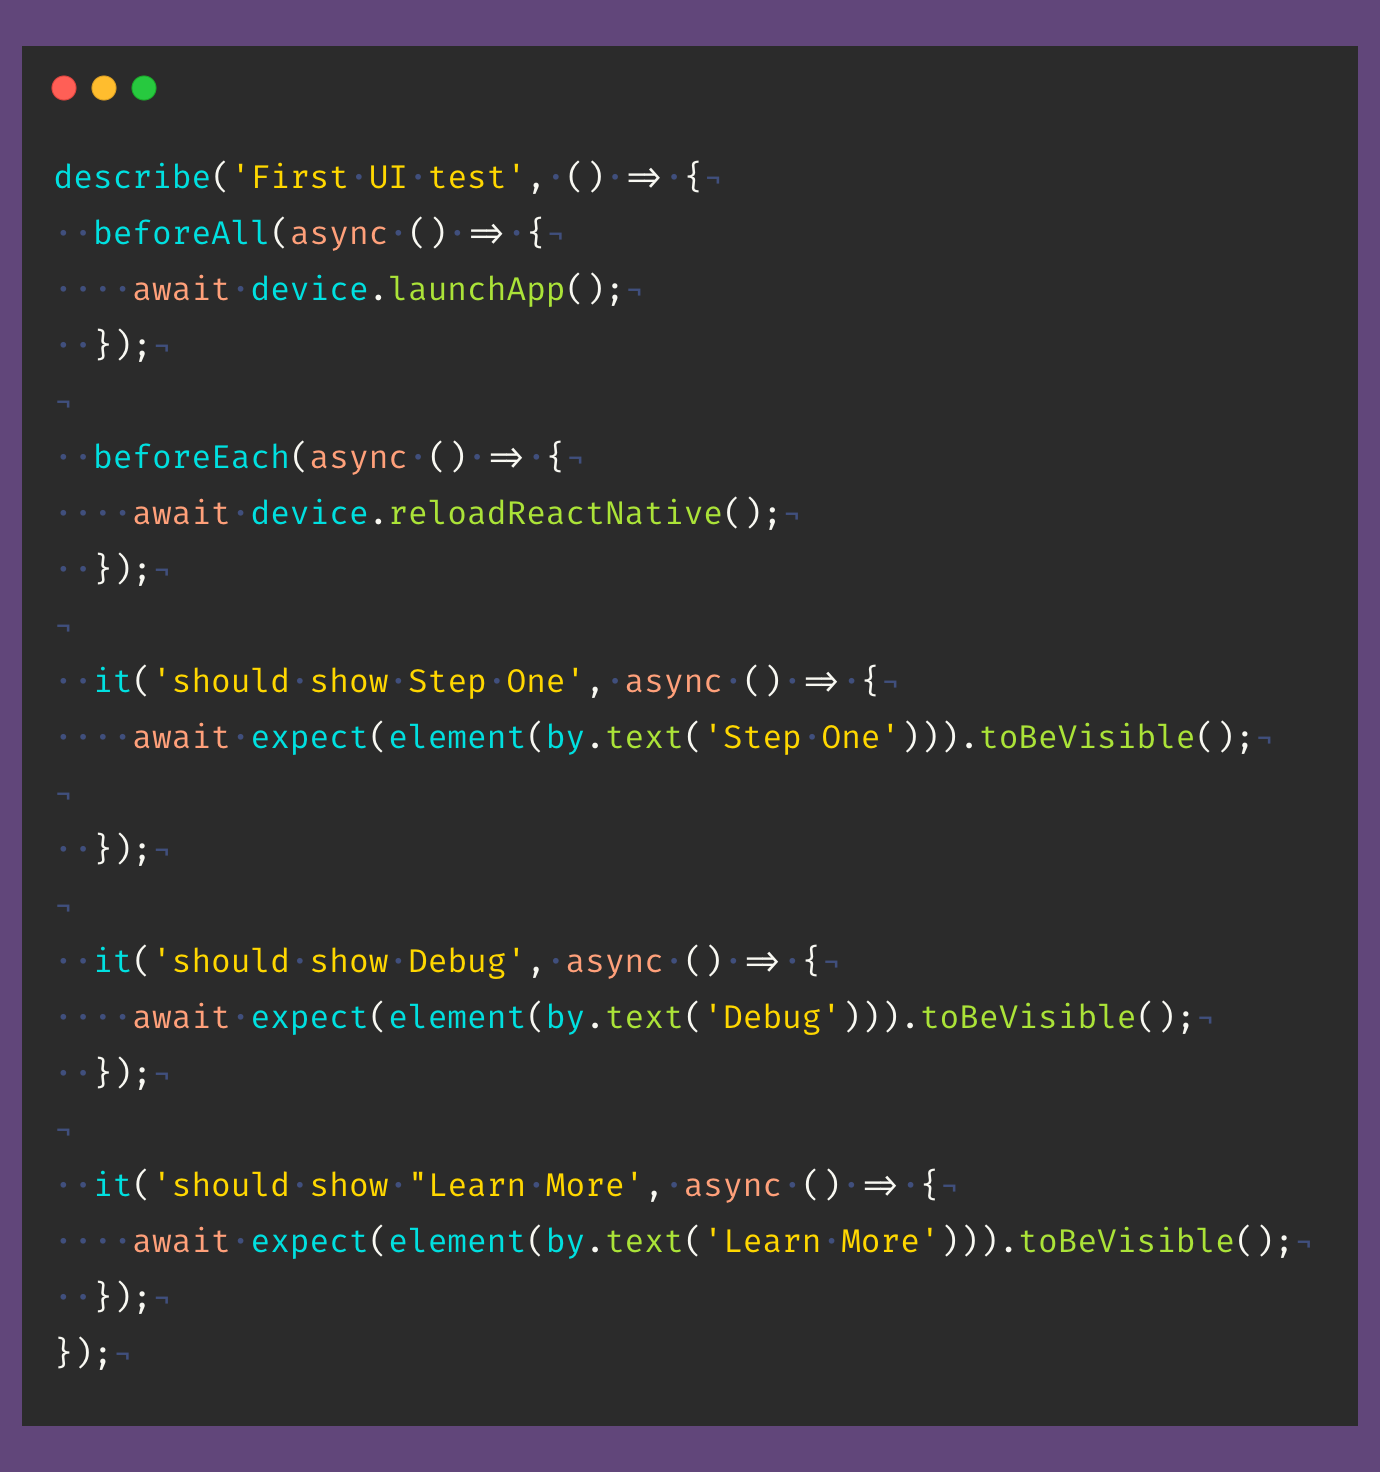
To know more about Detox, check the actions and the matchers docs.
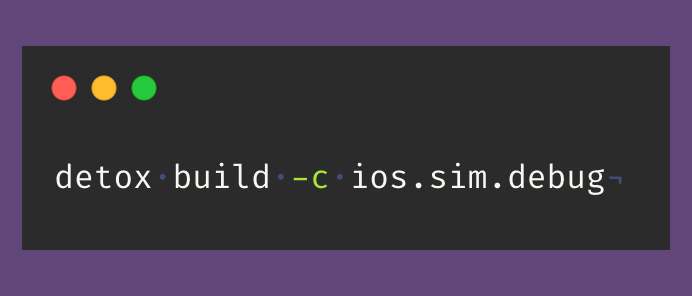
Now it’s time to build and test our React Native apps with Detox. We will start with the Android app. From the command line run the following command:
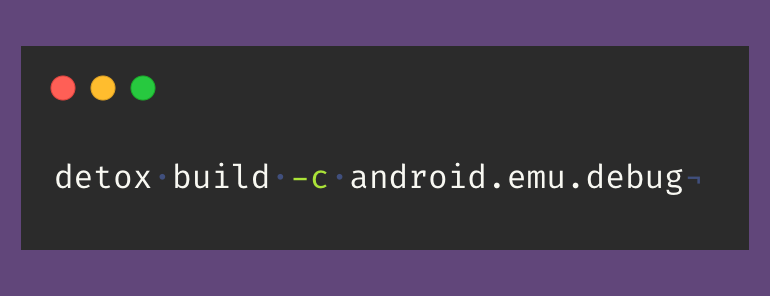
If the build is done successfully, you will find the app.apk and testapp.apk in the output folder inside the Android project.
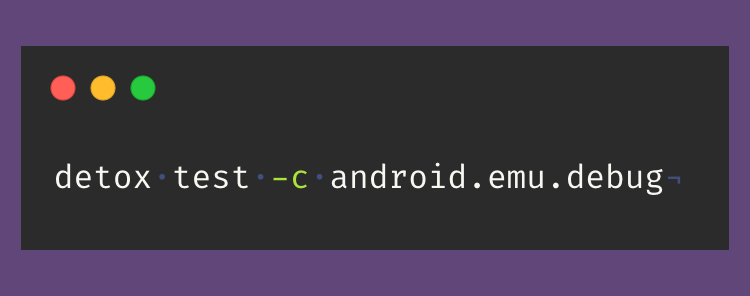
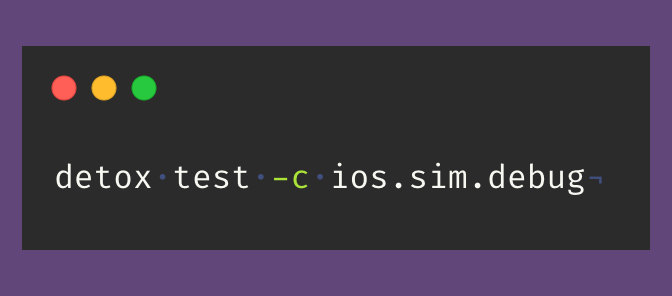
To run the tests with Detox use the following command:
Tip: If you tried to run the detox build or test commands and found this error.

You need to install jest-circus runner with the following command:
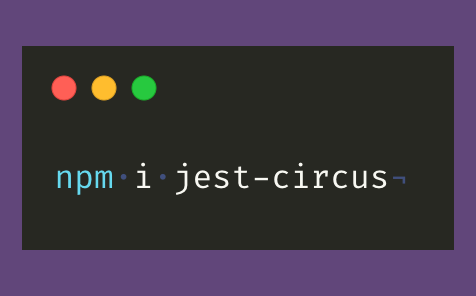
Run it again and check the test results. Congratulations, you have successfully set up and run Detox for your React Native application! 🎉
And to run Detox with iOS, we run the following commands:
Taking screenshots, recording videos, and logs
Artifacts are disabled by default. To enable them, specify via launch arguments or a configuration object what artifacts you want to record.
- To record .log files, add --record-logs all (or --record-logs failing, if you want to keep logs only for failing tests).
- To record .mp4 test run videos, add --record-videos all (or --record-videos failing, if you want to keep video recordings only for failing tests).
- To take .png screenshots before and after each test, add --take-screenshots all (or --take-screenshots failing, if you want to keep only screenshots of failing tests).
- To change artifacts root directory location (by default it is ./artifacts), add --artifacts-location <path>
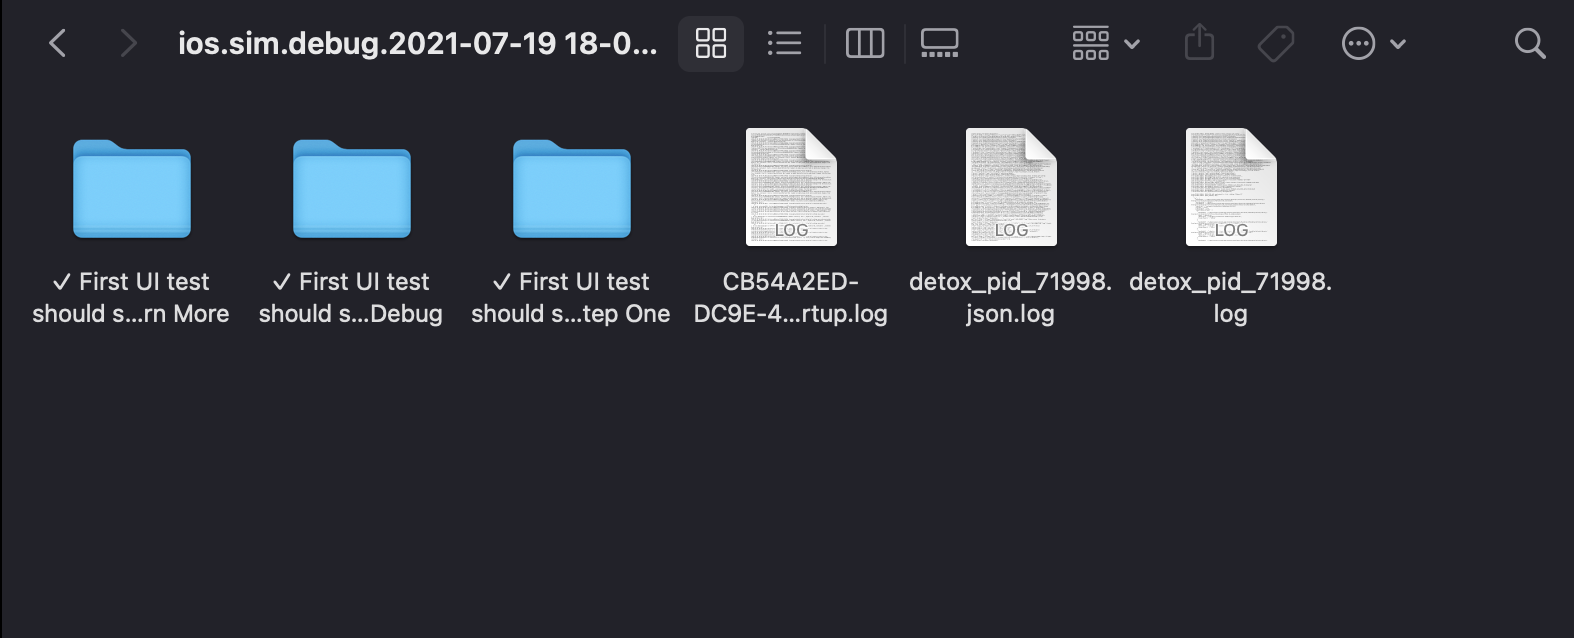
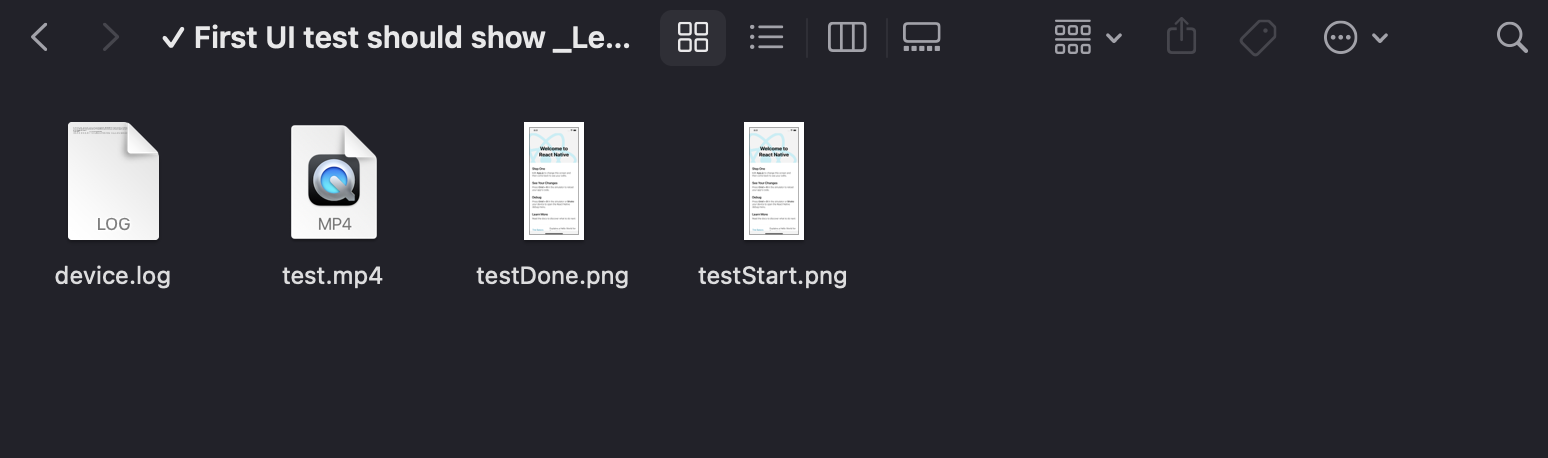
Let’s try the artifacts

And the artifacts folder will include the logs, screenshots, and videos:
React Native, Detox, and Bitrise: putting it all together
Now it’s time to integrate and run our tests with the CI server. We, of course, will use Bitrise.
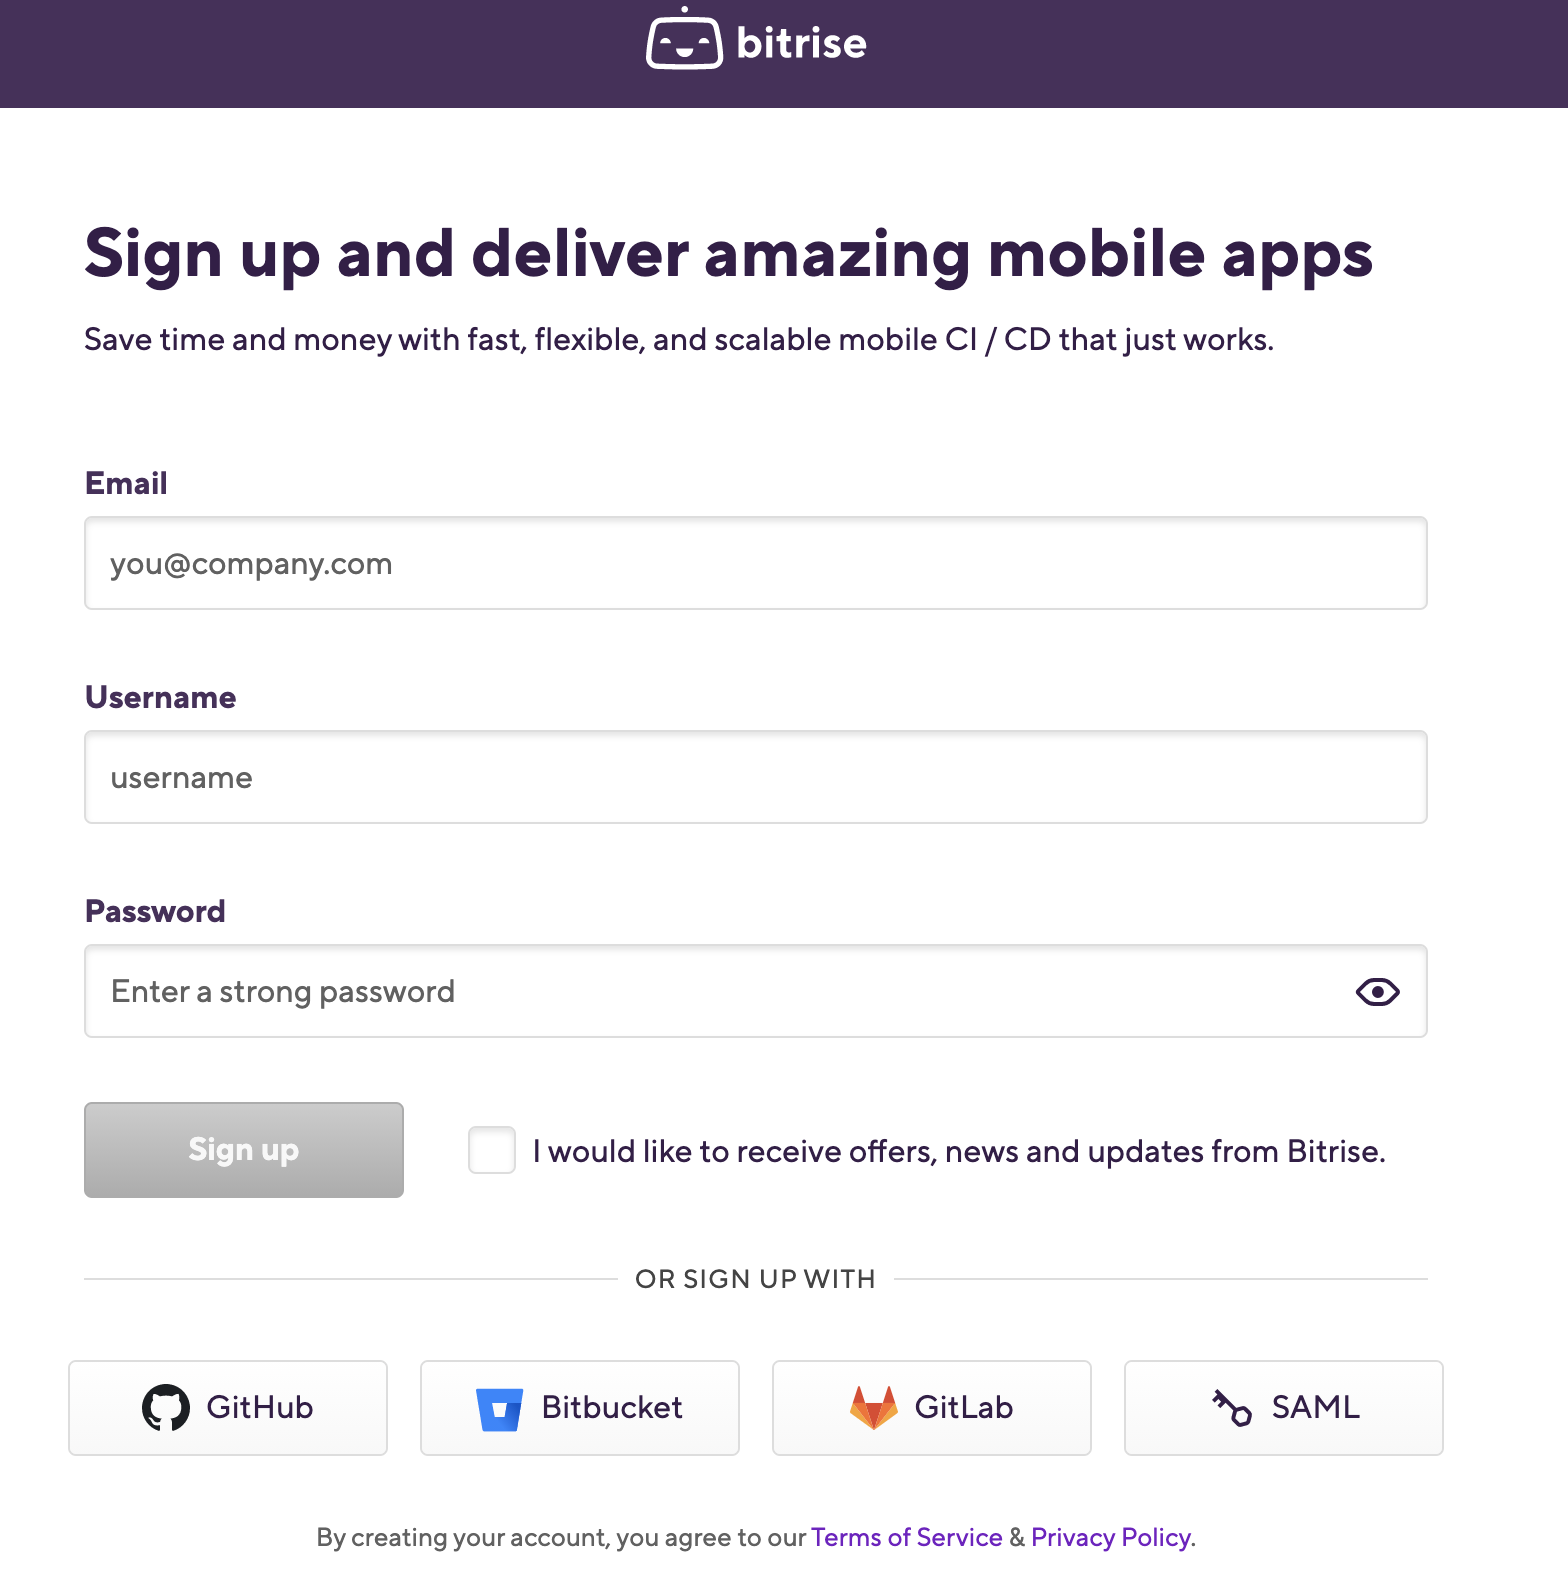
First, you need to create a free Bitrise account:
2. After logging in, you will have a blank dashboard and you can start adding your projects.
3. Click the Add your first app button.
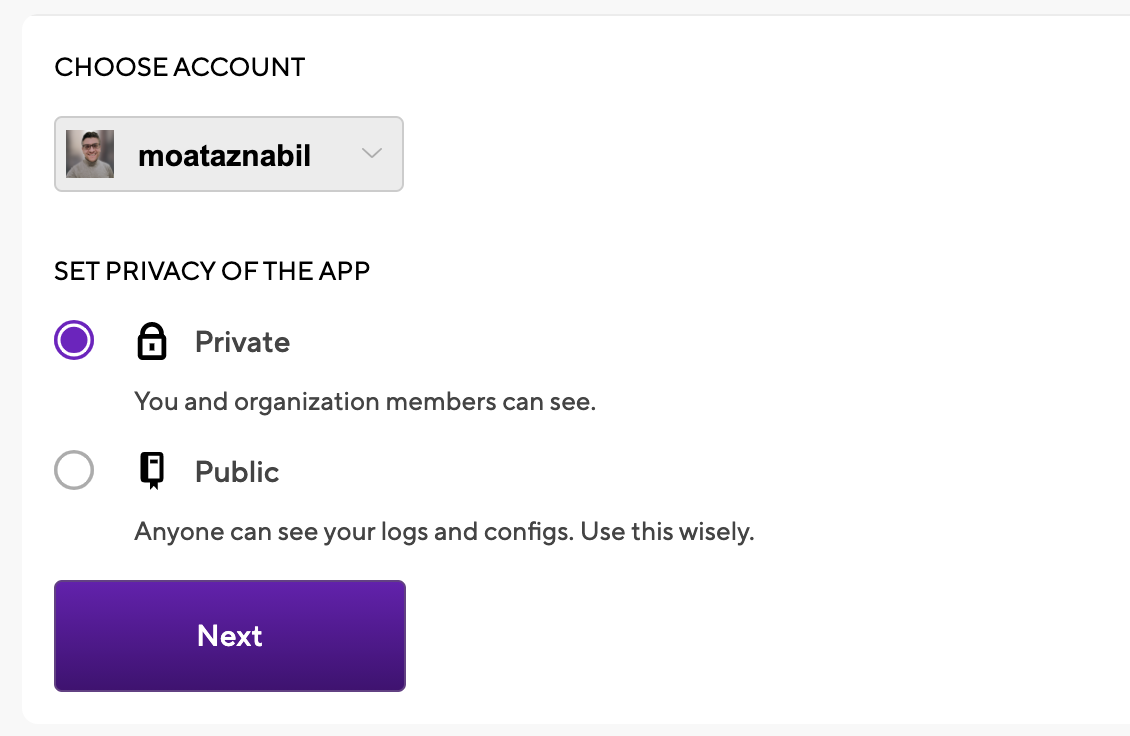
4. Select your account and set the privacy for the App (Private or Public) and click Next.
5. Choose the repository but before that, you have to give Bitrise access rights to your source code provider (e.g. GitHub).
6. You need to set up the repository access, so either auto-add an SSH key or manually add your own SSH key.

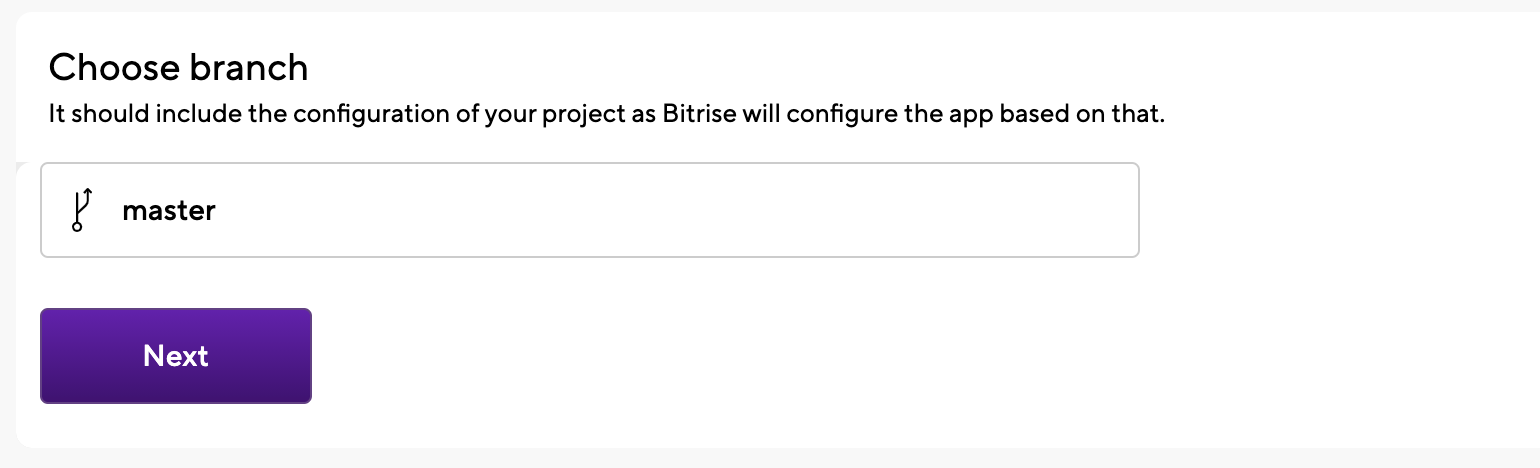
7. Choose the branch name (e.g. master branch) and click Next.
8. Next, Bitrise will run a validation with your repository and configuration.

9. After validating, the project build configuration will display successfully (e.g. React Native App). The scanner detected that the project type is React Native.
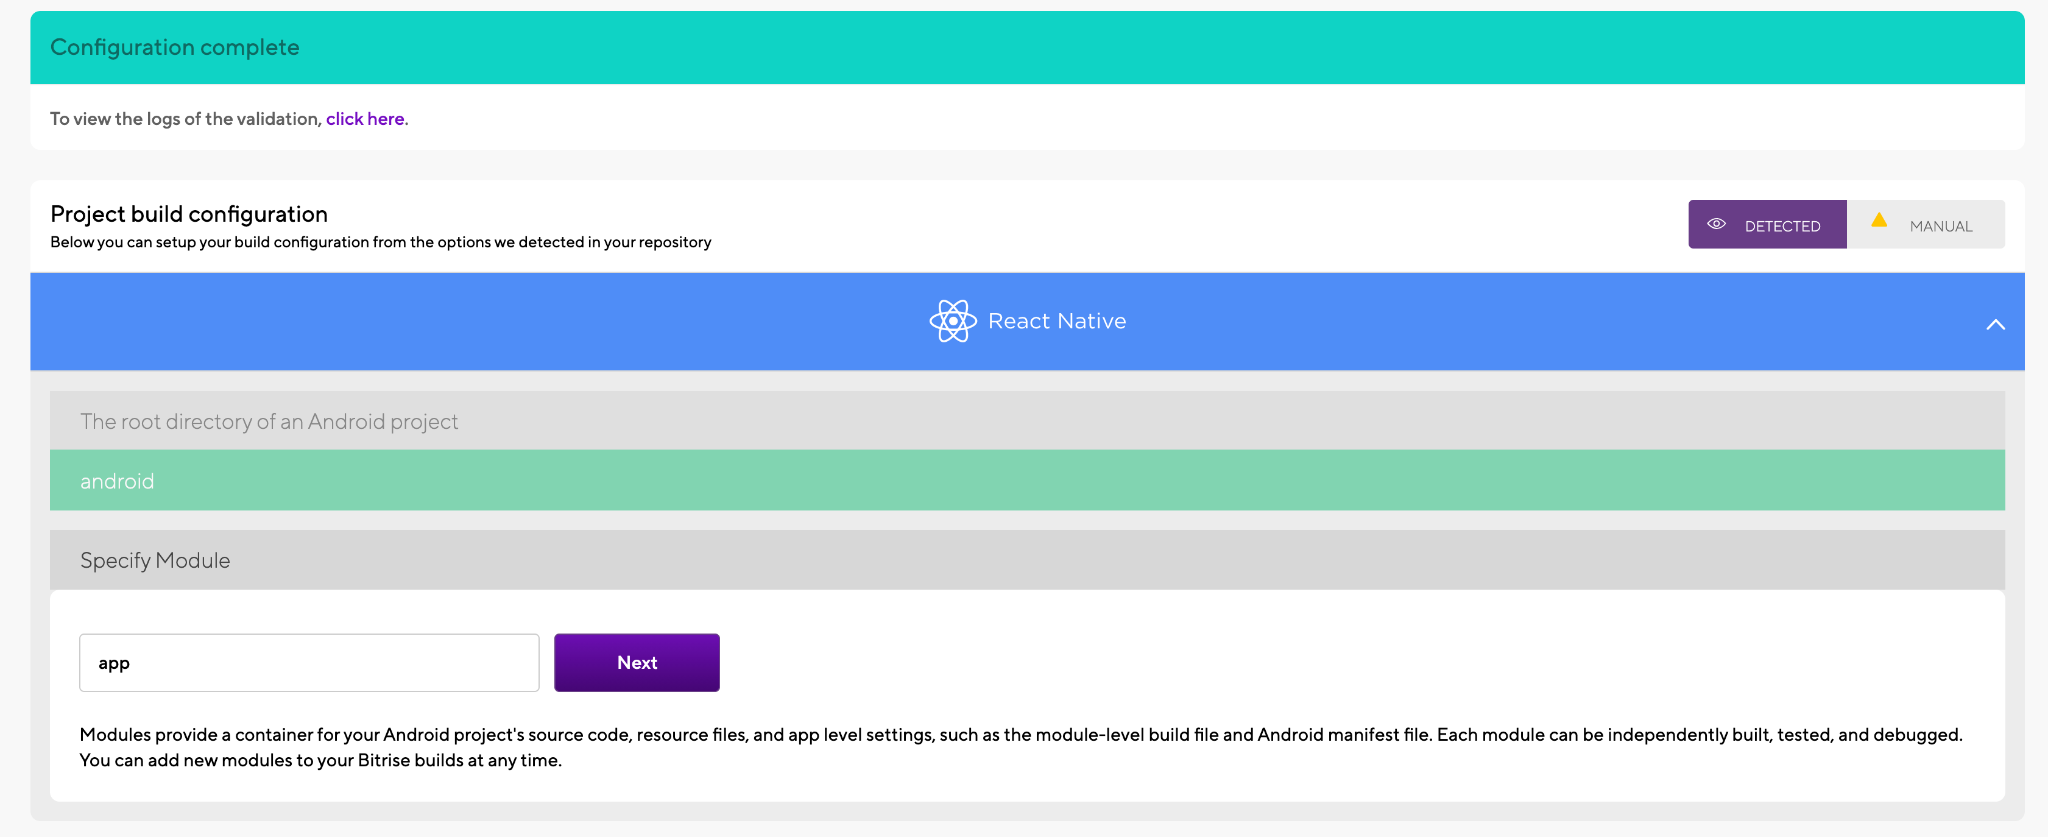
And we should configure the build configuration for both apps:
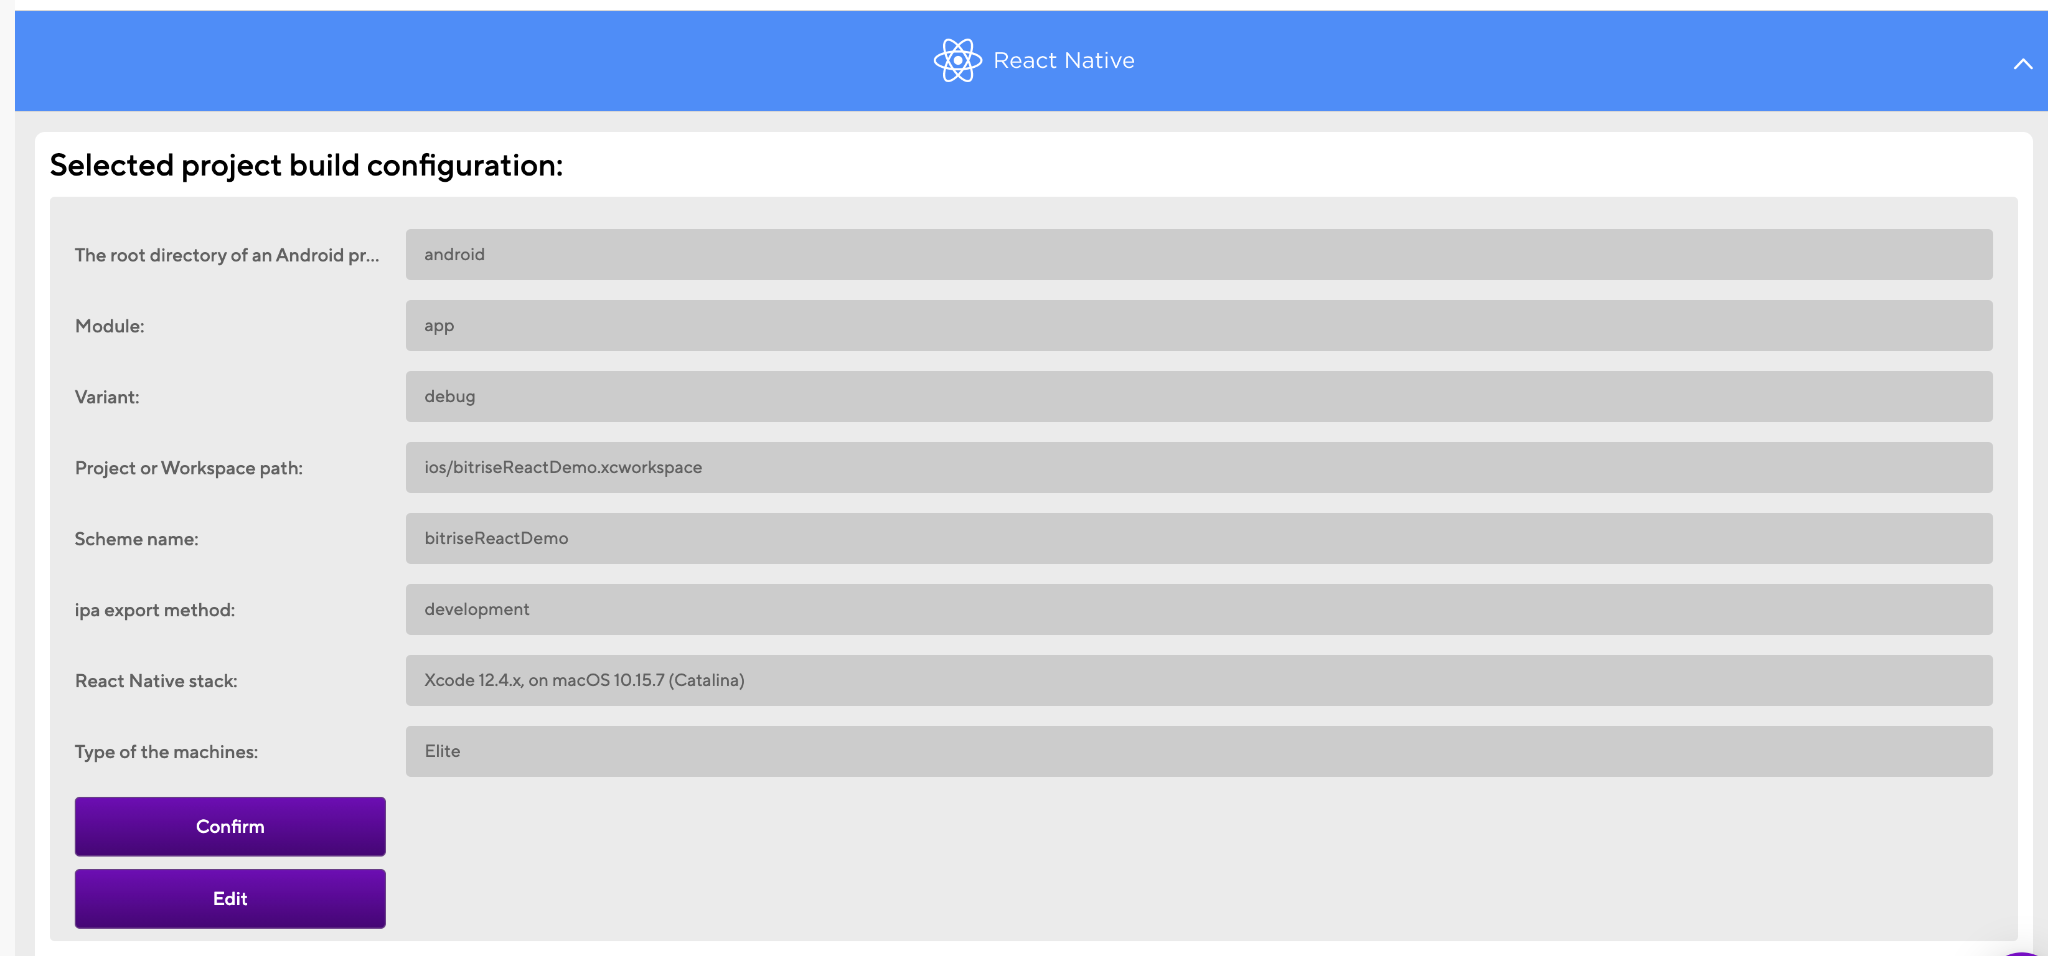
You can also edit this configuration if you need to use a different Xcode stack.
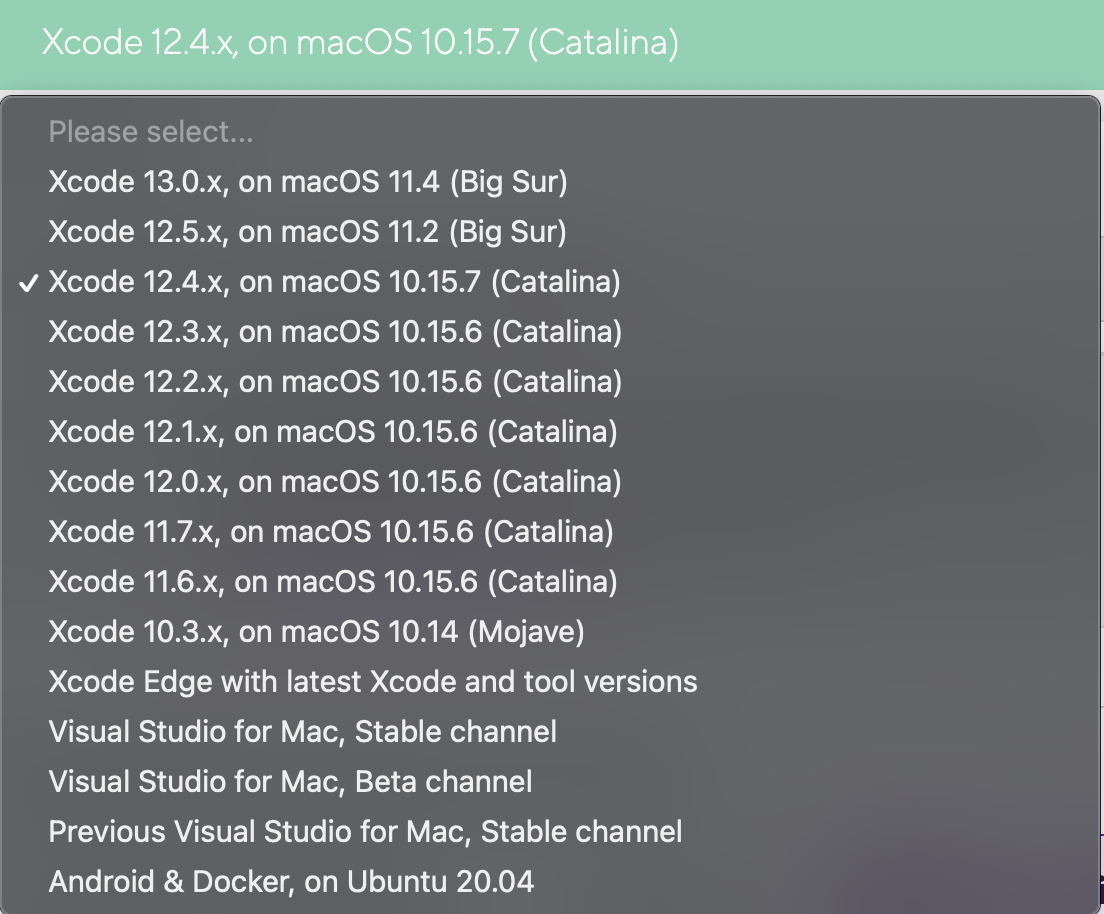
TIP: Bitrise supports the latest Xcode versions within 48 hours of Apple’s announcements to give mobile engineers the opportunity to update their apps and use new features with the latest SDKs for iOS, iPad, watchOS, and the latest OS like macOS Big Sur. For more info read our article on Xcode availability benchmarks.
We highly recommend using the Gen2 machines to build and test both apps faster and not face instability issues. For further details on how Gen2 compares to Gen1 machines, please download the Gen2 benchmark report.
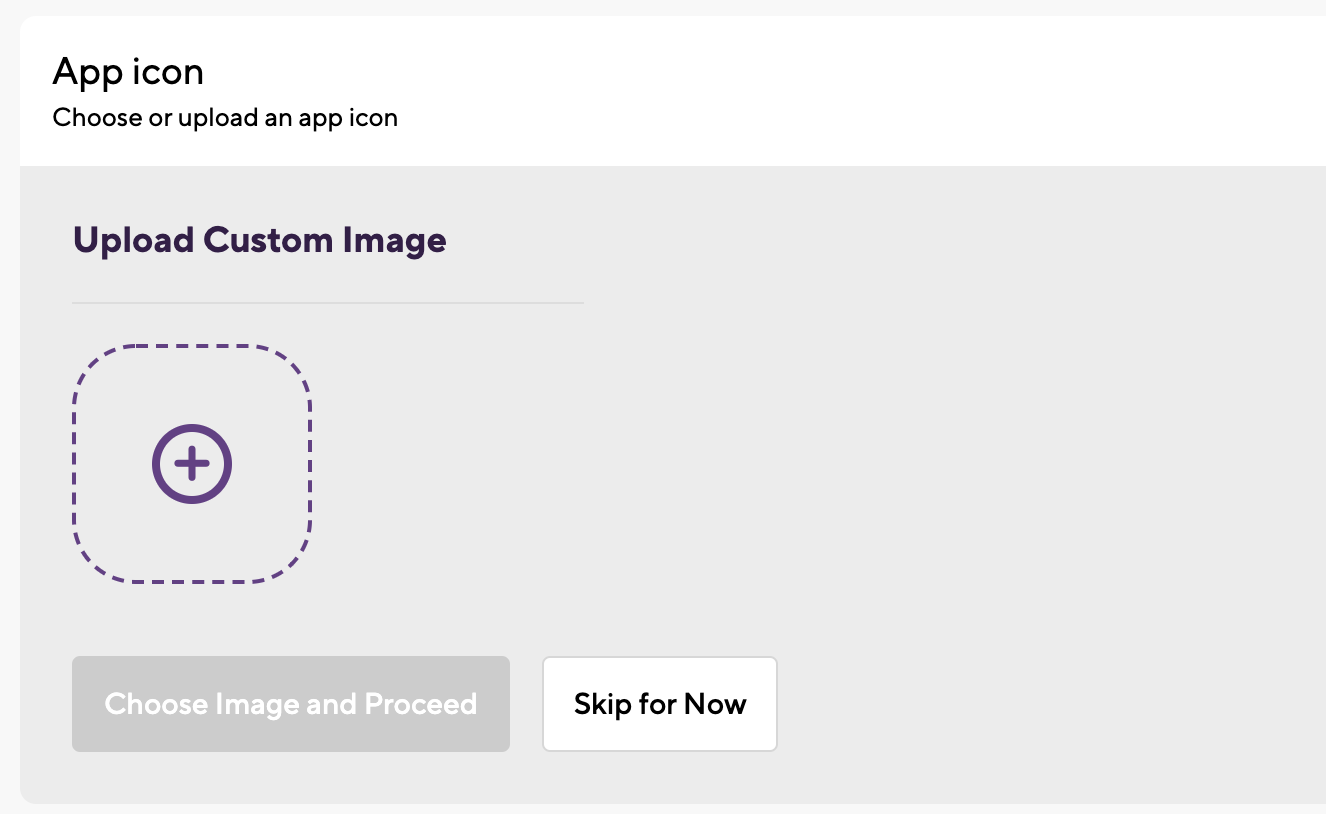
10. Click the Confirm button after reviewing the workflow stack. You can add the app icon as well or you can skip it for now.
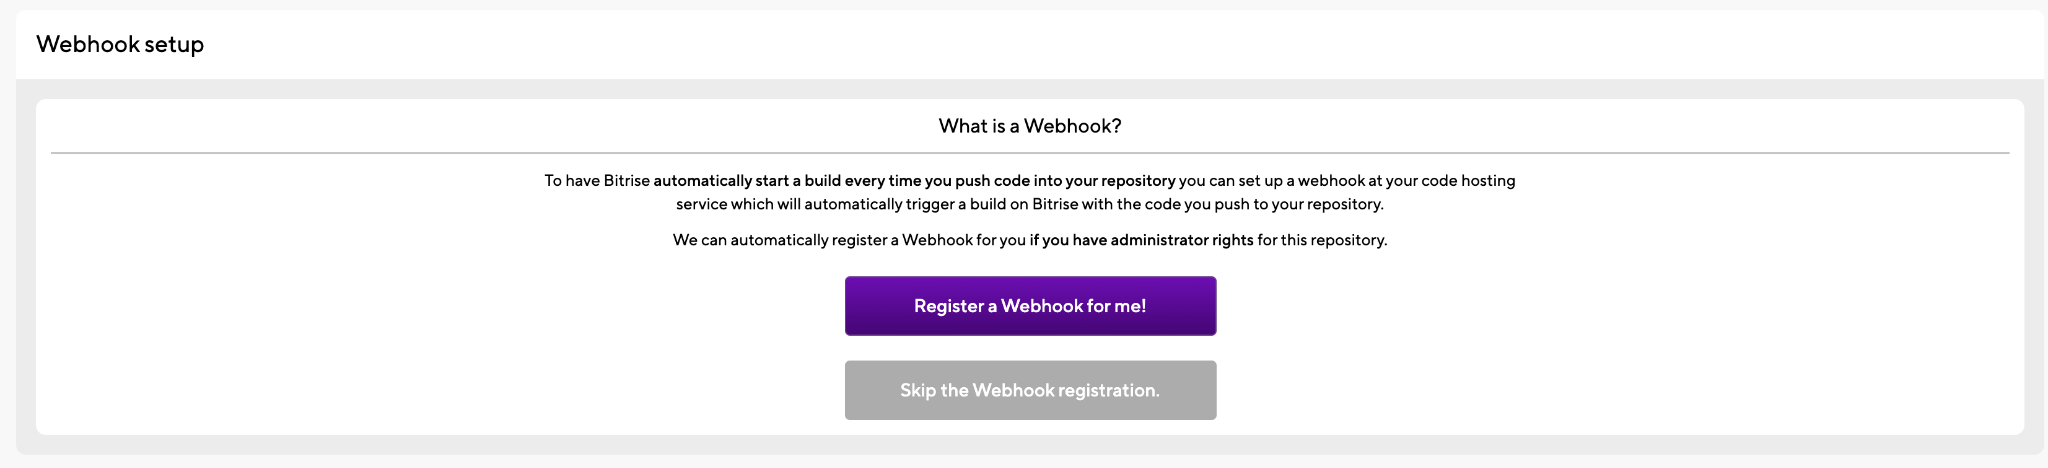
11. The final step is Webhook set up: you just need to select Register a Webhook for me and you will trigger your first iOS build for your project 🚀 🎉

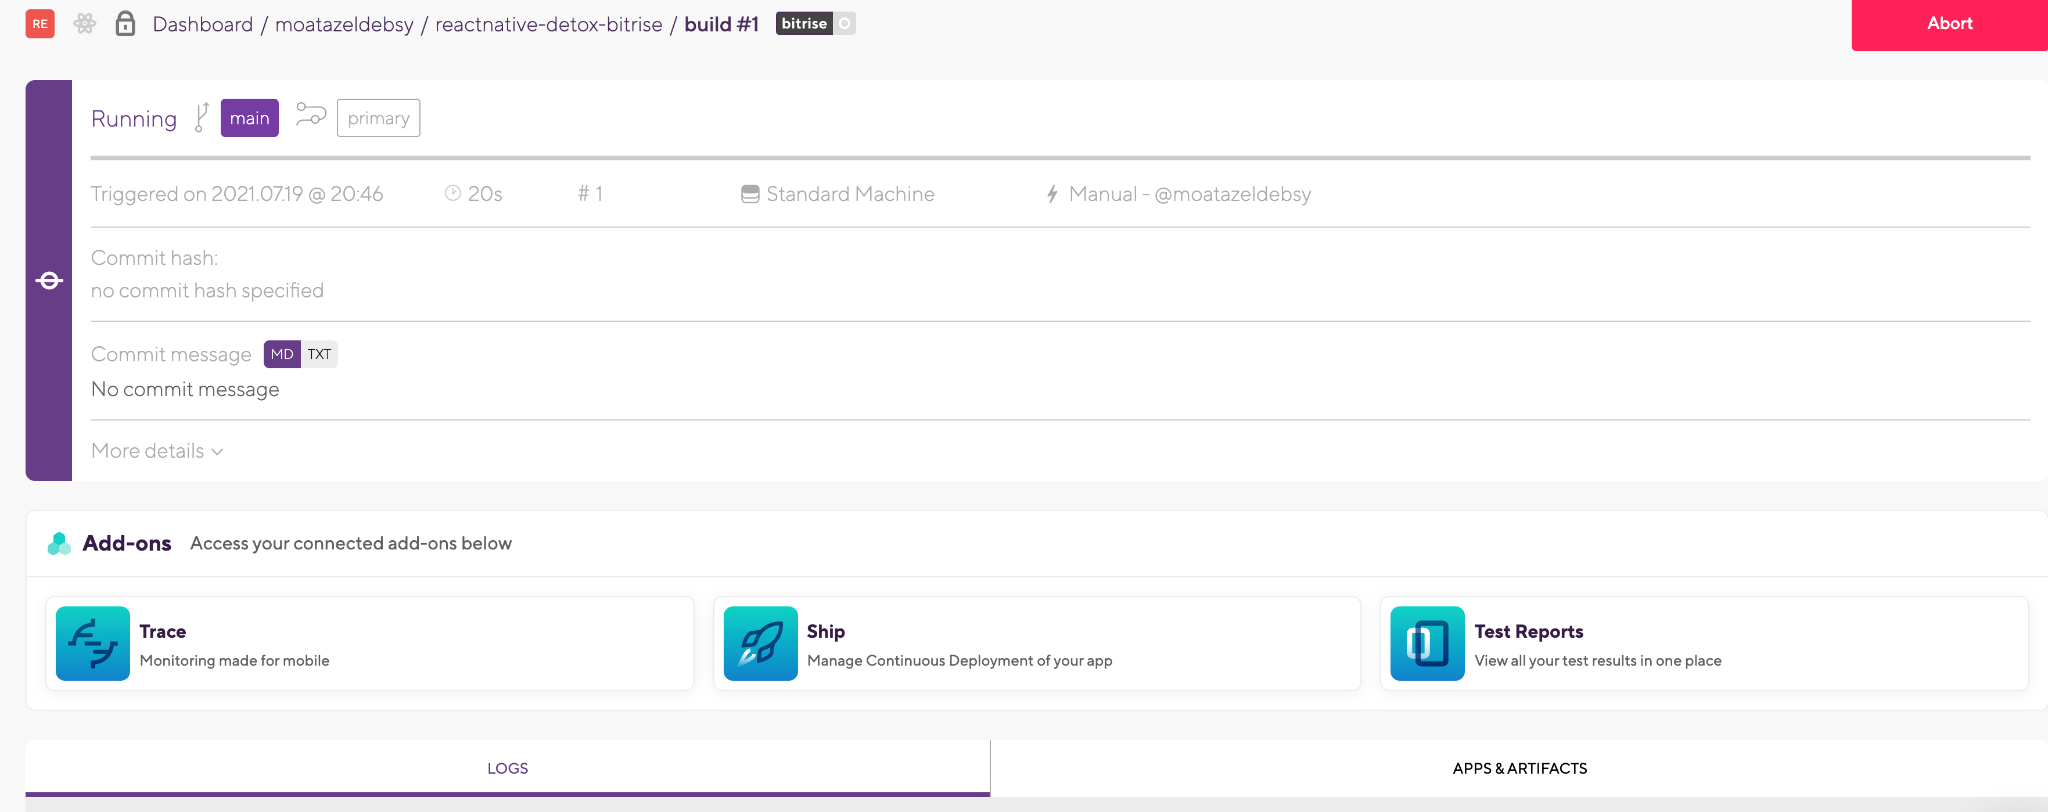
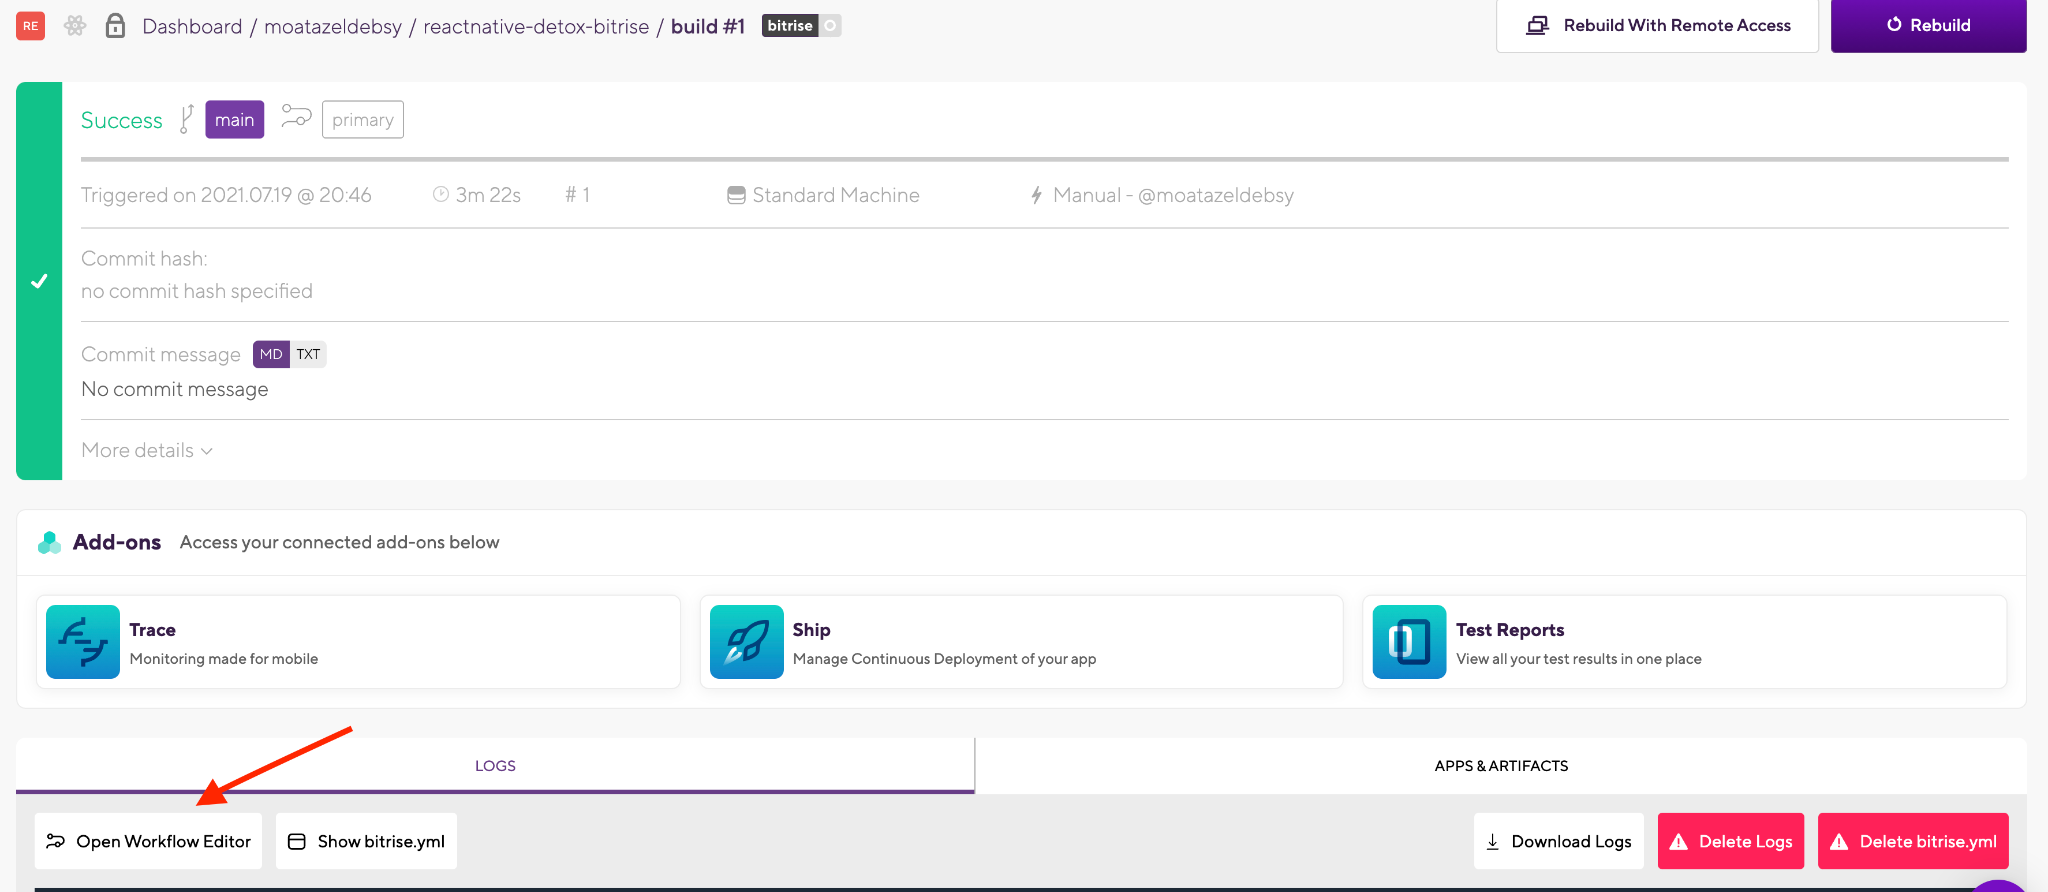
12. You will be redirected to the build log and you can check the Steps and the build status.
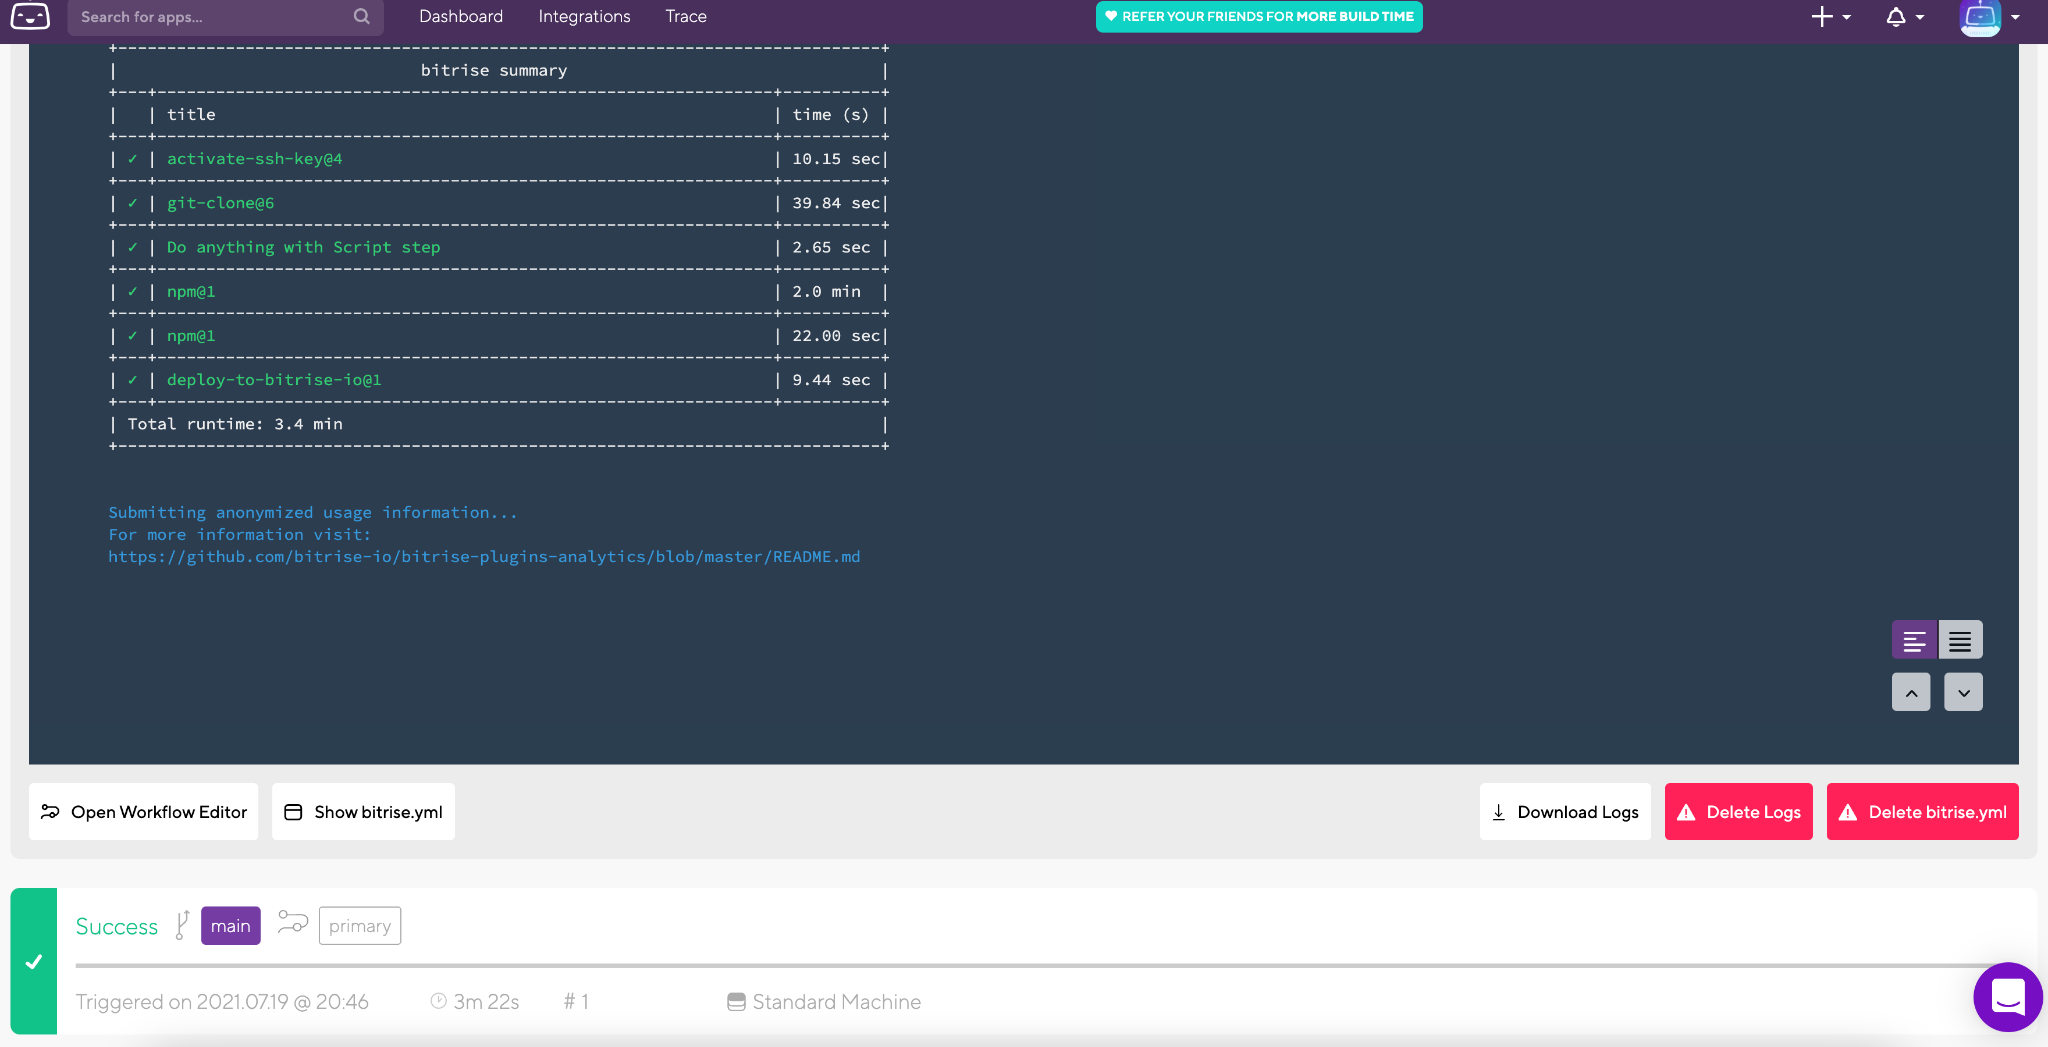
13. At the end, you will find a summary of all the tasks that you have run during the build with the time and Step names. You can also download logs or check the apps and artifacts.
NOTE: As you may have noticed, we didn’t need to configure or install any prerequisites related to the infrastructure or the stack because Bitrise is managing all of these things for us. For example, installing and configuring NodeJS, NPM, or Git.
14. Now, let’s open the Workflow Editor to start adding all the required steps to build and test our React Native app with Detox.
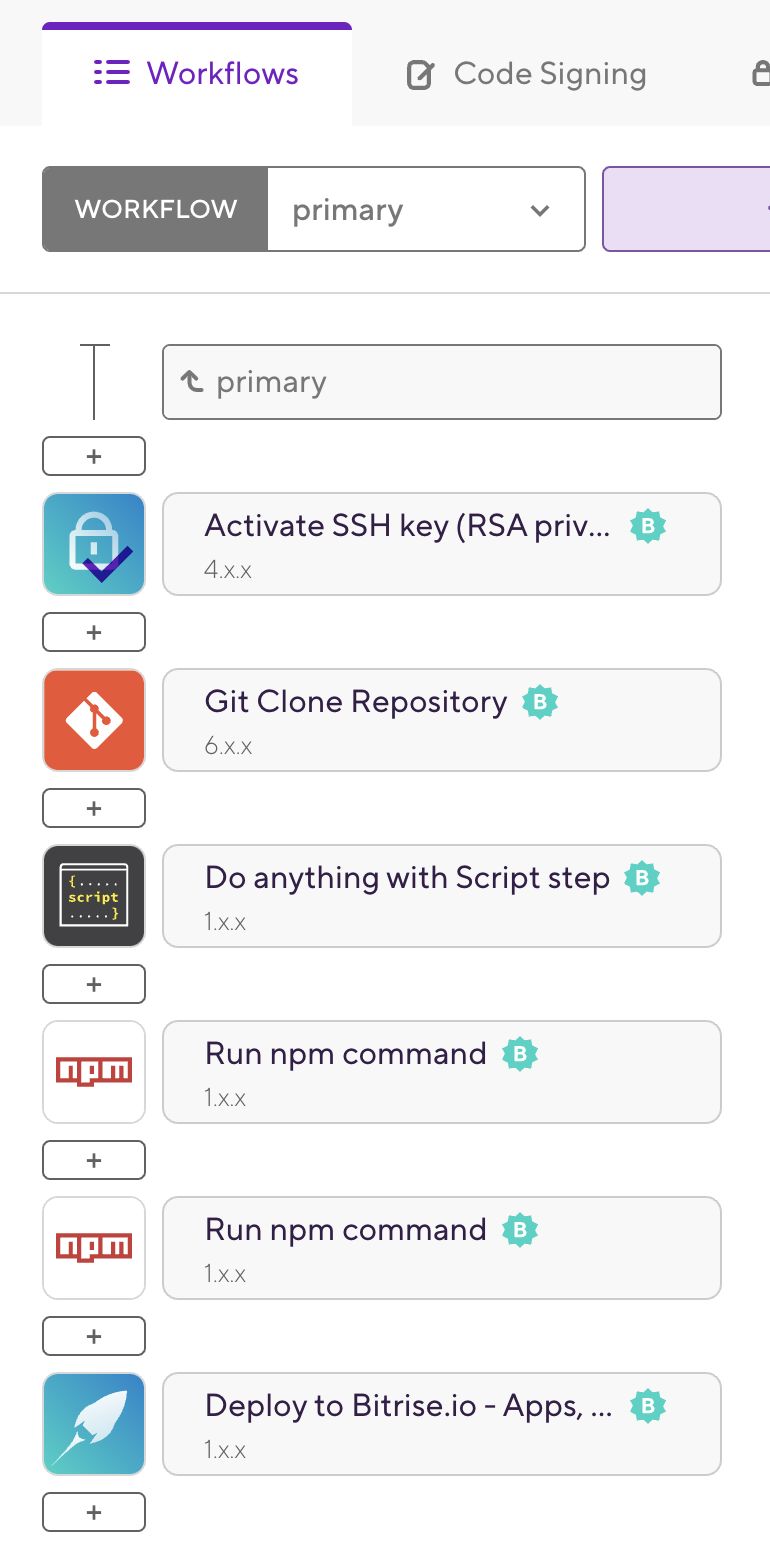
15. In the Workflow Editor, you will find that we already have the predefined Steps added.
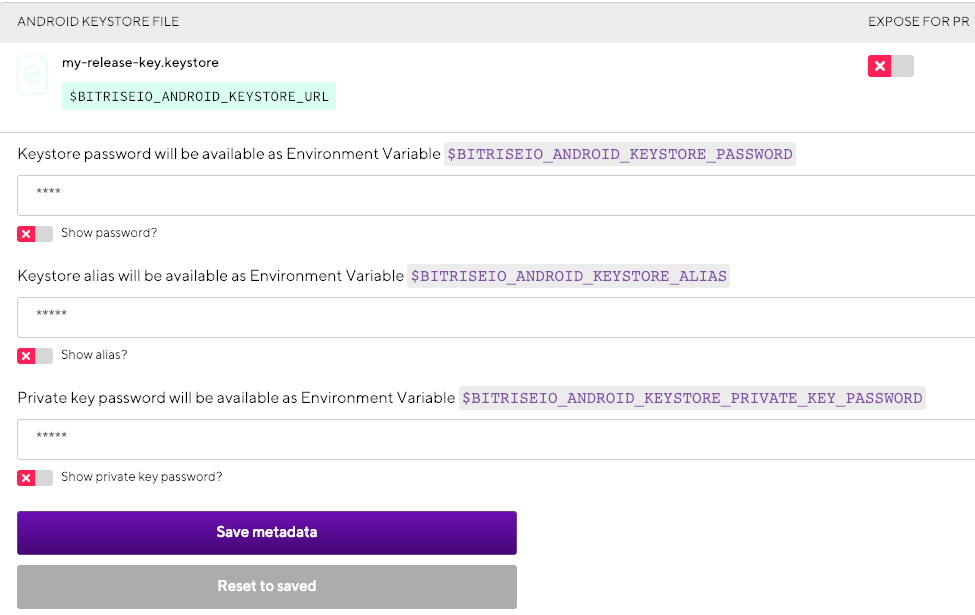
16. Select the Secrets tab if you want to add your Environment Variables such as:
- APP_IDENTIFIER
- APPLE_ID
- SLACK_URL
- ANDROID KEYSTORE FILE
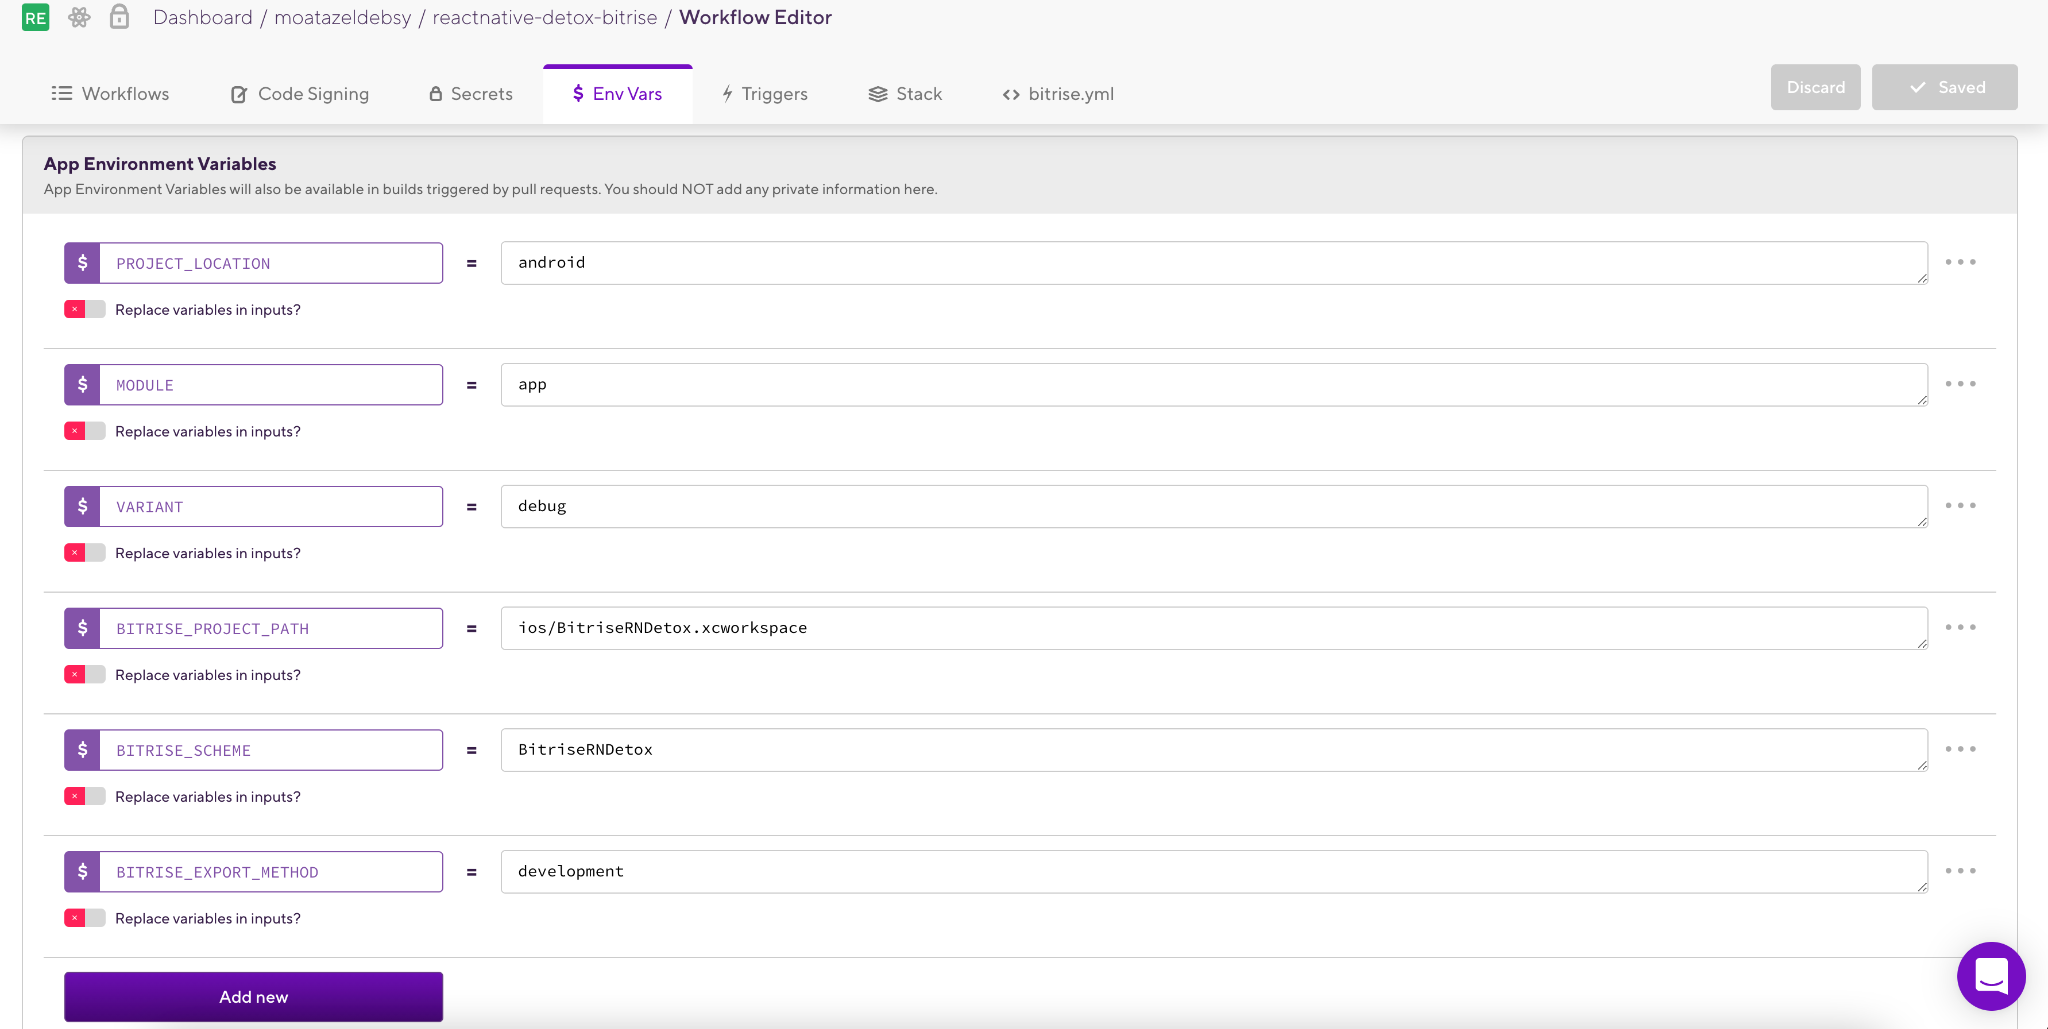
17. Select the Env Vars tab to add any other Environment Variables you need in your application. DO NOT add private information here, because these Environment Variables will also be available in builds triggered by pull requests and bitrise.yml.
19. We already have a Step for the Active SSH Key and Git Clone Repository. Run npm commands including npm install and npm test commands to be able to access and clone the source code from GitHub or any other source code management tool and install the requirements for our React Native app.
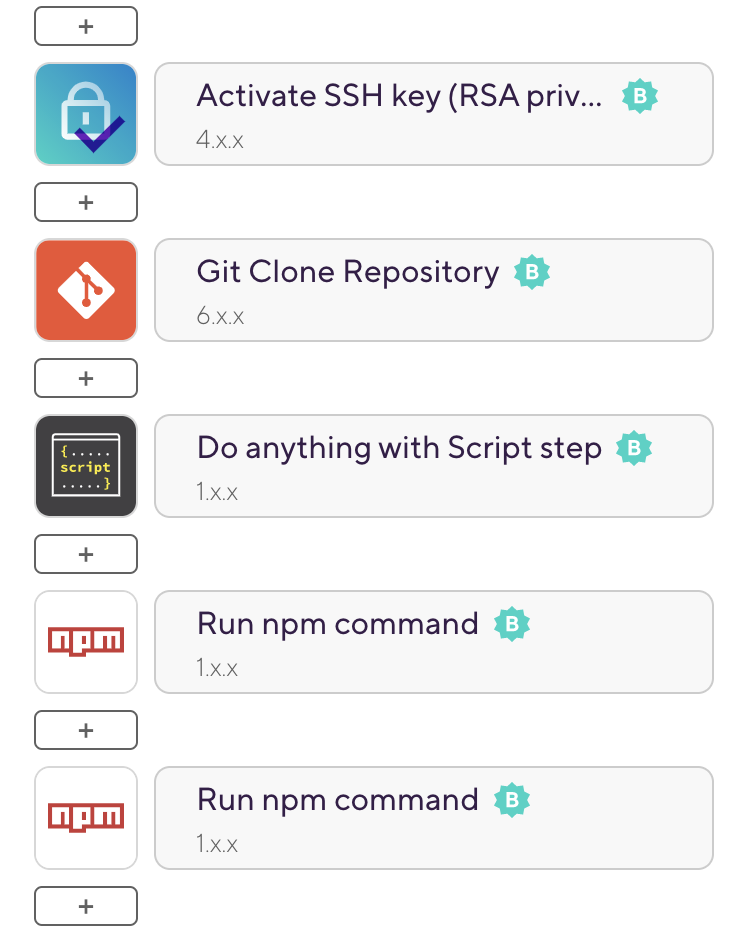
20. We will add new steps to our Workflow to build, test, and deploy our Android and iOS apps by clicking the [+] button which will display all the integration Steps that we have for React Native apps in Bitrise.
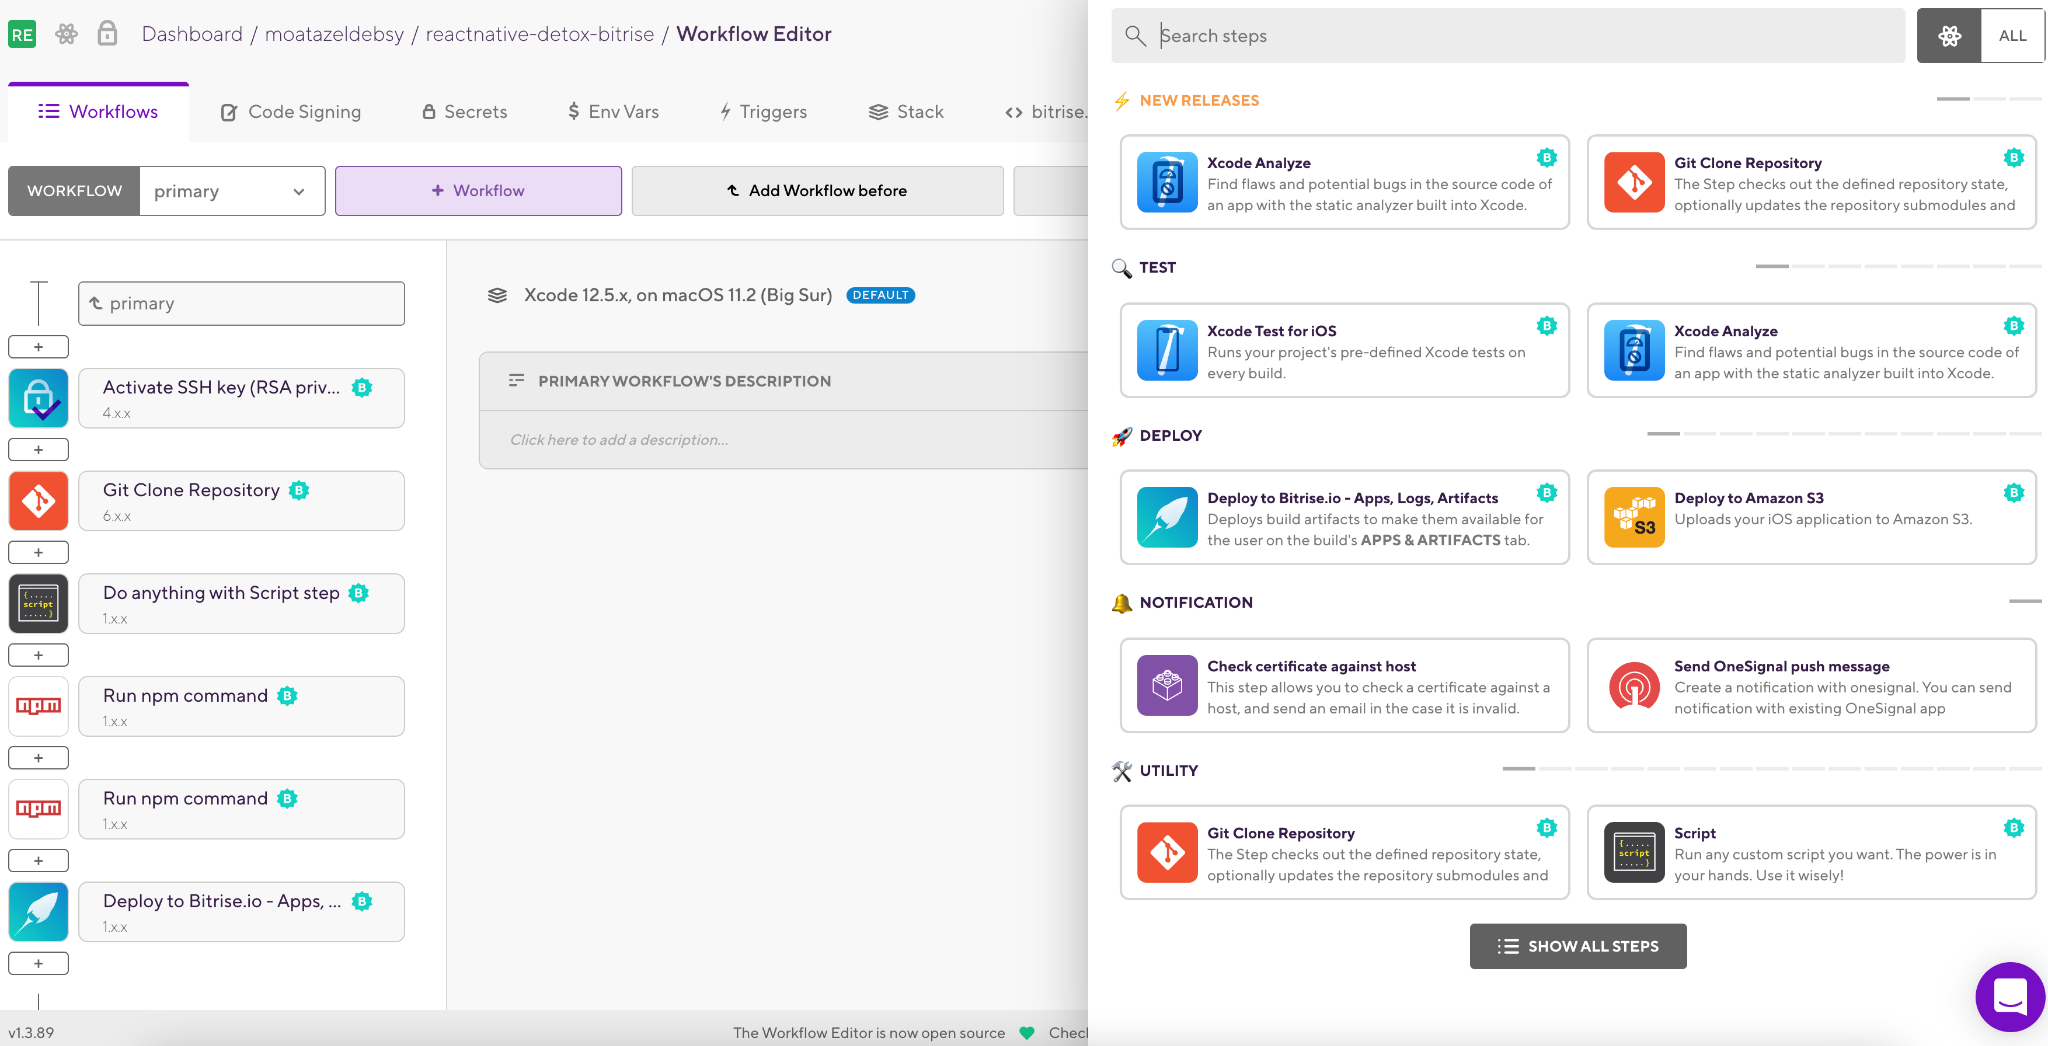
TIP: You can select All to display all the Steps for all platforms.
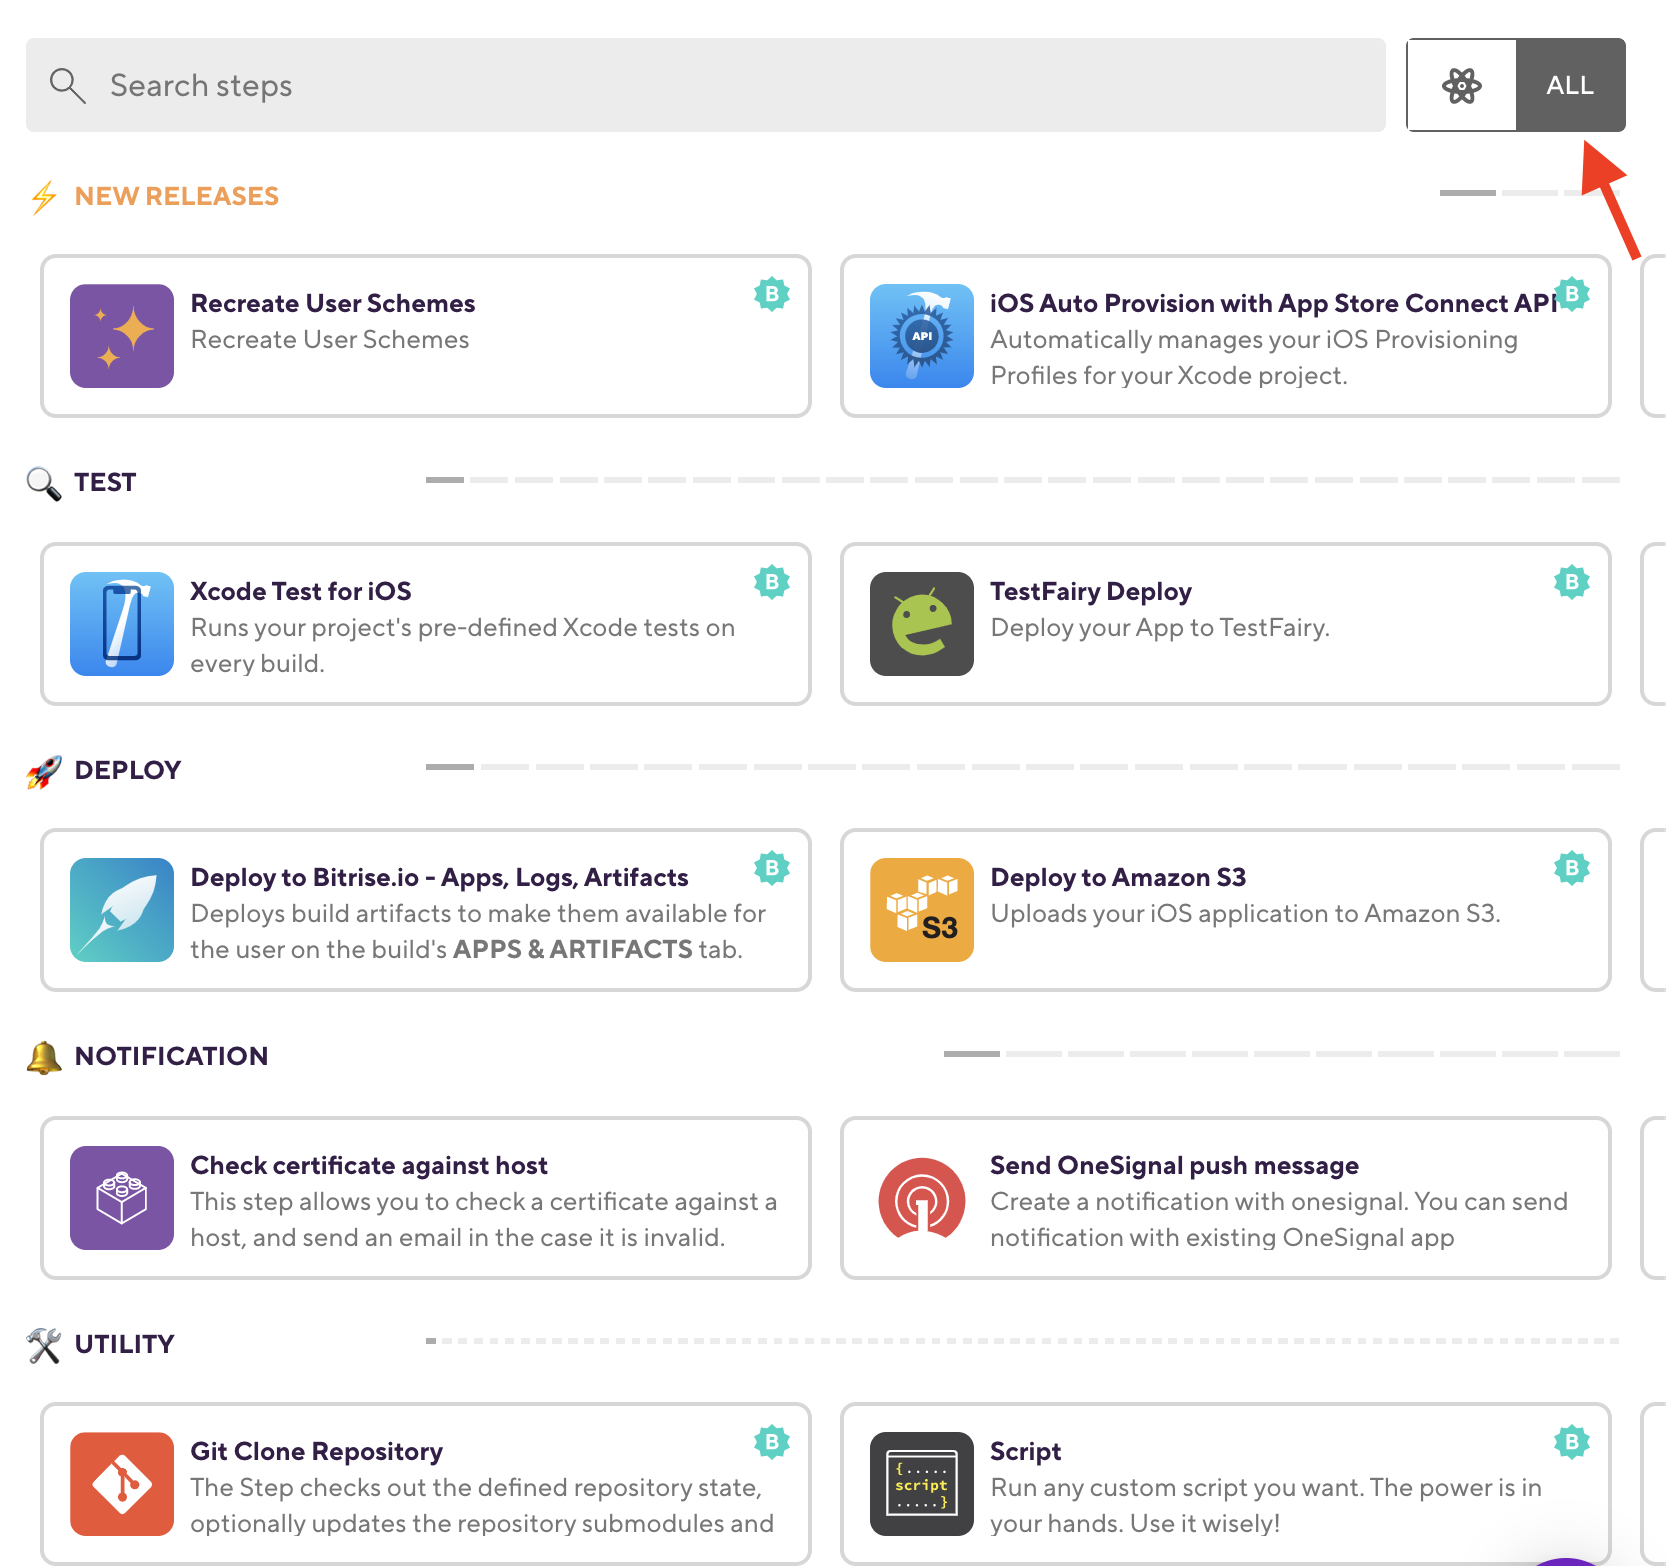
TIP: Bitrise has 330+ integration Steps for all the mobile platforms with different categories.
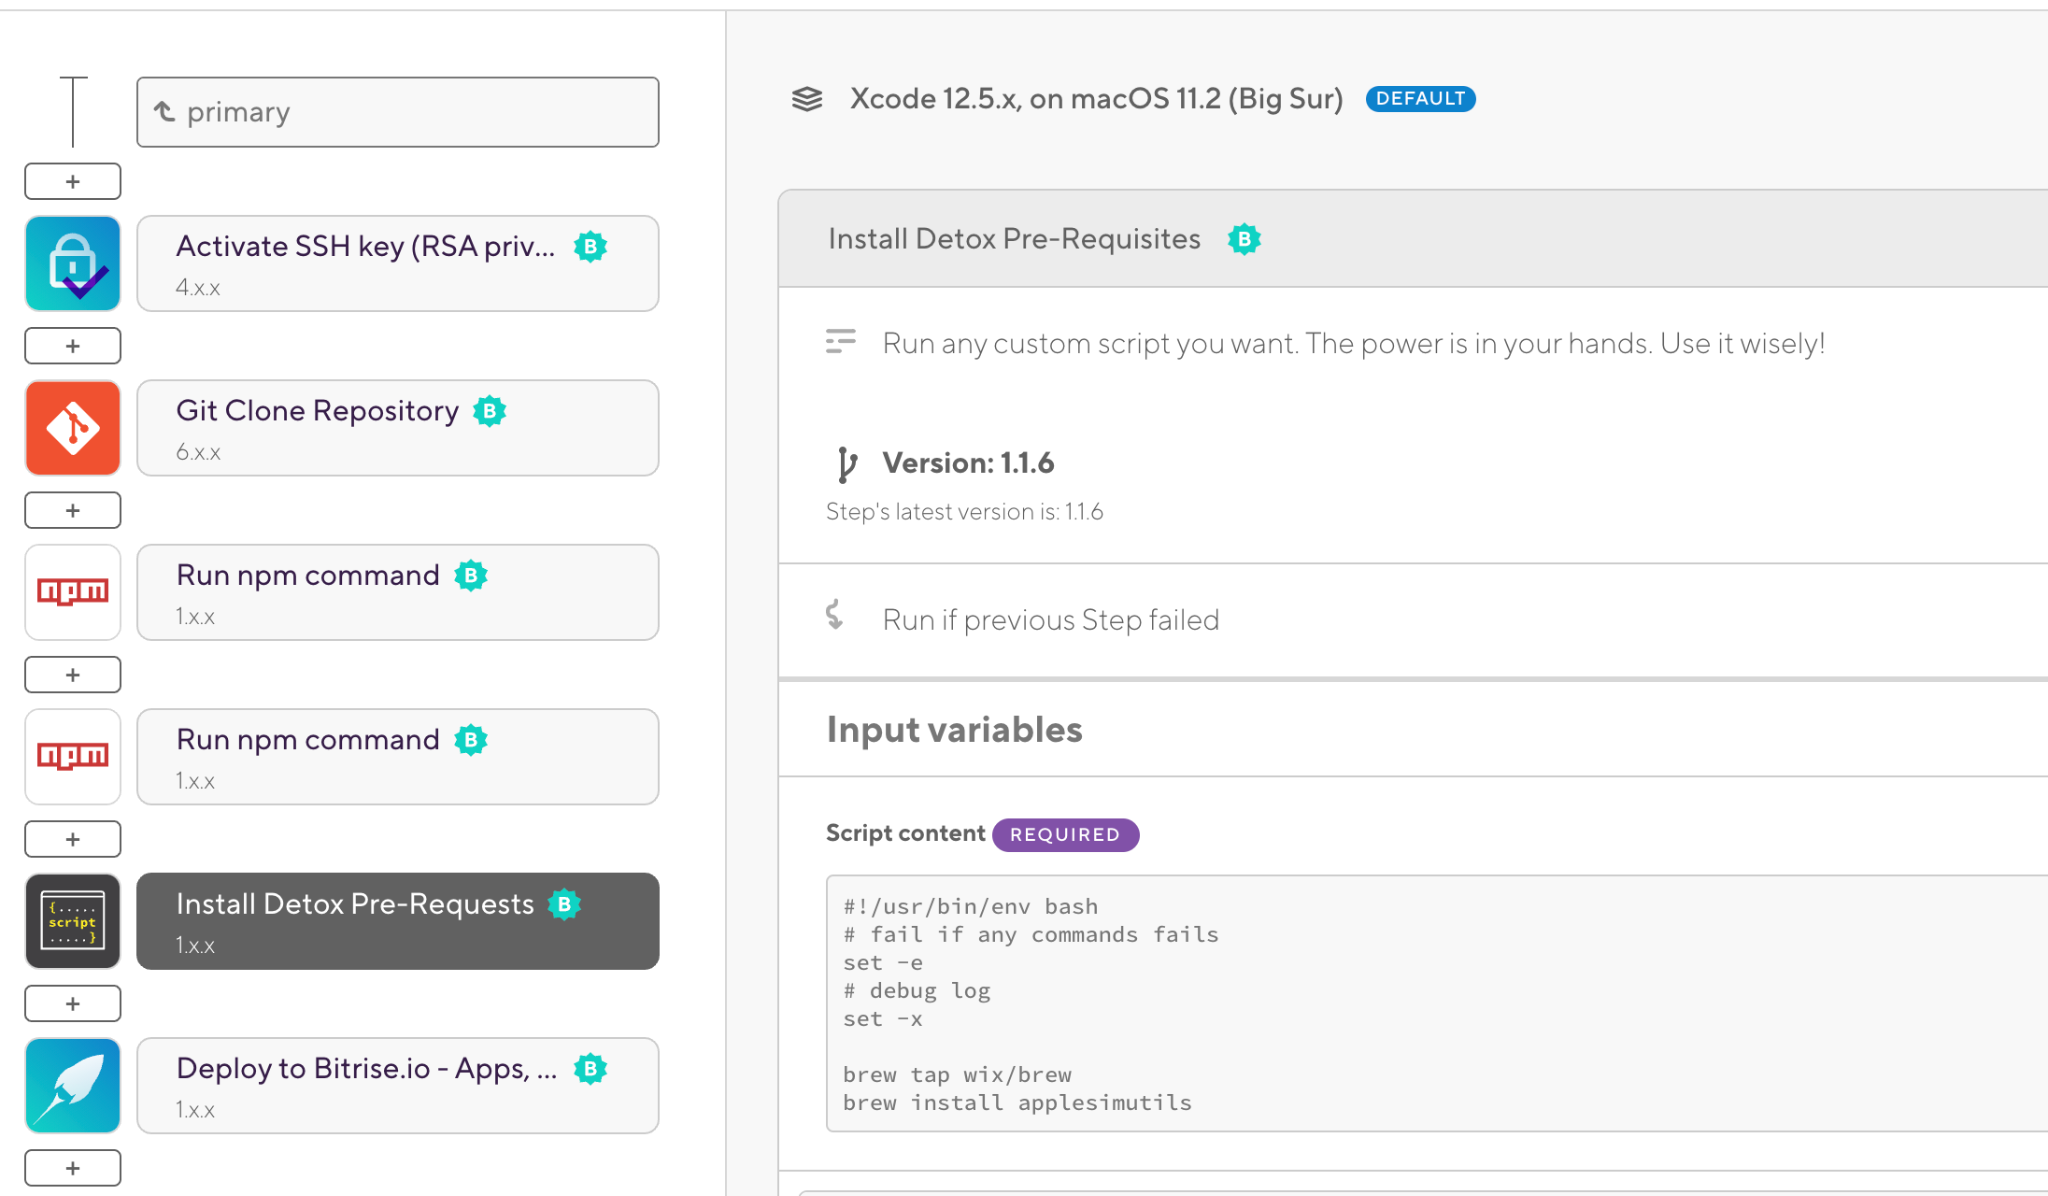
21. Add the script Step to install Detox prerequisites:
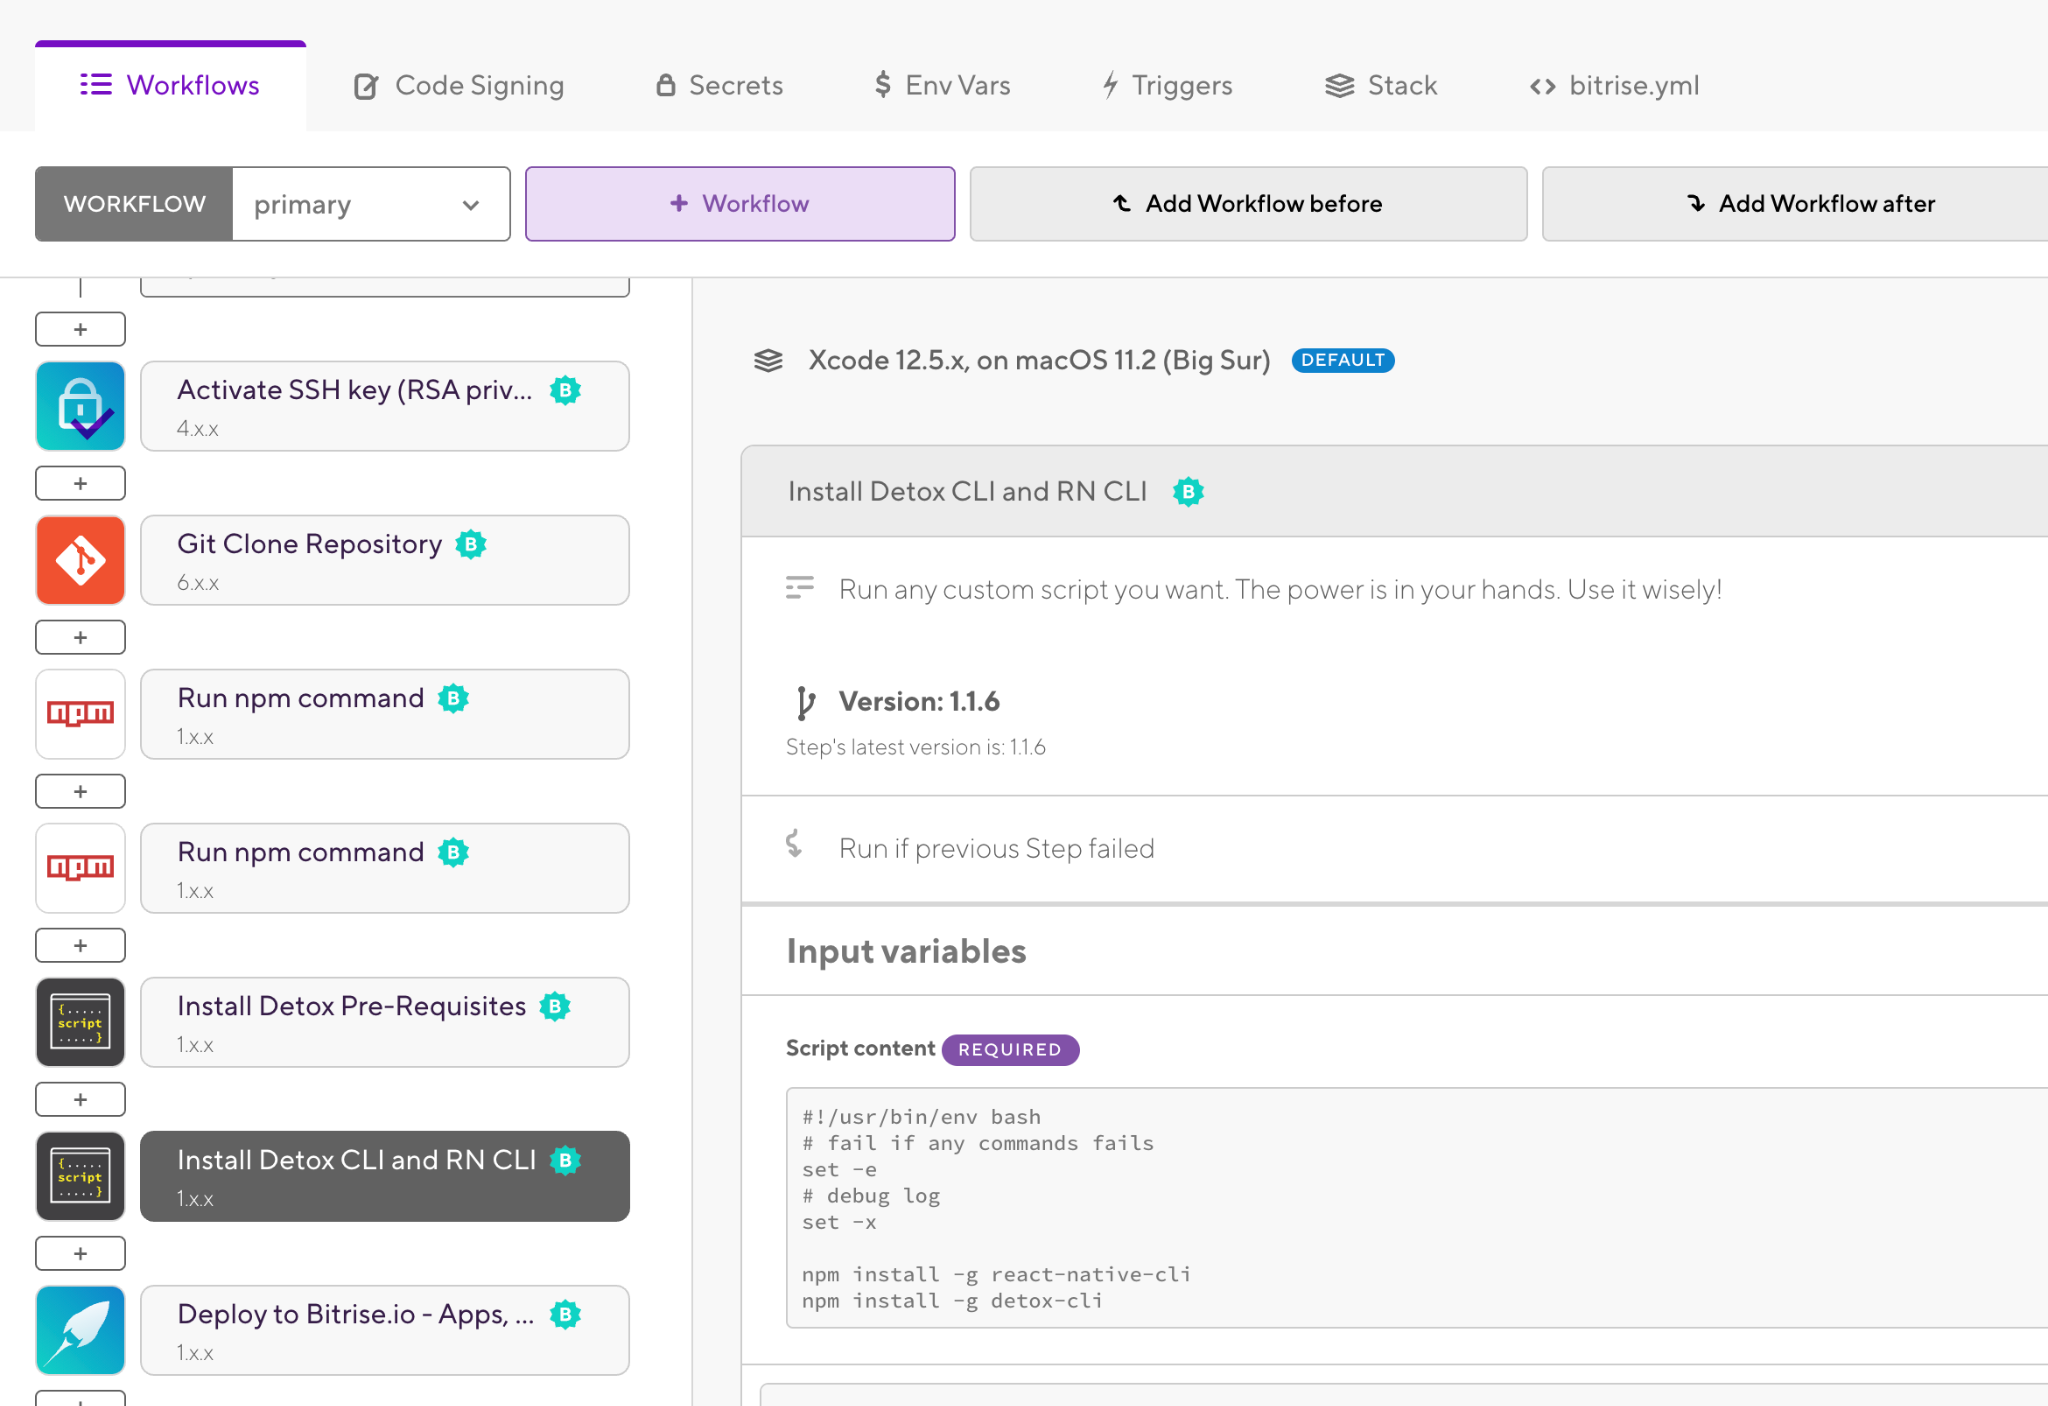
22. Add another script Step to install Detox CLI and React Native CLI:
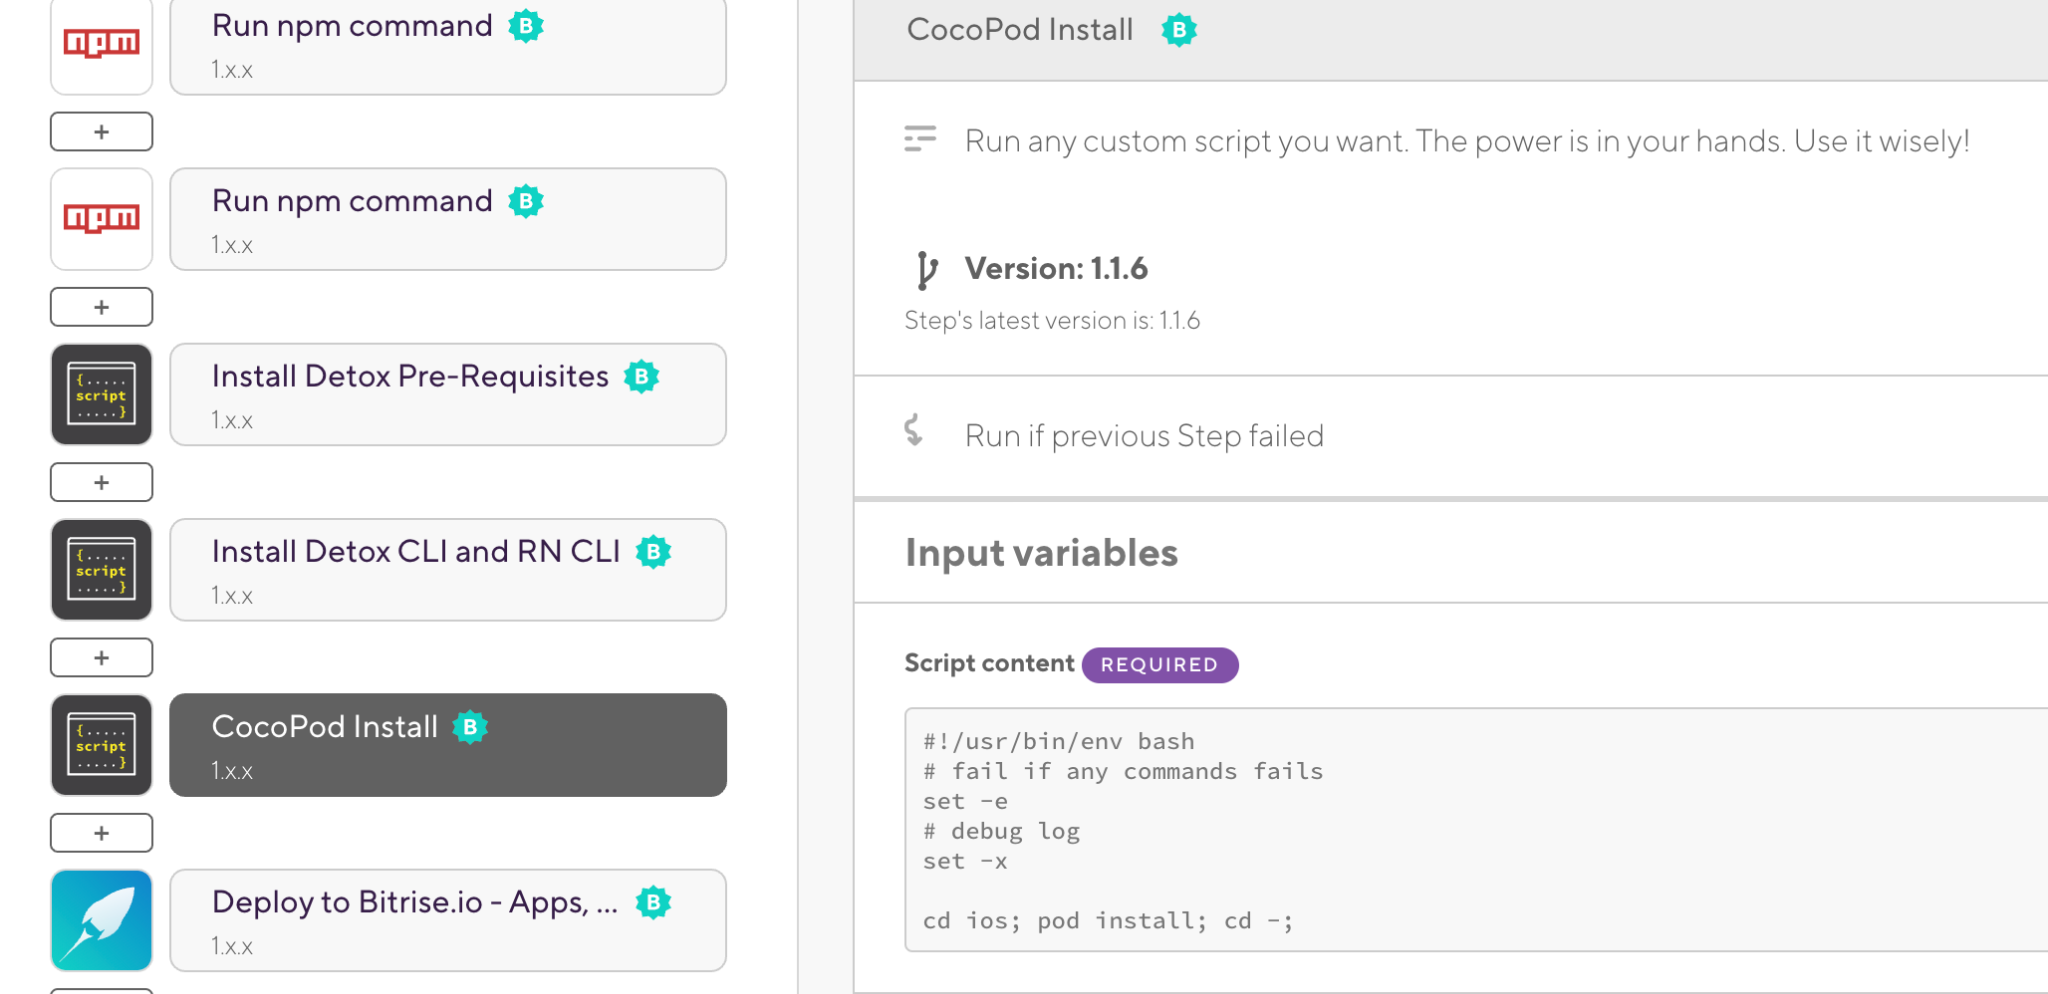
23. Add a new script Step to run the pod install command:
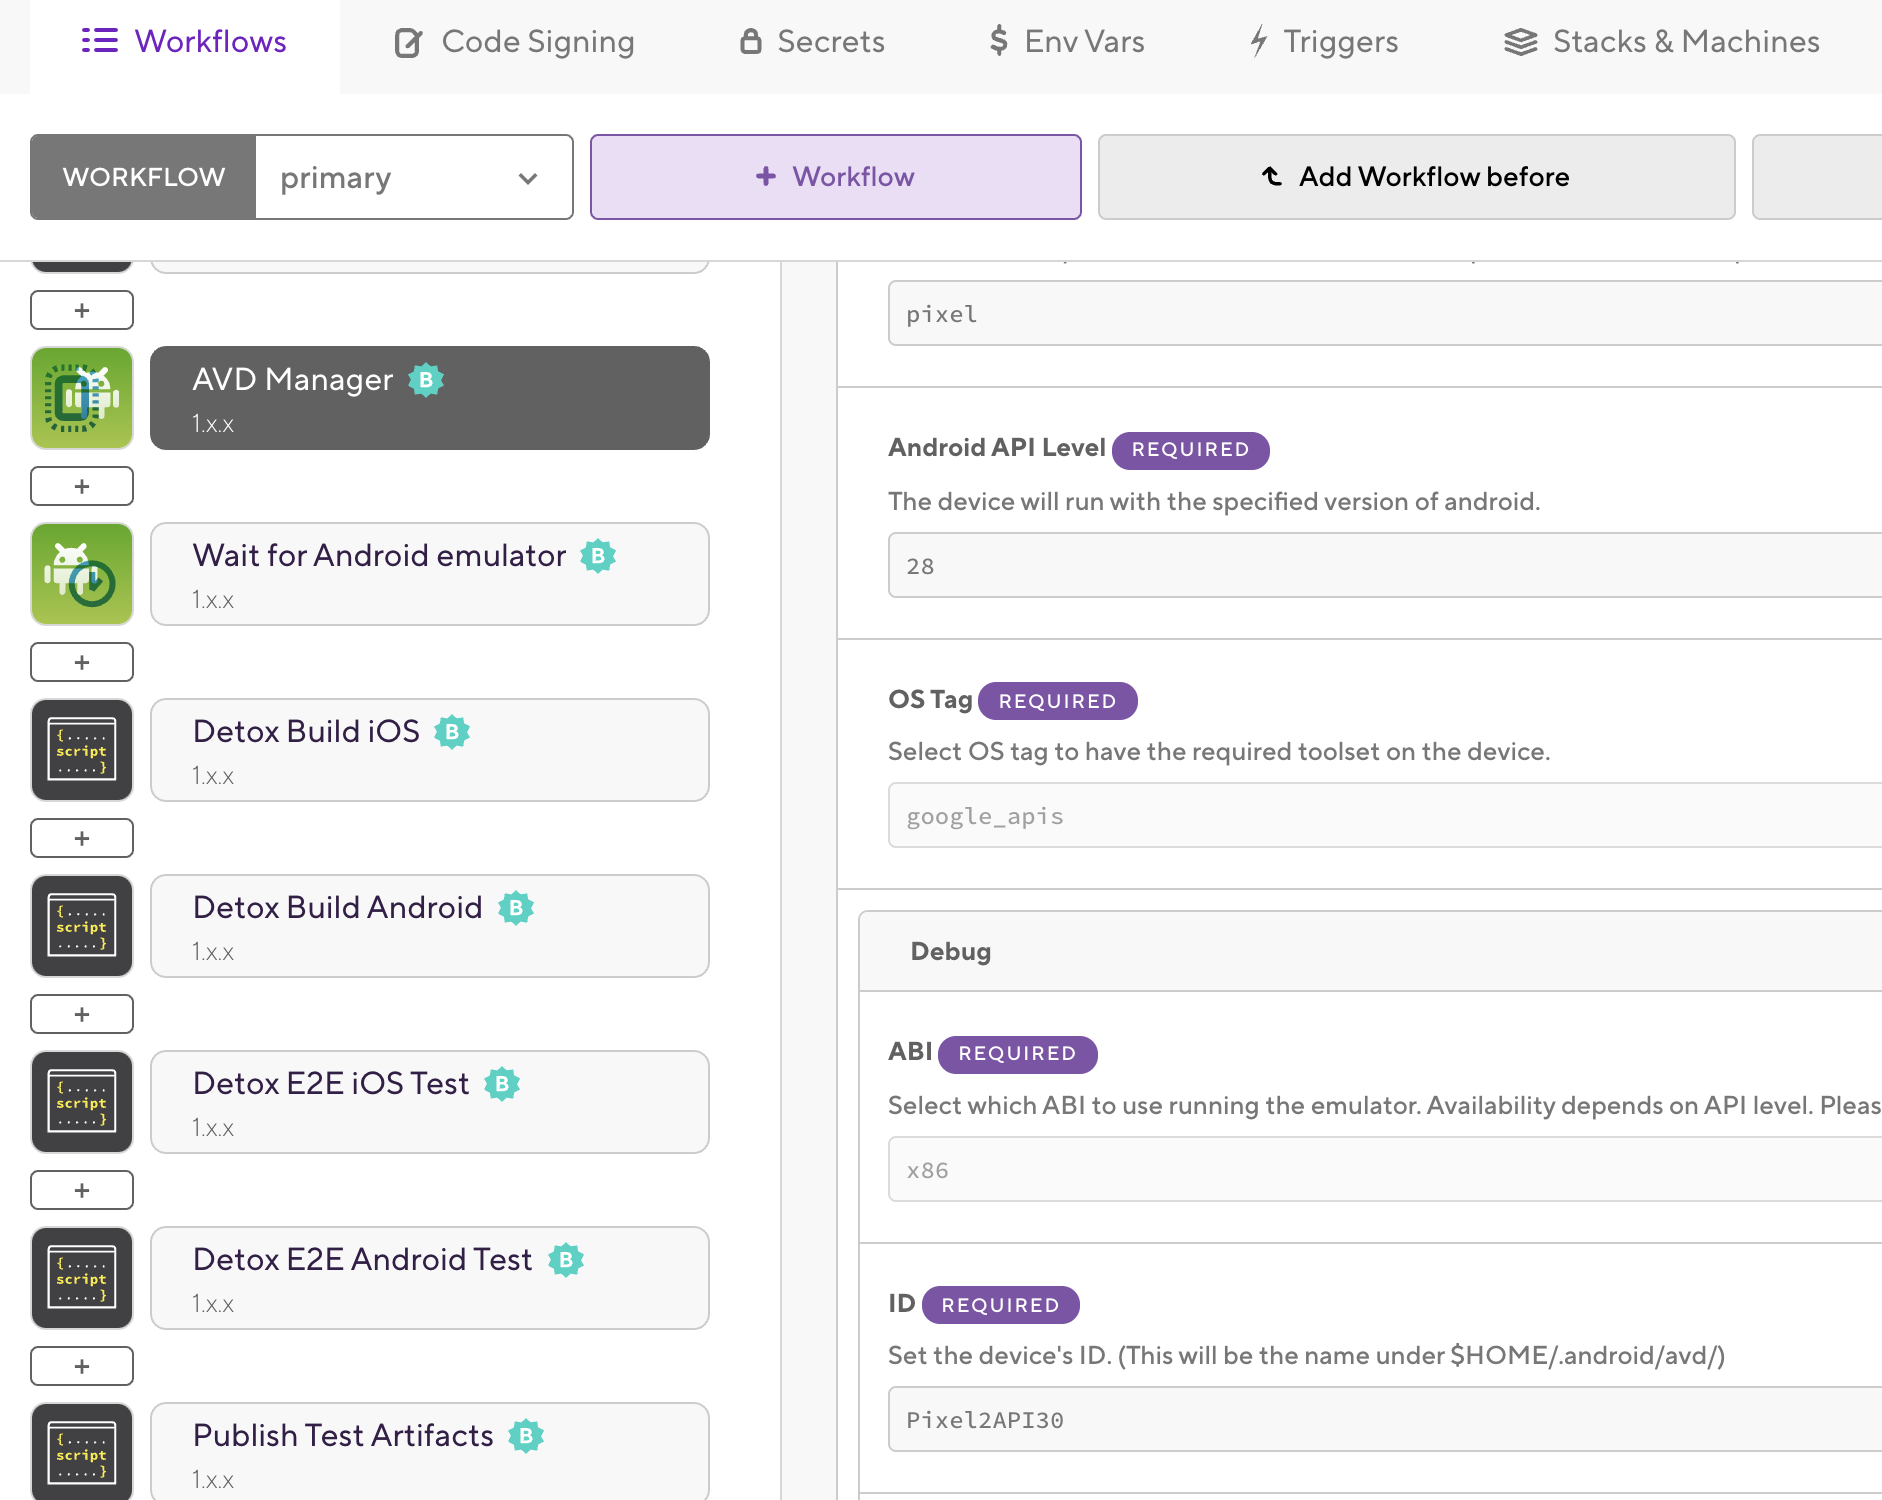
24. Add a Step for the AVD Manager to create an Android Emulator:
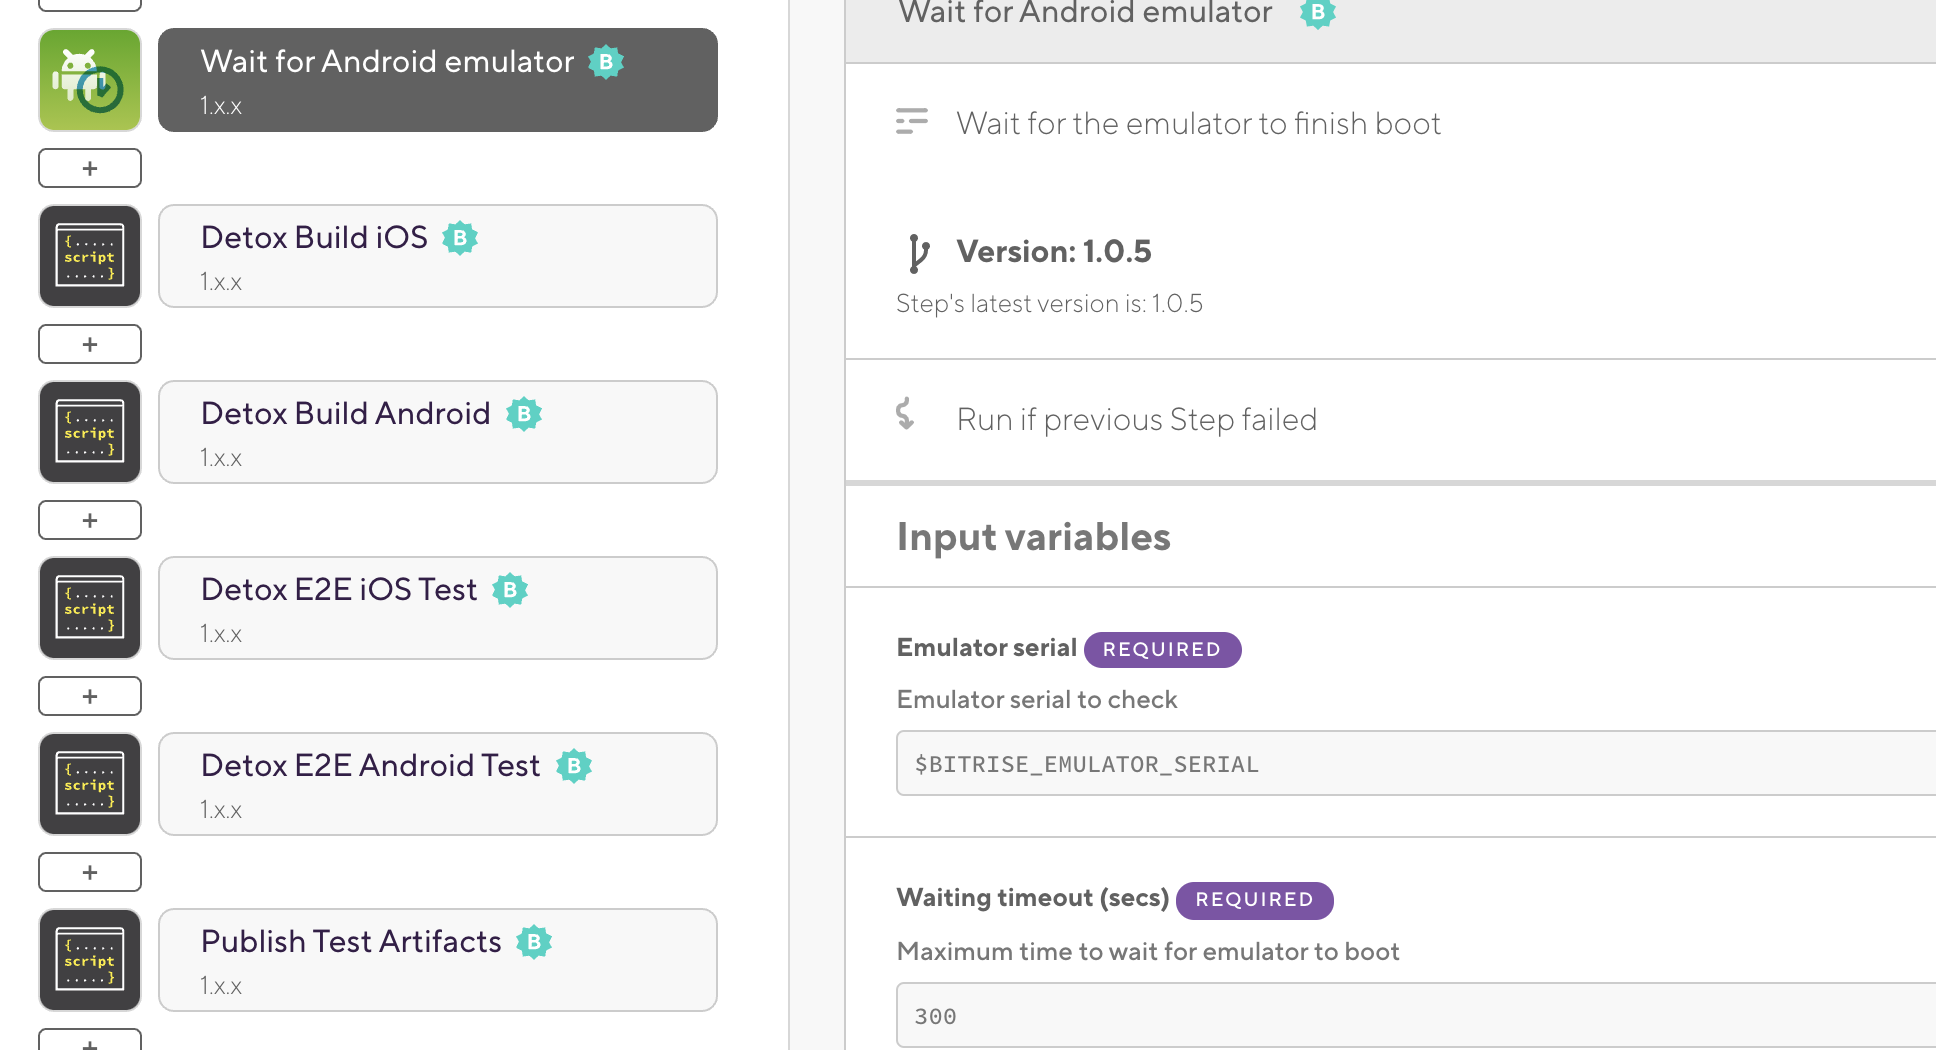
25. Add another Step: Wait for Android Emulator. We usually use this Step to wait for the emulator until created and started:
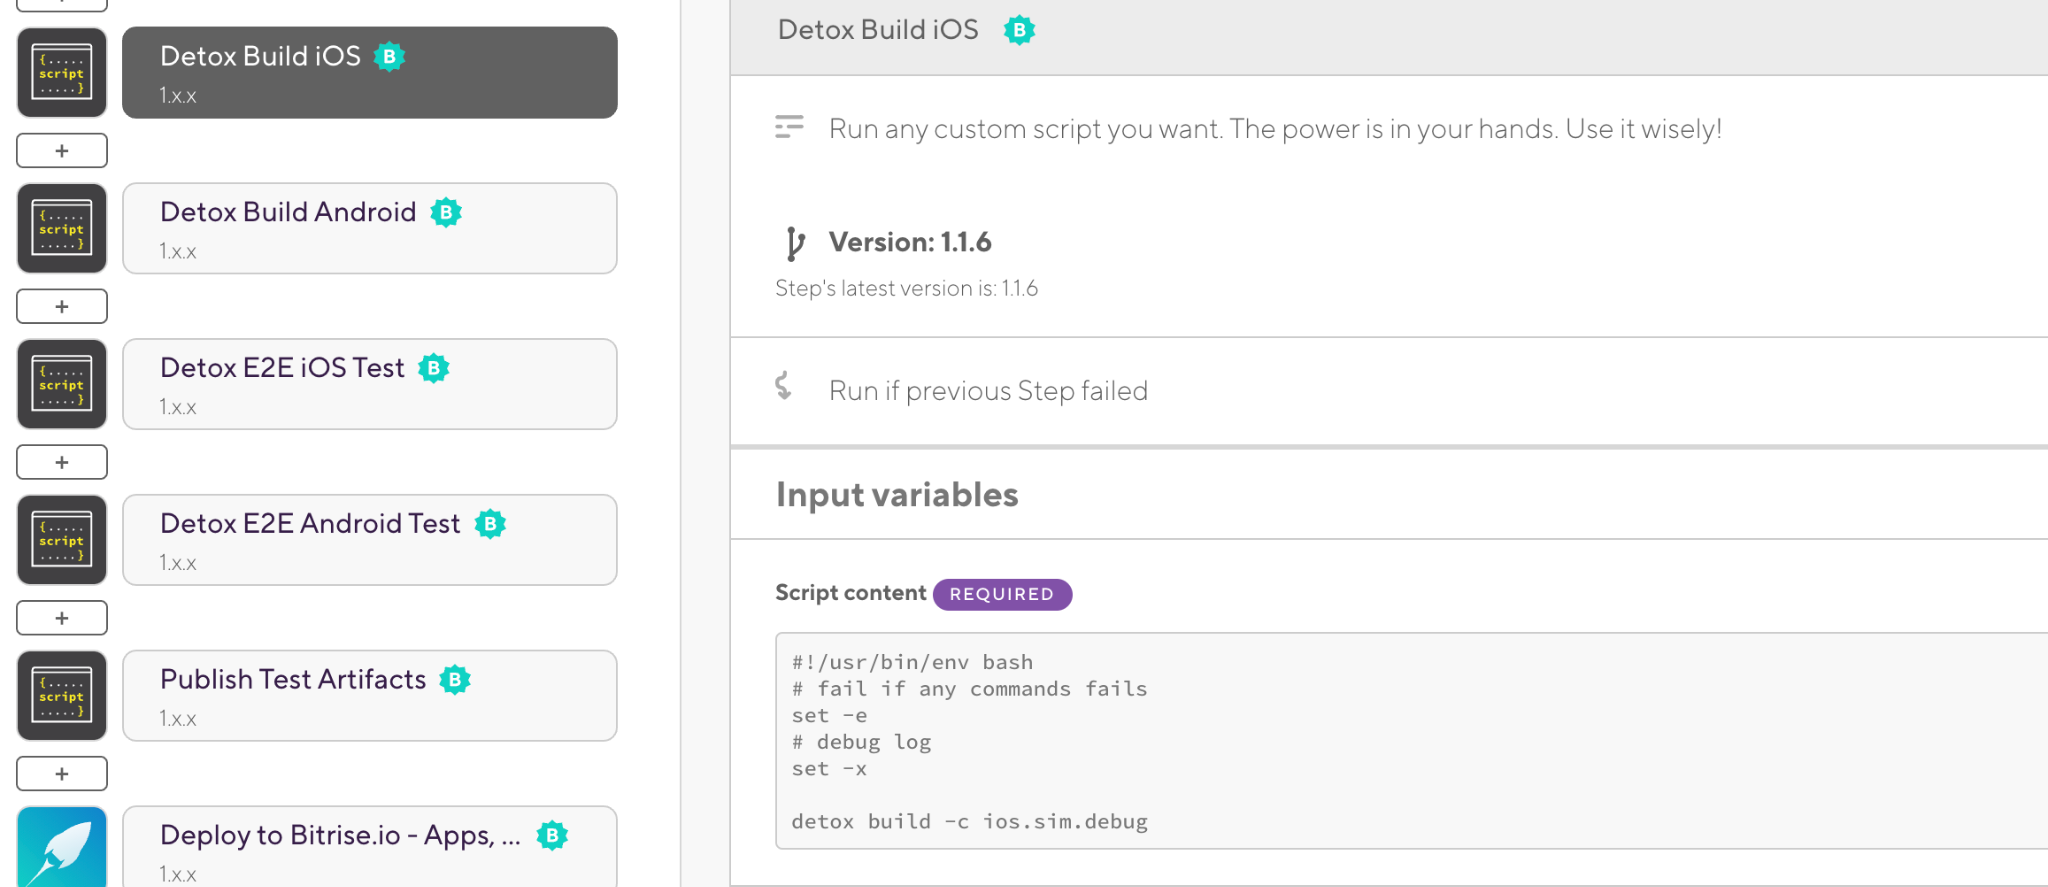
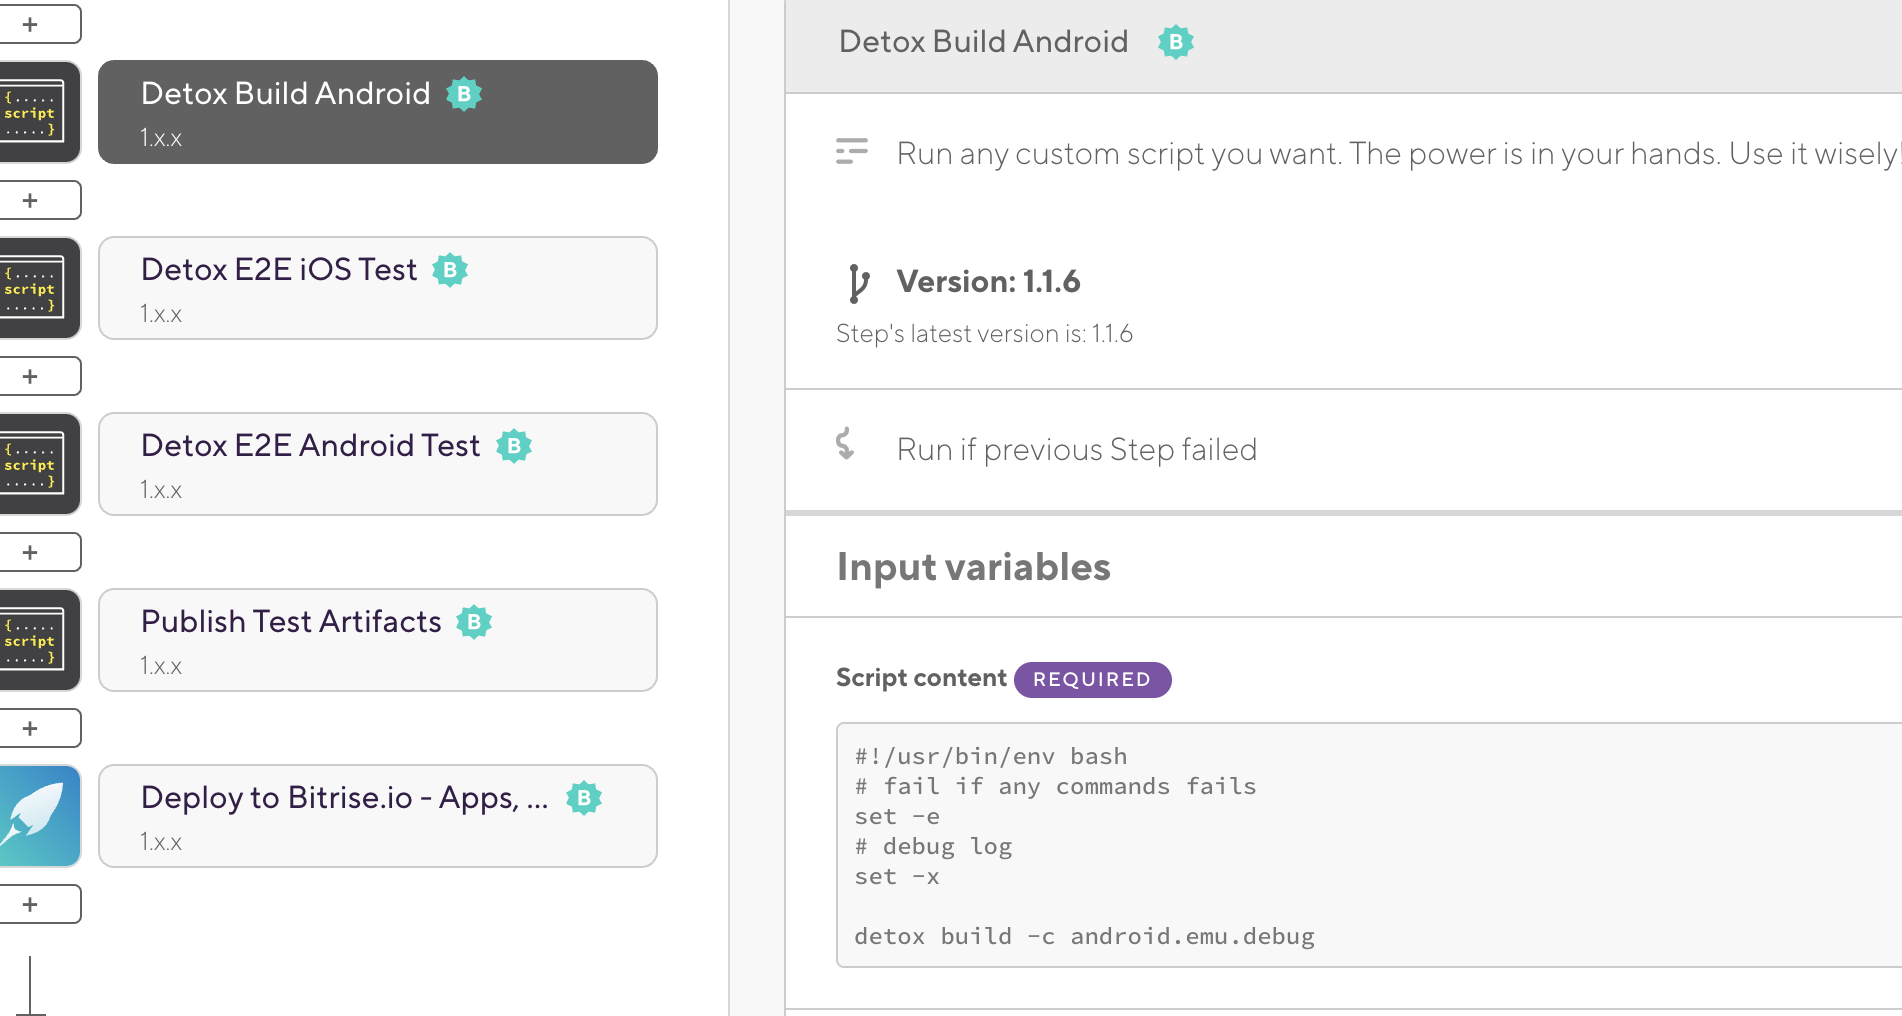
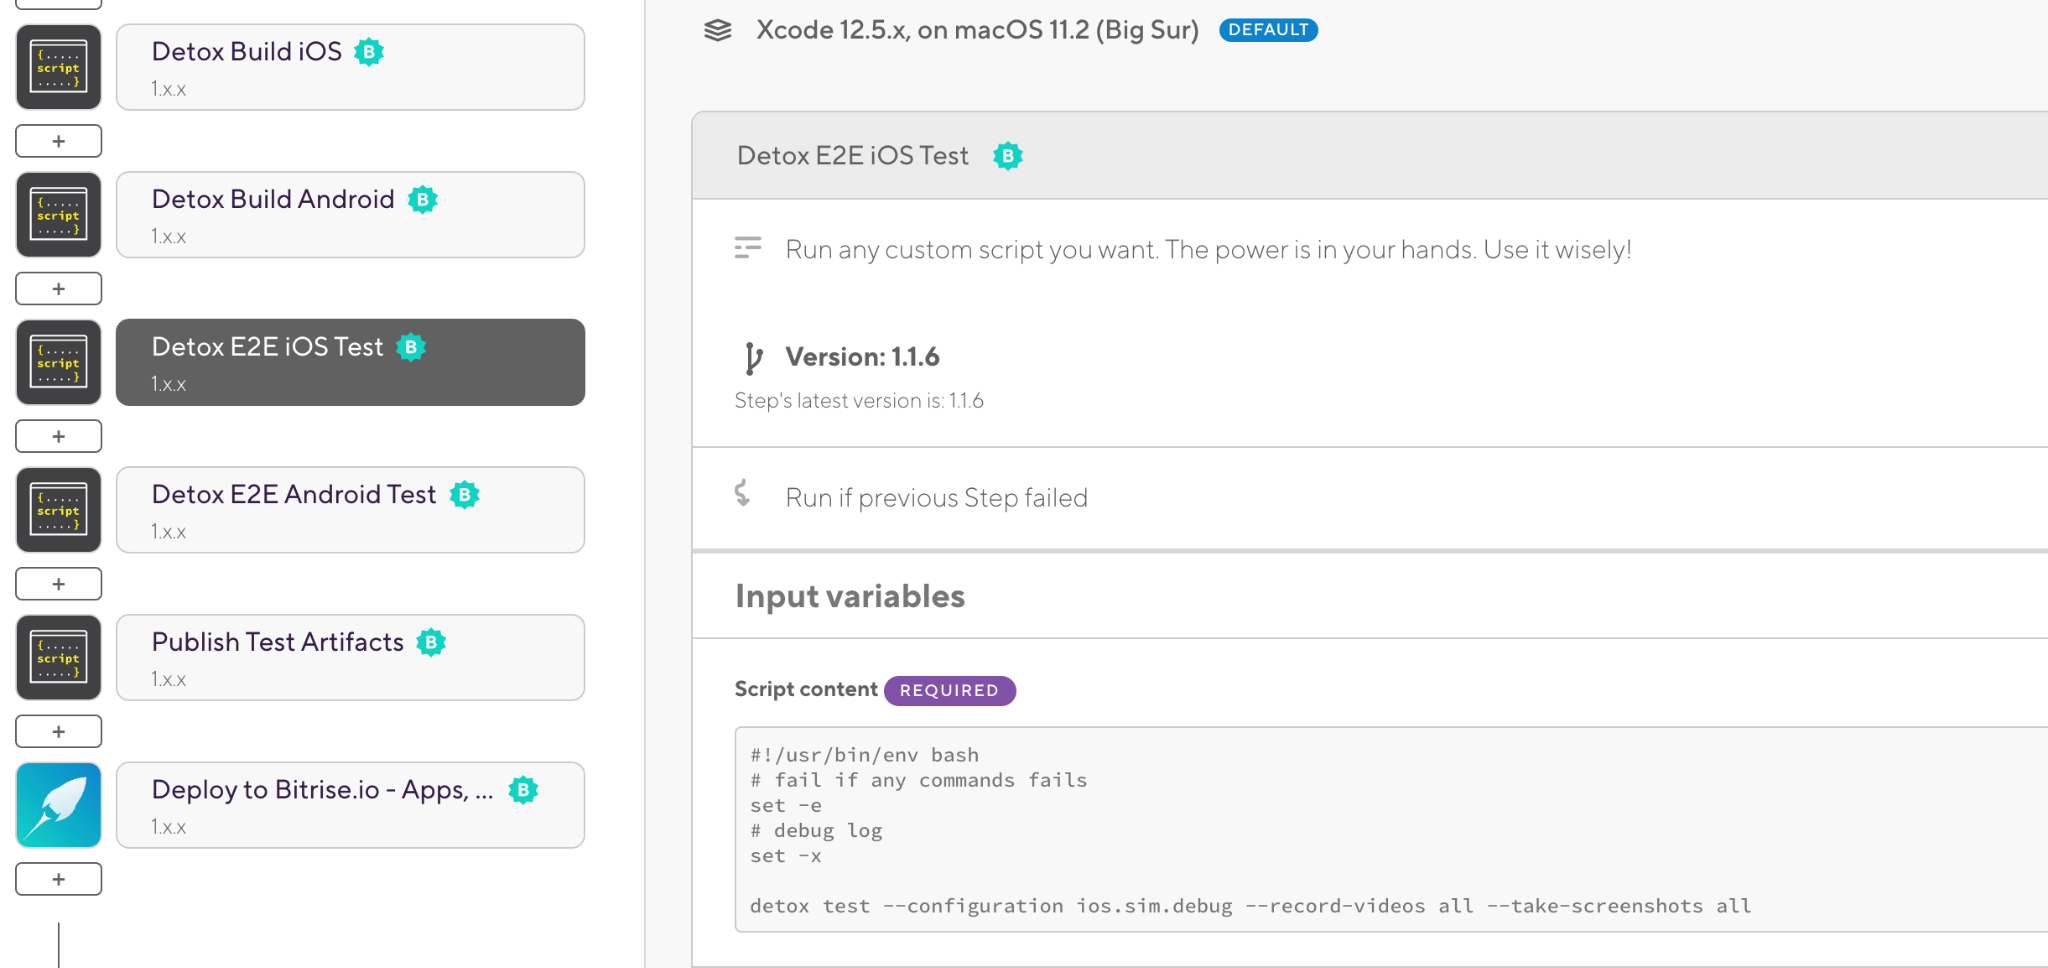
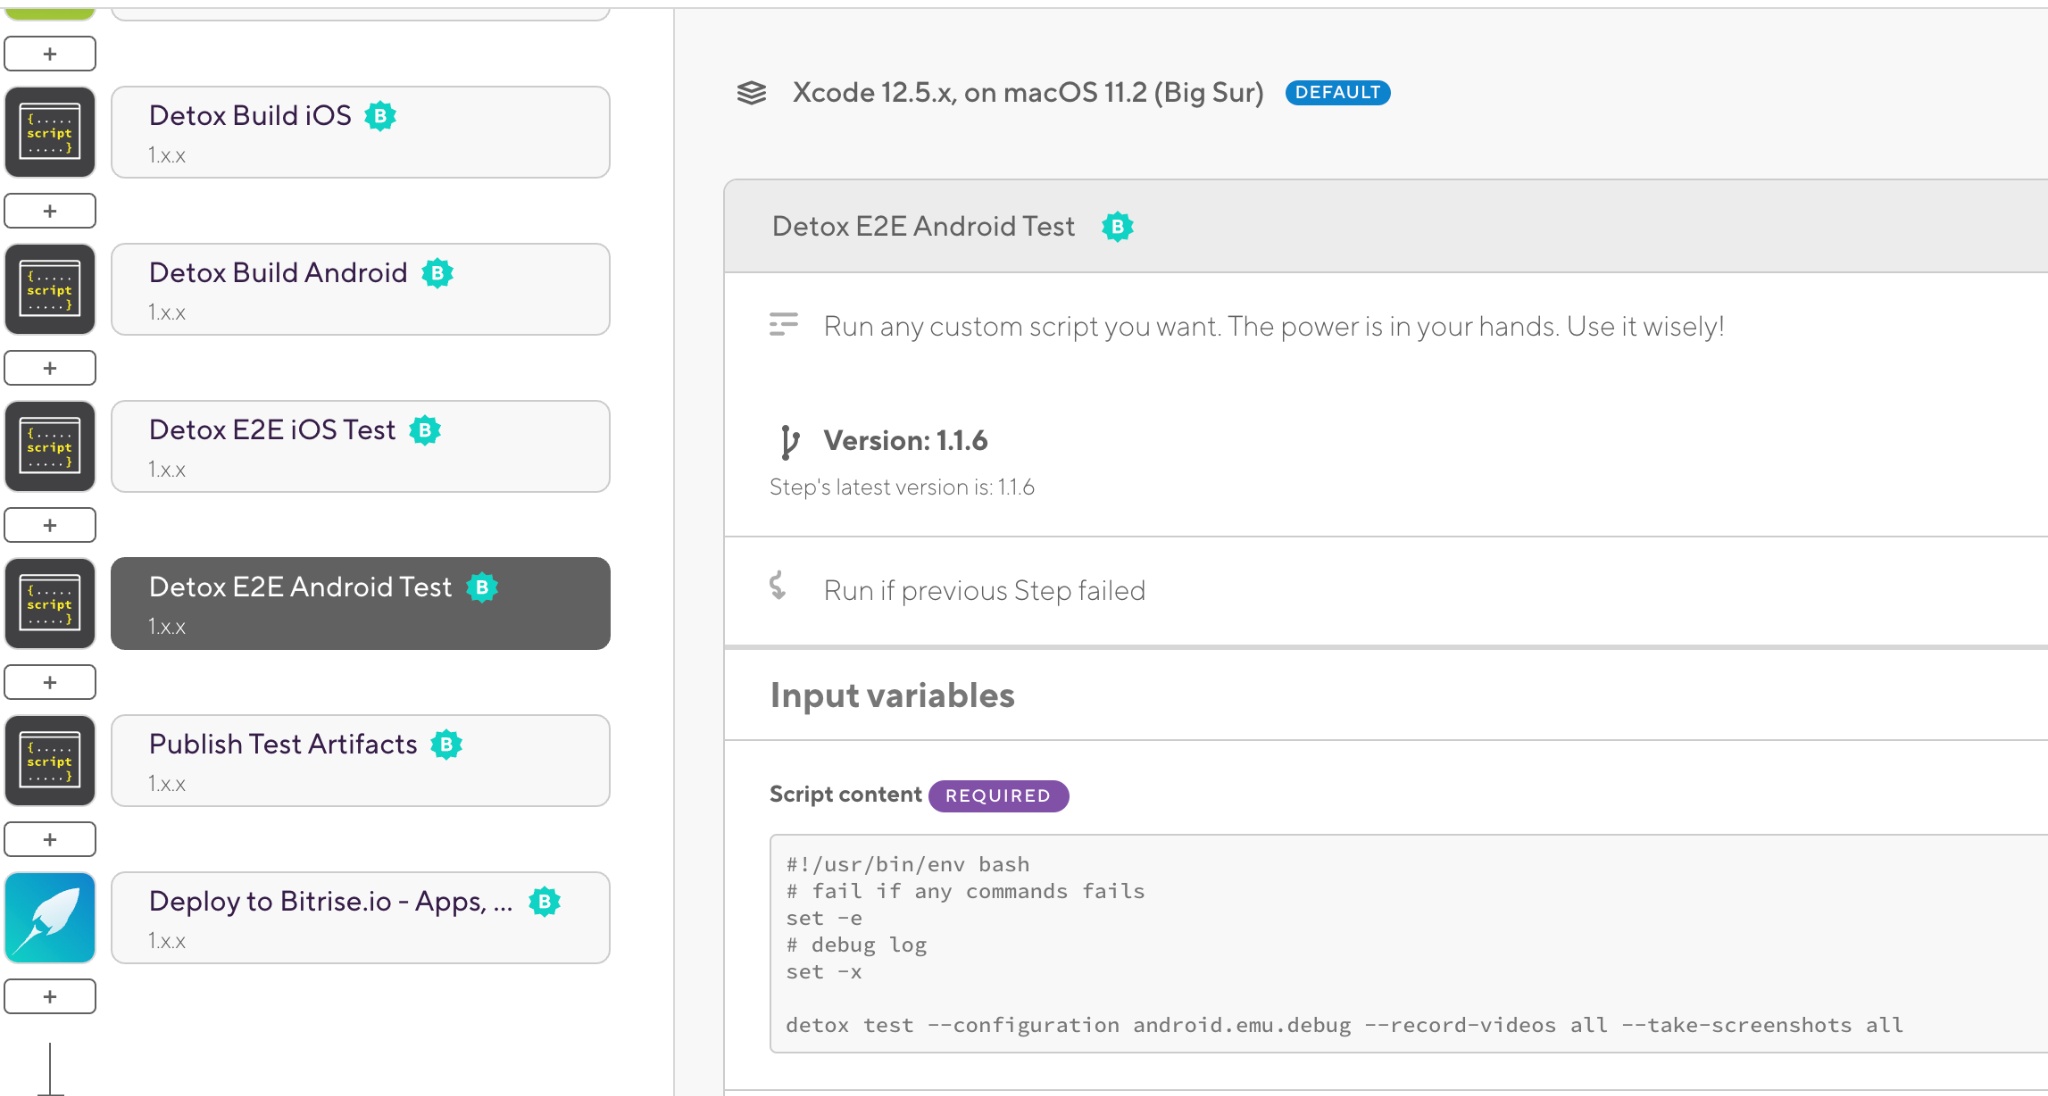
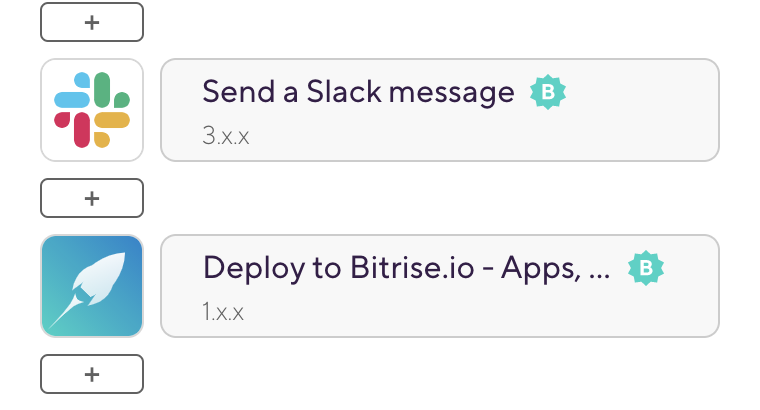
26. Add new script Steps to run Detox Build and one for Detox Test for both iOS and Android:
27. And one more script for copying the artifacts to the Bitrise Deploy folder to be able to access them from the Artifacts tab:

28. Add the Send a Slack message Step at the end of the Workflow to send the final status of the build:
TIP: For each step in the Bitrise Workflow we have an option to run the current Step, whether the previous Step failed or not. This will help us to abort the build if any previous Steps failed and avoid wasting any time. (It’s set to off by default)

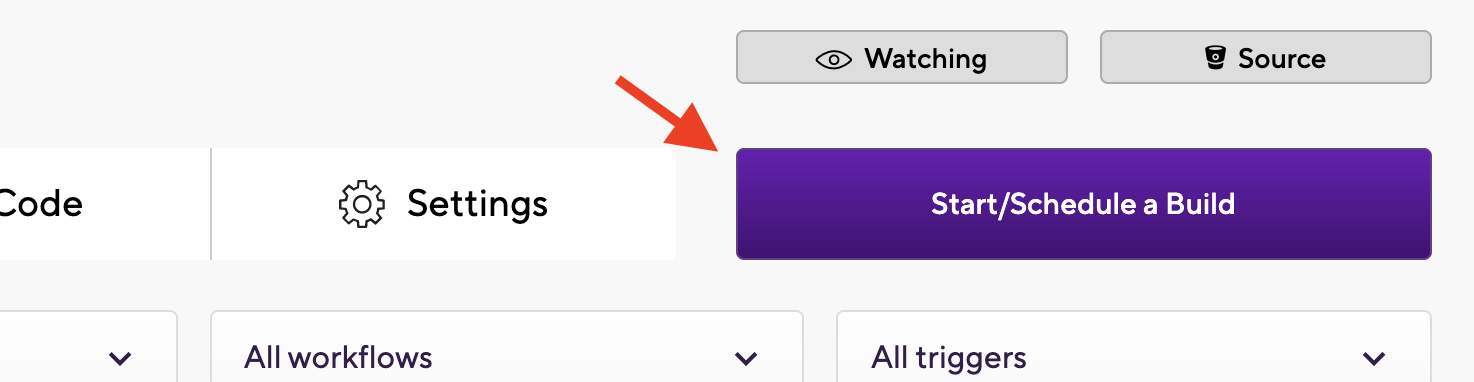
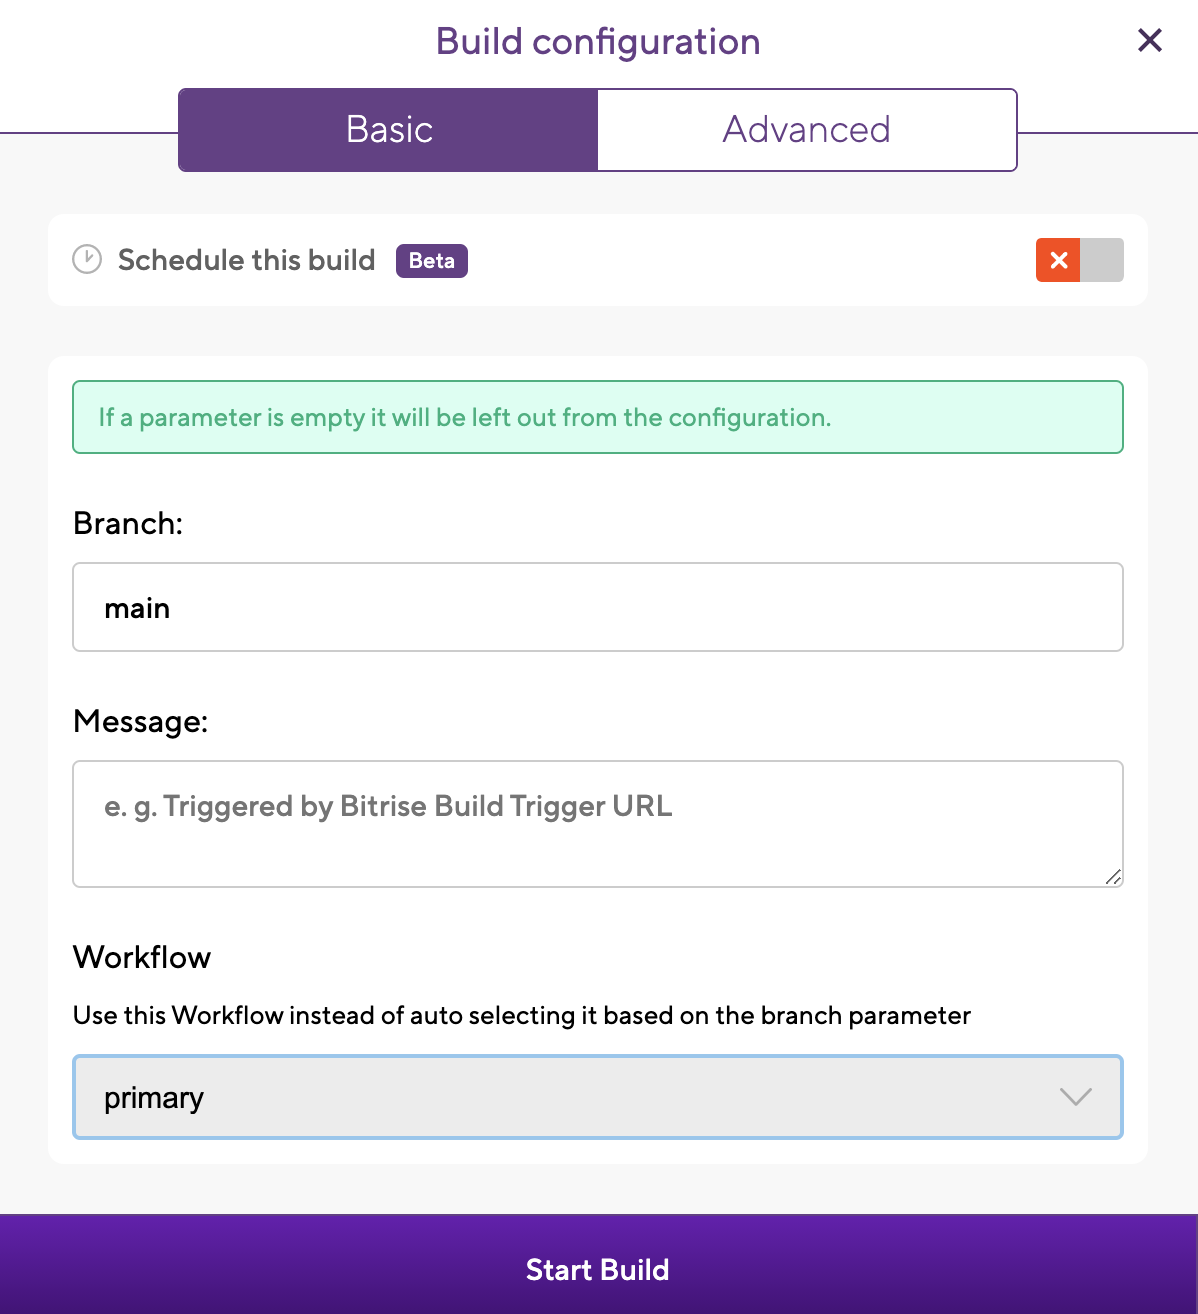
29. You can now run your React Native CI/CD workflow manually by clicking Start/Schedule a Build or based on the trigger map with Bitrise. For example, you can specify a GitHub Tag or branch with a specific Workflow:
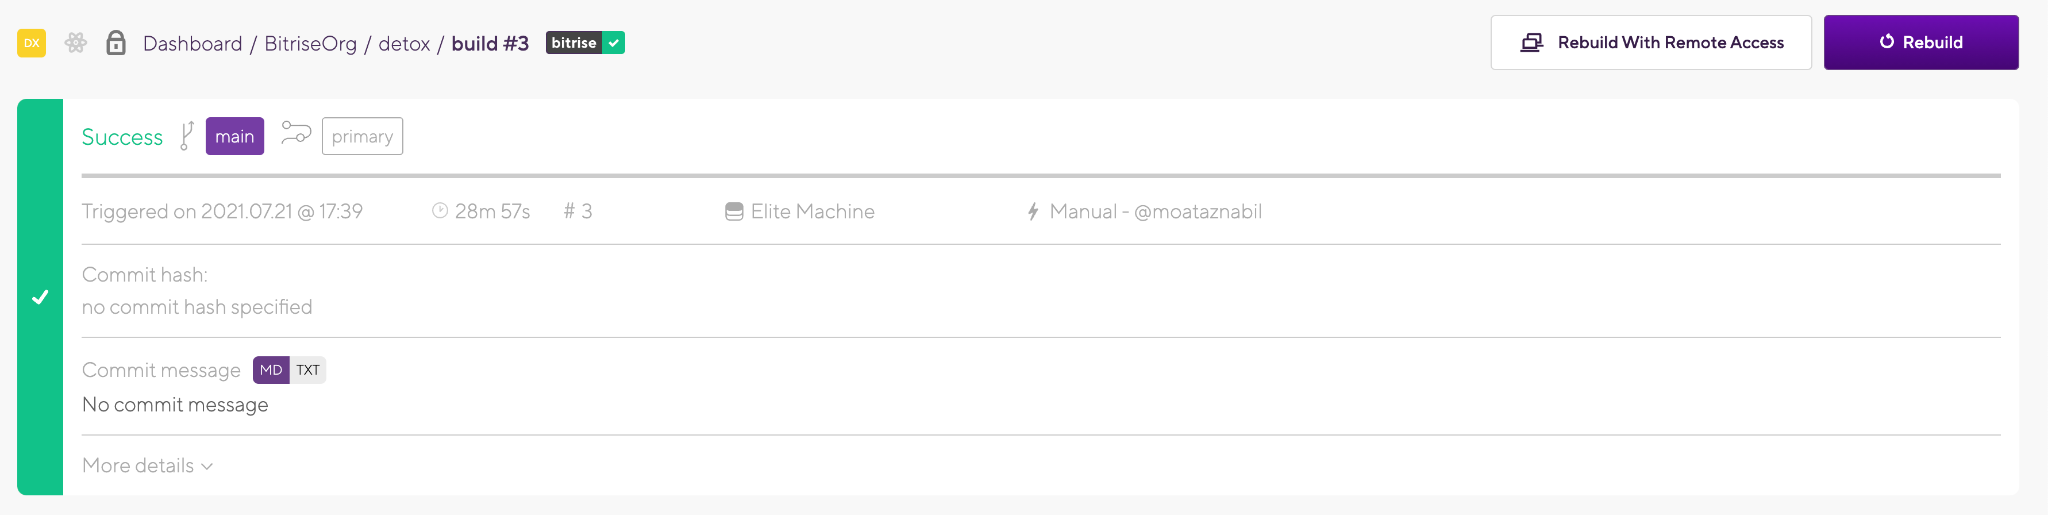
30. After the build is finished, if everything is set up correctly, you should see the build succeeded:

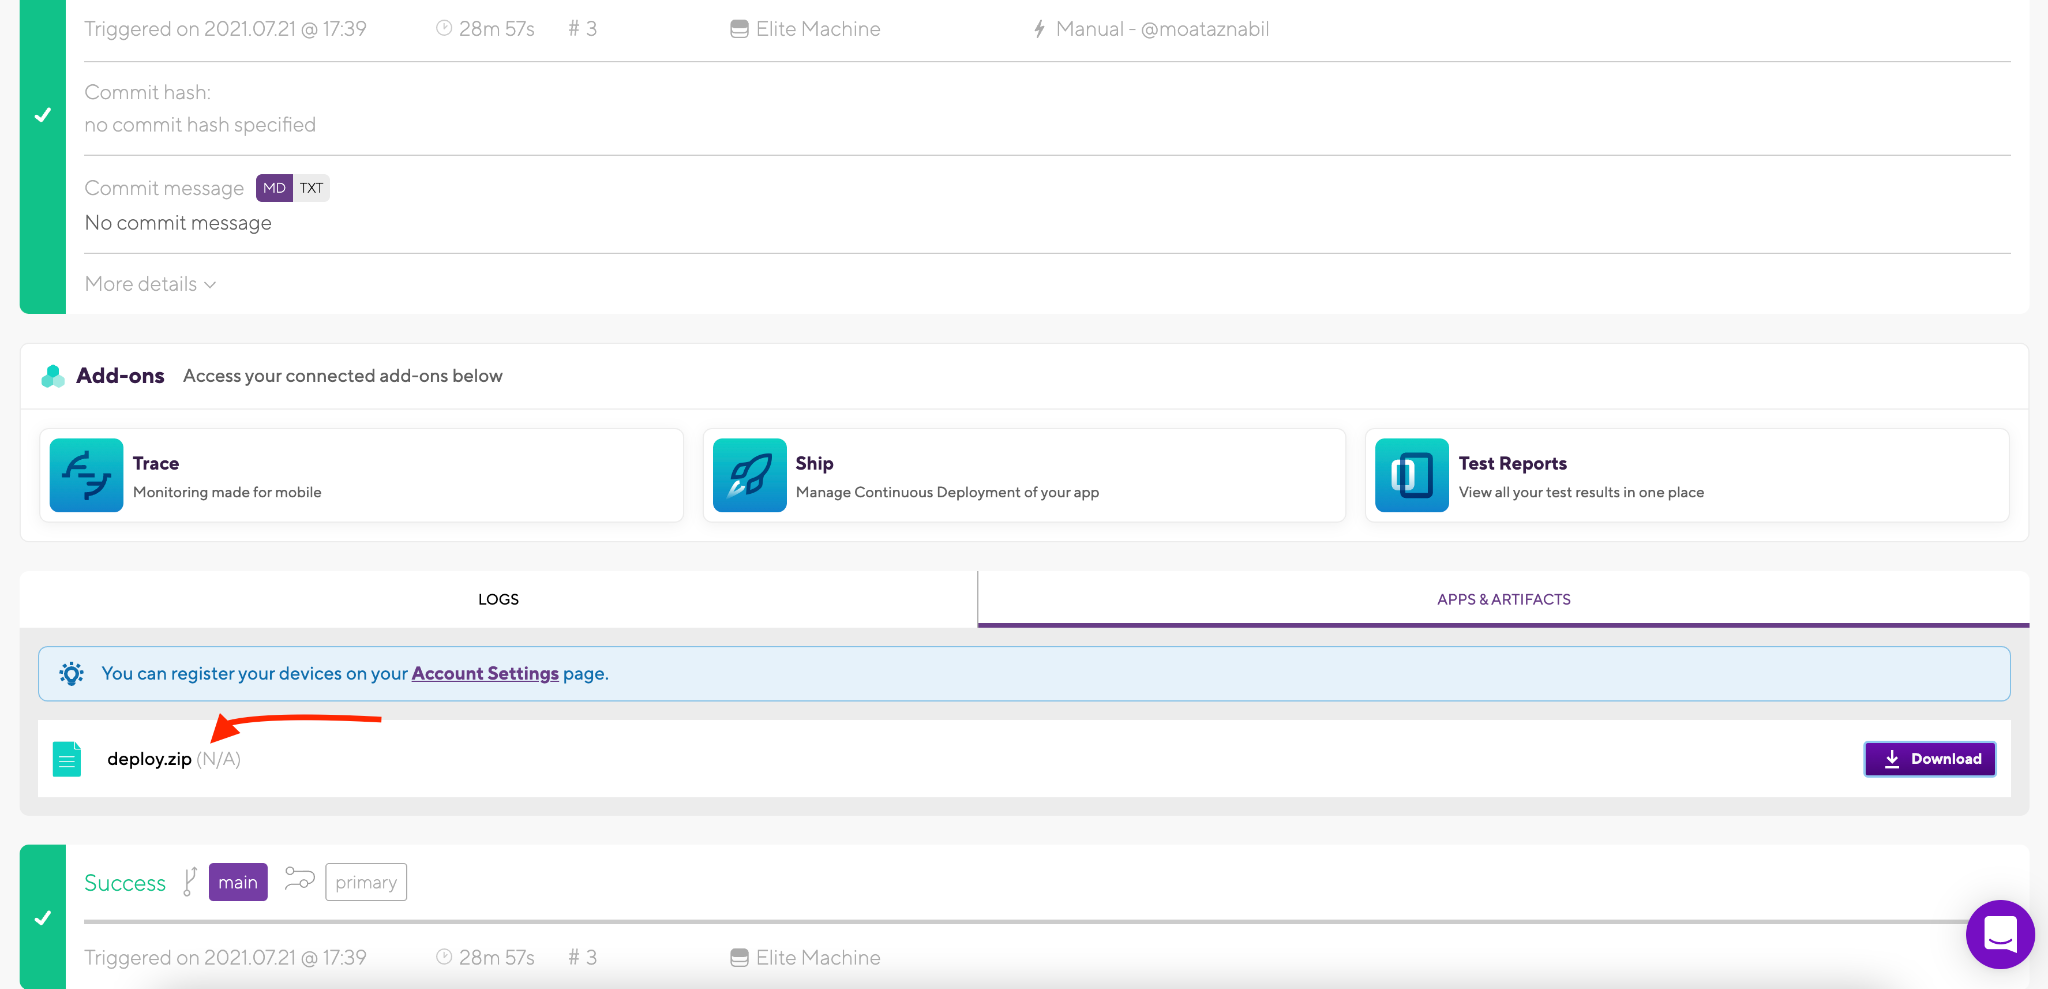
31. To check the artifacts, including the videos and the screenshots, click on Artifacts Tab and you will find the deploy folder. You can download it or you can configure your build to upload it to any other 3rd party tool or service like Amazon S3 bucket:

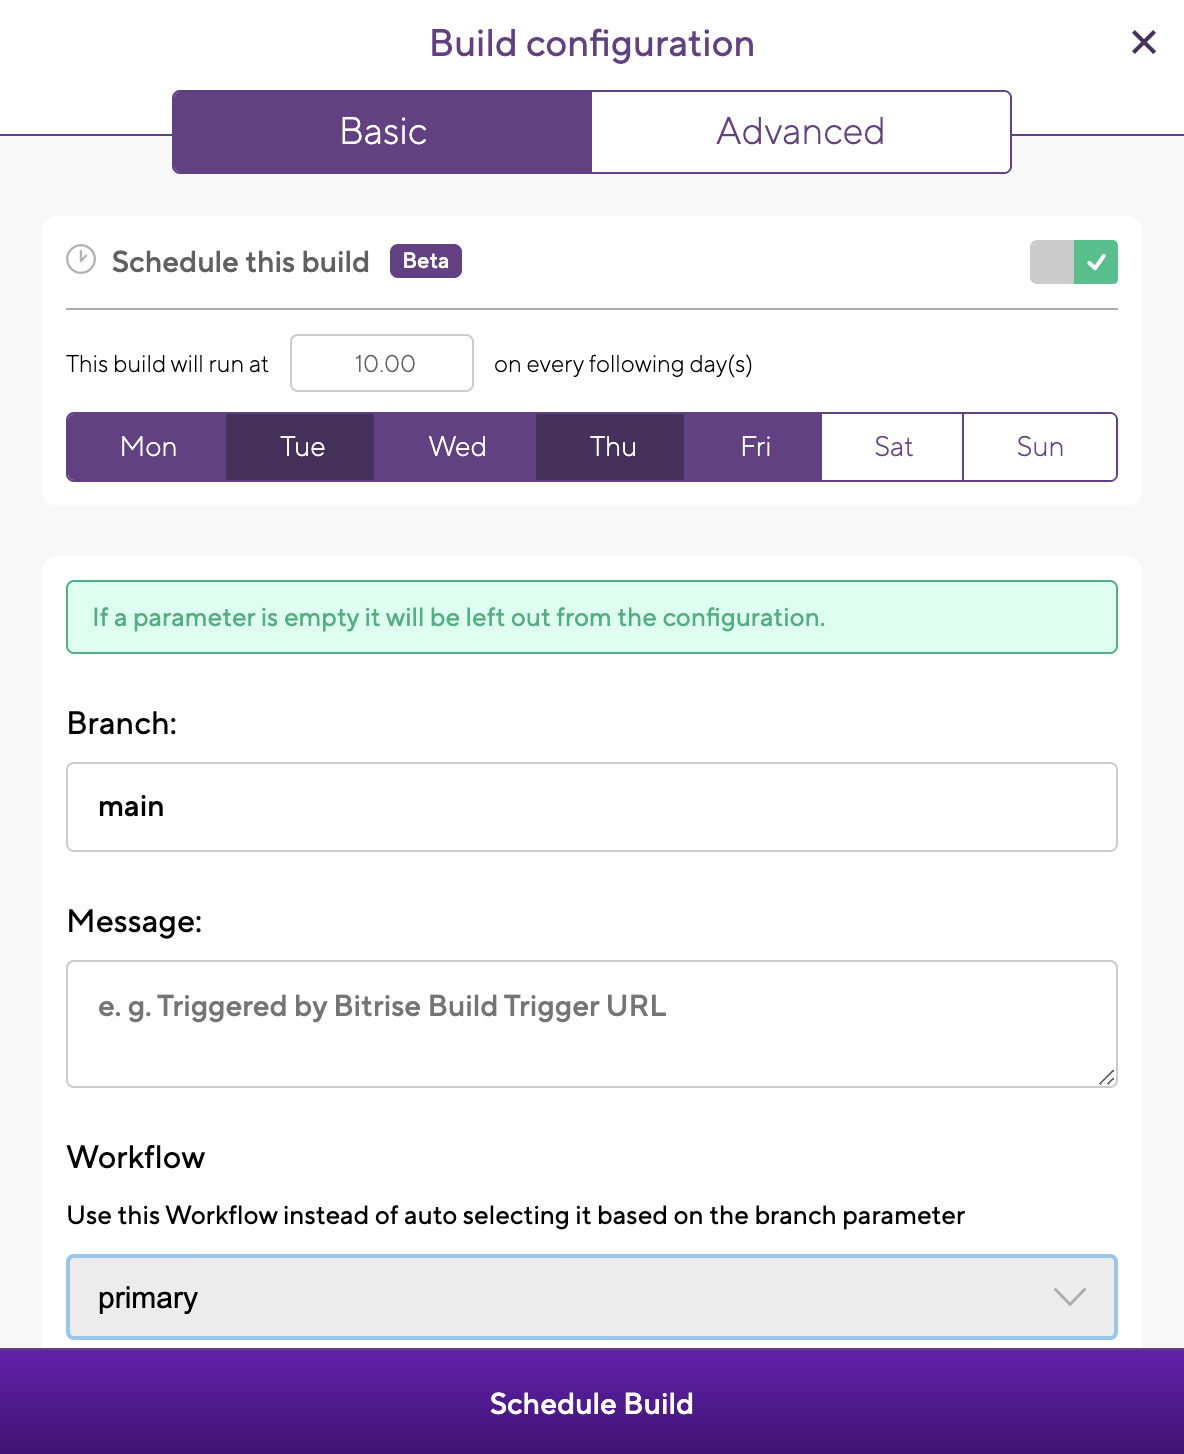
TIP: If you want to schedule the build to run nightly you can also configure it easily by selecting the date/time, branch name, and Workflow name.

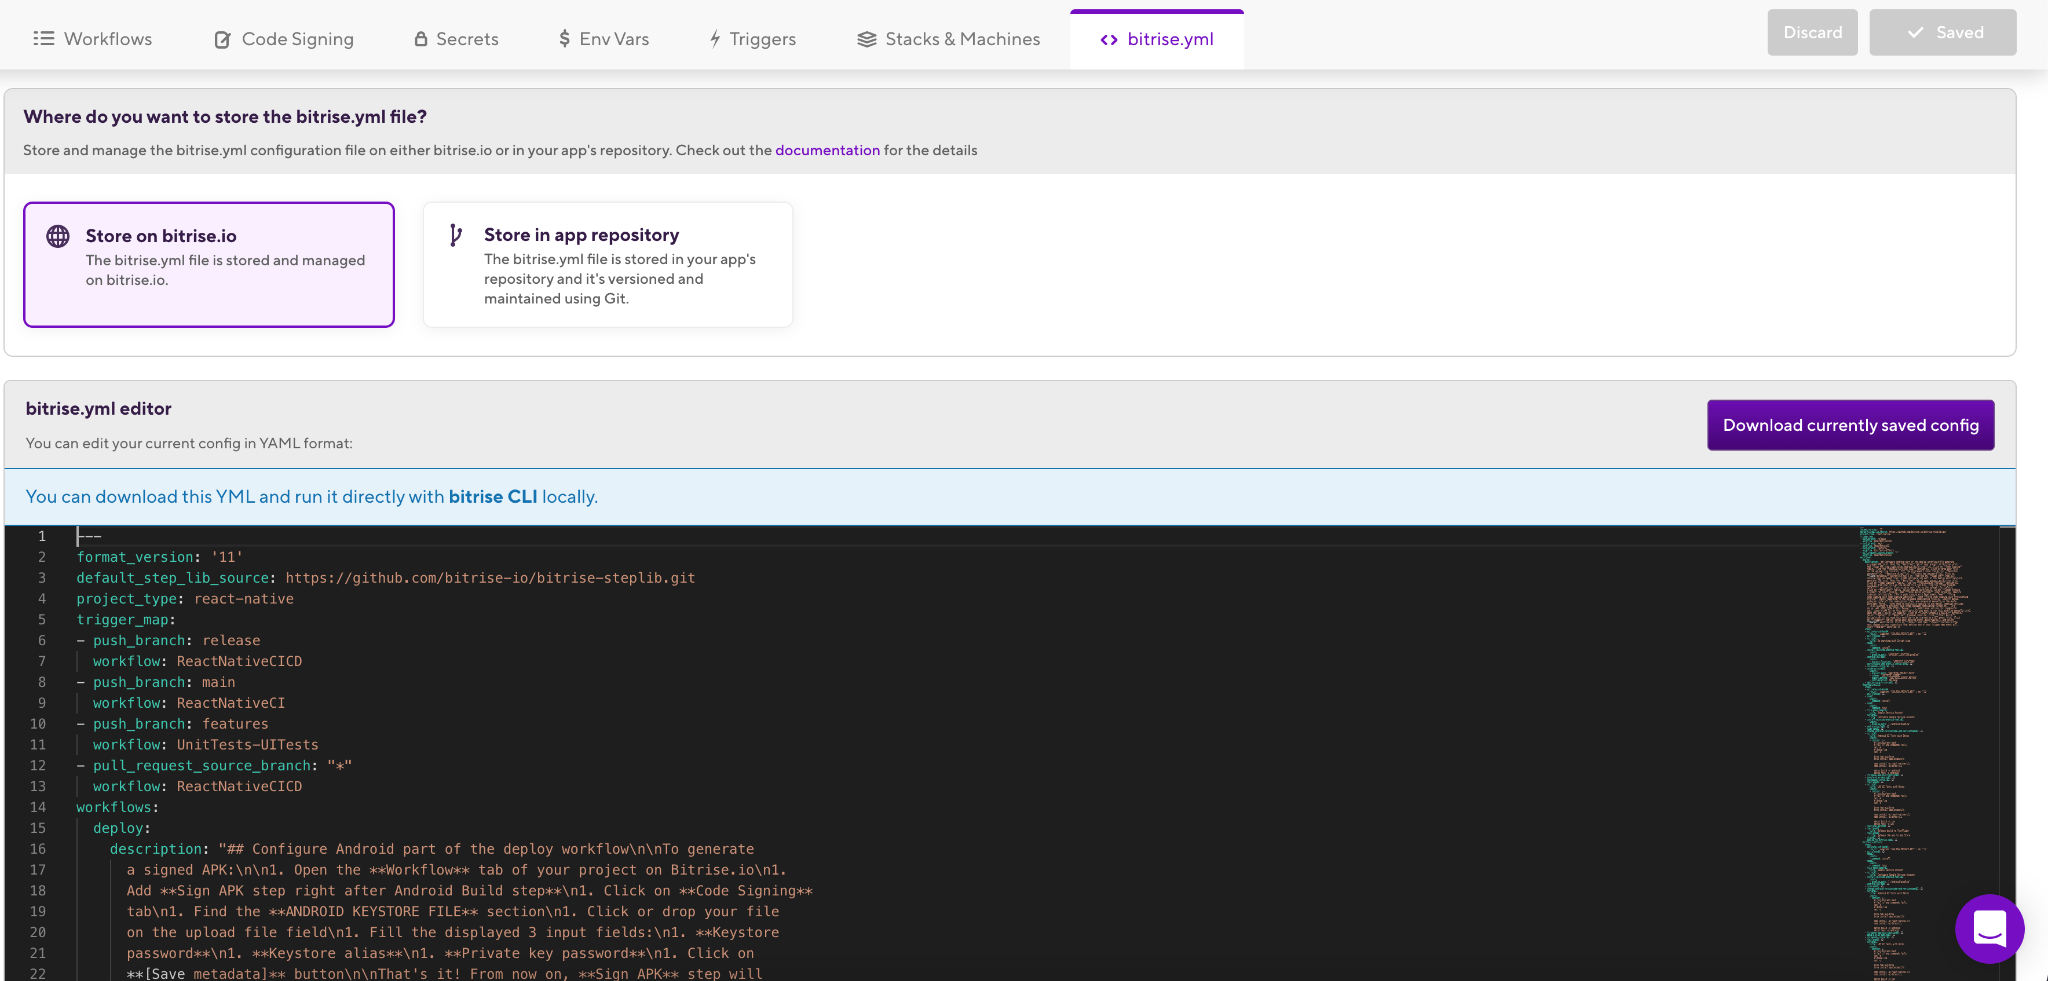
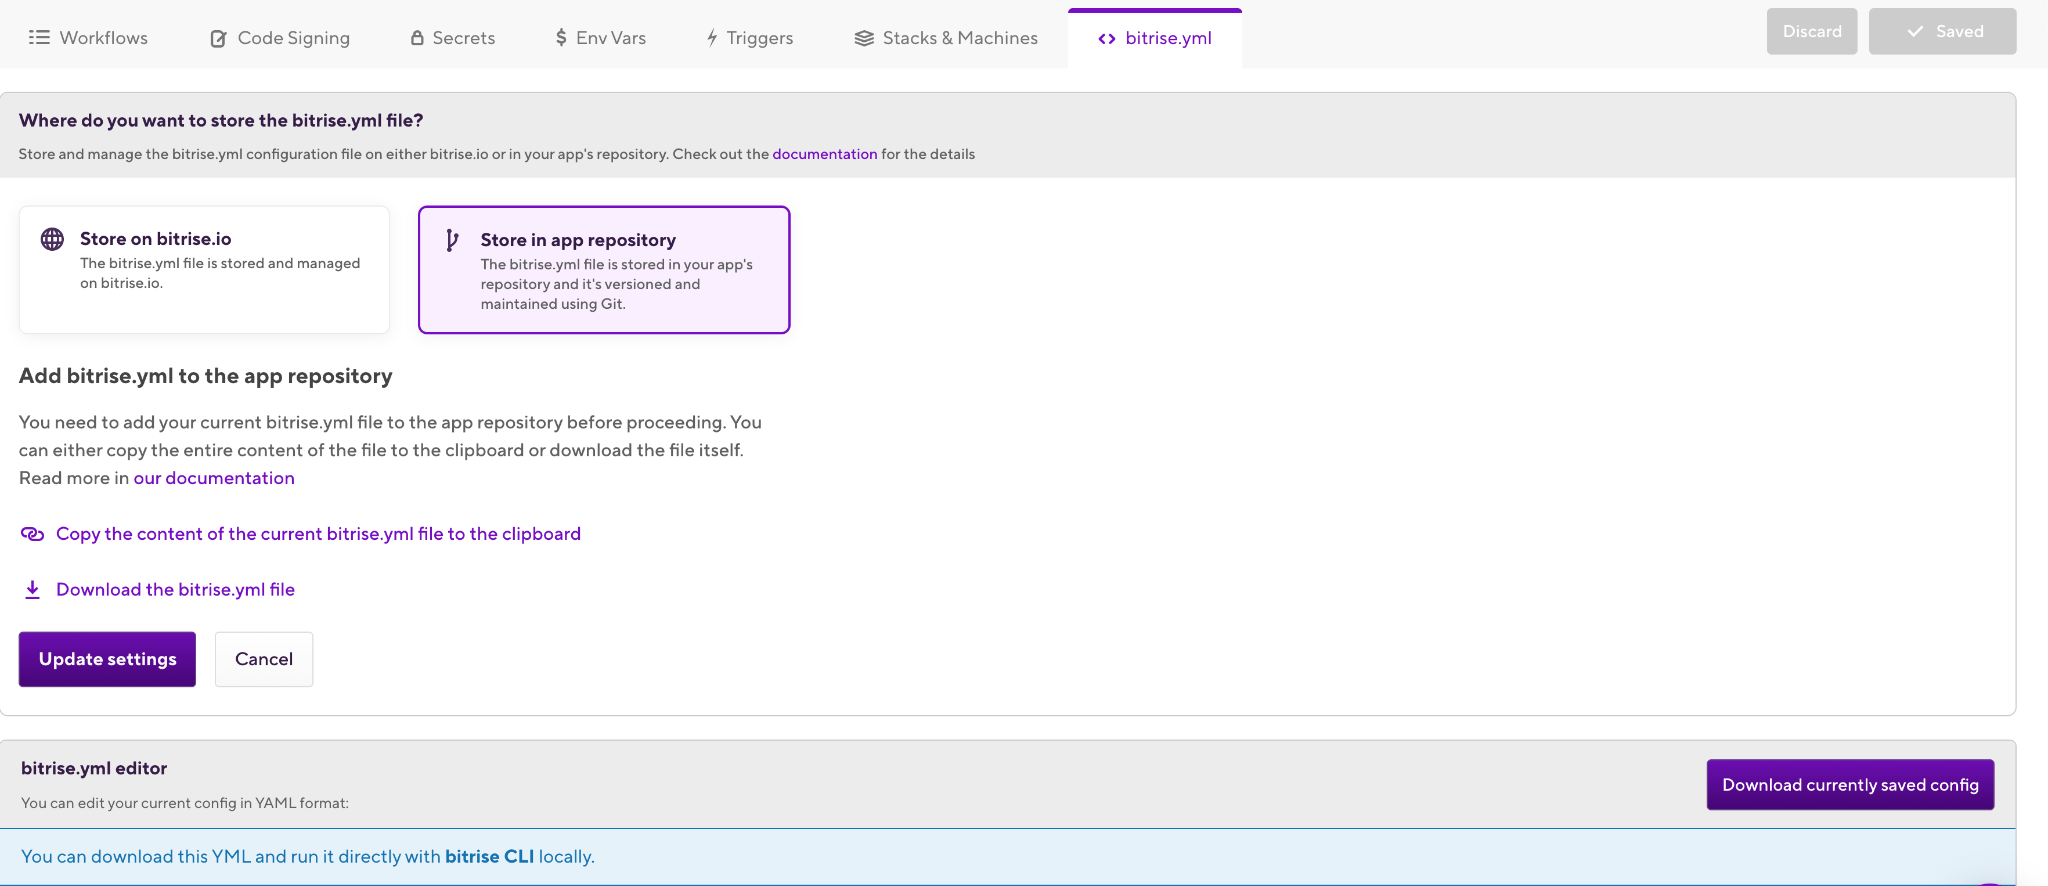
TIP: You can find the bitrise.yml file including all the Steps that we added in the Workflow editor and you can save it in your repository or store it on Bitrise.io.
Congratulations! 🎉 You have successfully migrated your iOS app from Jenkins and fastlane to Bitrise. You can now start building and releasing your applications seamlessly, with no extra effort.
Code Repository
https://github.com/moatazeldebsy/reactnative-detox-bitrise
Related Articles
- Getting started with React Native apps
- React Native Continuous Integration and Delivery
- React Native
- Getting started with Detox
- Detox Setup for Android
- Detox CLI
If you have any questions, feel free to contact us on our Twitter or via email. If you’d like to find out more about how Bitrise can help you release better apps, faster, you can also request a demo here.


.jpg)
