This is a guest post by Milica Aleksic, a software engineer living and working in Serbia. She's the Tech Lead for Badin Soft and has experience working on React and React Native apps. She loves teaching and mentoring, and considers it a work of the heart. She also loves supporting women who code and inspiring girls in their path to become successful developers.
Going from web to mobile? Starting with React Native comes naturally for React developers, but there are some significant differences because mobile development is a unique adventure. In this article let’s see how to get started building mobile apps and offer a new perspective showing that the mobile world is quite different from the web. We will go over all the differences, challenges, and advantages to keep in mind when diving into the native apps universe.
Development
Web Applications are built using standard web technologies, including HTML, CSS, and JavaScript. They run inside of a standard web browser like Chrome, Firefox, Safari, and they’re built and hosted just like any other website on the internet — the only real difference is this build to look good and to function well on mobile devices which mean they’re responsive and designed with a mobile-first approach.
For mobile development iOS and Android apps are written in completely different languages. iOS uses Swift or Objective C and Android uses Java or Kotlin. If you want your application to run on both platforms you will need to create two separate but identical applications. Which, more often than not, means having two separate teams to develop and maintain them, so it can become increasingly difficult to keep the UI and features in sync on both platforms, and to maintain them, pay the engineering teams, and so on.
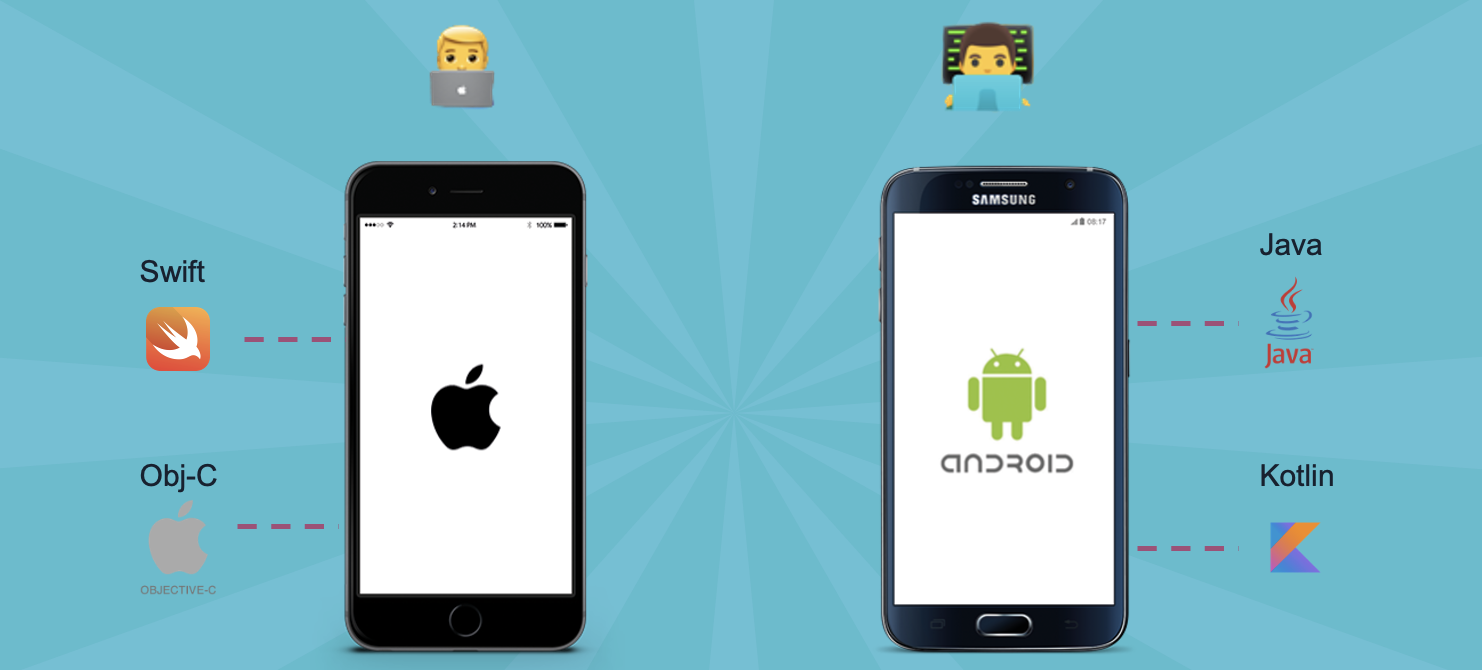
Instead of having to write the same app multiple times, we can write one app all using React Native. This means that for the most part we no longer require a deep understanding of objective C or Java to be effective mobile developers instead we can use our existing knowledge of JavaScript and other web development tools to create a cross-platform application.
Emulators, simulators, and devices
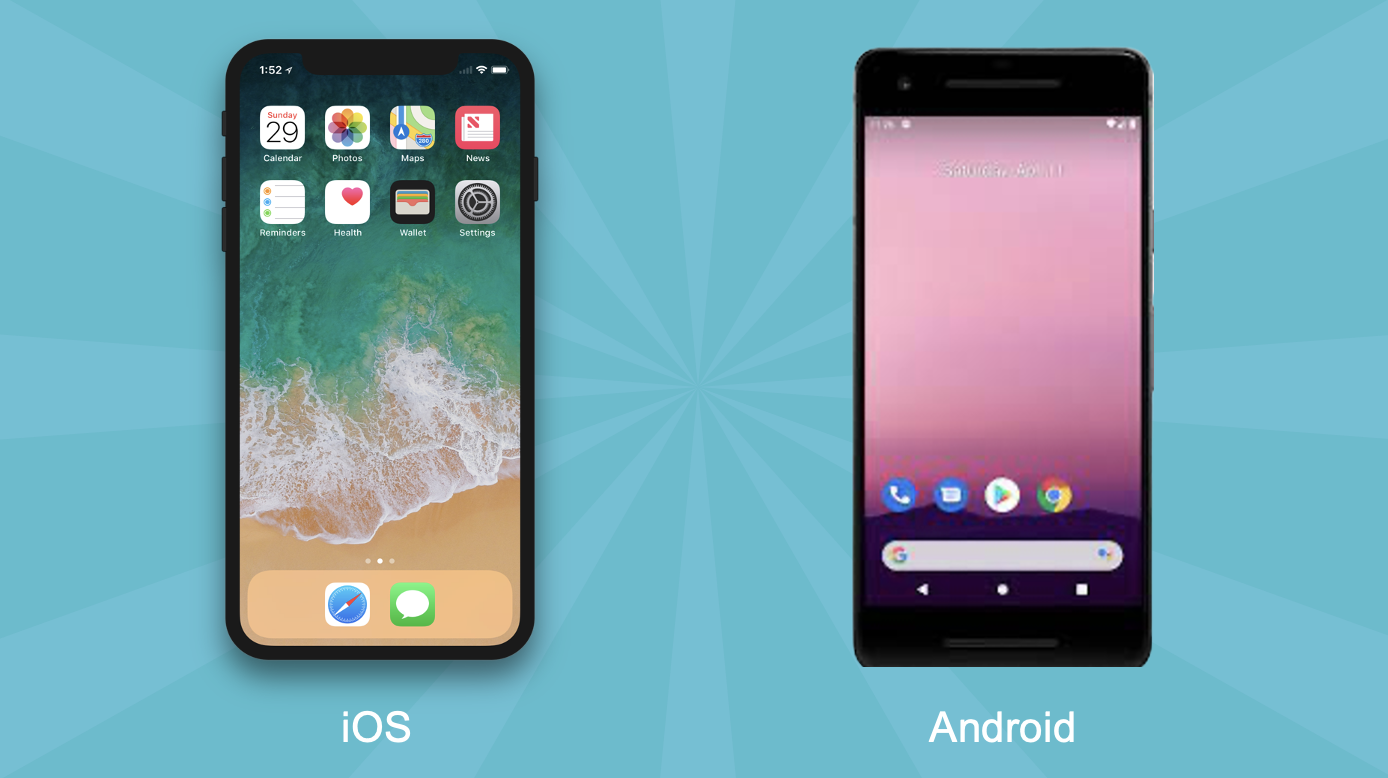
For web development, you only need a browser but when it comes to native development you must always think about the platform — iOS and Android. You can use Android Emulators (which you can download and run from Android Studio) or iOS Simulators from Xcode.
Simulators are good when it comes to testing or building an app, but they can be wrong in some cases, because simulation can never replicate 100% of a real device. You can find an app working without any errors on the simulator and having trouble with an actual device. In these cases, Android can be trickier because there are a lot more devices you need to cover.
There’s no HTML
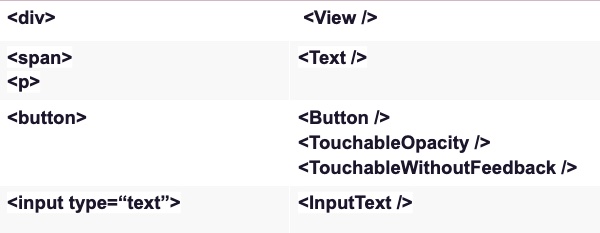
When you set up your development environment, devices, and emulator, the first thing you will notice is that there are no HTML tags. Names for elements you used in React are different in React Native. Instead of using elements like <div>, <section>, <header> in React now you will use <View /> in React Native. And in places you would use <span> and <p> now you will use <Text /> component, the <button> is still a <Button /> but you will have options to use <TouchableOpacity /> or <TouchableWithoutFeedback /> which is a View that behaves like buttons. React Native provides a number of built-in Core Components ready for you to use in your app.
Styling
For styling on the web, you will use CSS, and style the element via a className that will assign a set of properties and values to the associated element.

React Native does not use CSS for styling — styling in React Native is done using JavaScript. Since React components have support for the style prop, you can also create an object of style values and pass them into a component as props. The style names work the same way as in CSS, except they’re written in camel-case.
As a component grows in complexity, it is often cleaner to use StyleSheet.create to define several styles in one place. Here's an example:
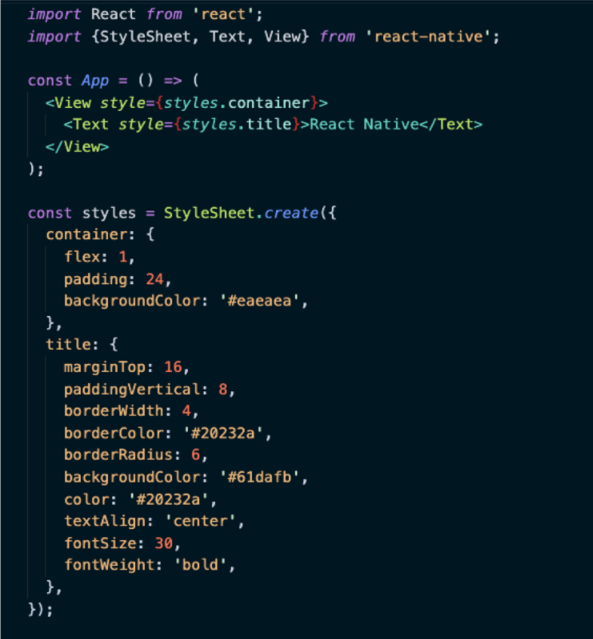
For styling, you can use the popular CSS-in-JS library styled-components. Styled components allow you to write actual CSS code to style your components. Benefits of using styled components:
- CSS Syntax Out-Of-The-Box
- Dynamic Styling
- Theming
If you are familiar with styled components and you have used them on the web before, my advice is to go for them.
Animations
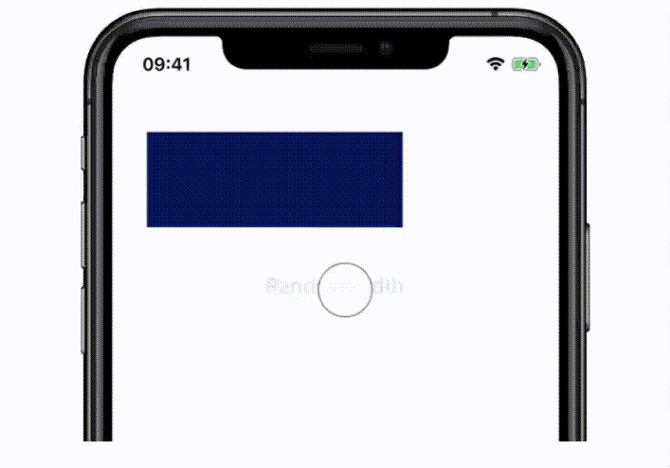
Working with mobile, users have higher expectations because mobile apps just feel a lot better than web apps. Users expect that your mobile app will follow some sort of standard for mobile development. Animations are very important to create a great user experience.
React Native provides two complementary animation systems: Animated for granular and interactive control of specific values, and LayoutAnimation for animated global layout transactions. There are also powerful gesture and animation libraries you can use with React Native like Reanimated.
Navigation
In the browser world, you have a URL, current page, a back button for history. And you can use react-router to handle the change and go to a new page. And if you're using React you are familiar with react-router. React Nativestill has support for the react-router navigation but you can use libraries like React Navigation and react-native-navigation.
If you're new to navigation, you'll probably want to start with React Navigation. On both Android and iOS, React Navigation provides a simple navigation solution that can show standard stack navigation and tabbed navigation patterns. If you're integrating React Native into an app that already manages navigation natively, or looking for an alternative to React Navigation, the following library provides native navigation on both platforms: react-native-navigation.
Platform-specific code
Unlike React, React Native addresses the need to write different code for different platforms and build apps that follow platform-specific UI and UX guidelines.
React Native offers two alternative ways to build cross-platform apps more efficiently: Platform module and Platform-specific extensions.
Platform module

React Native provides a module called Platform to detect which platform (or which version of a platform, if you’re developing for Android) the app is currently running.
It’s especially useful when you’re using components that contain only small parts of platform-specific code.
Platform-specific extensions


React Native will load matching files for a specific platform by automatically detecting whether the file you’re working on has a .ios.js or .android.js extension.
This way you can be sure that each time you’re coding for iOS or Android, React Native will always import the correct required component.
React Native App state
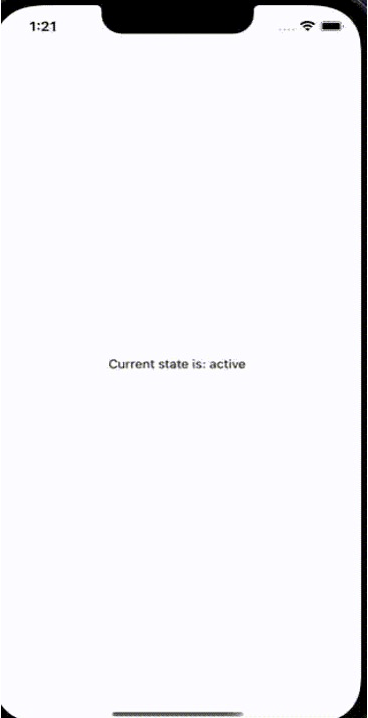
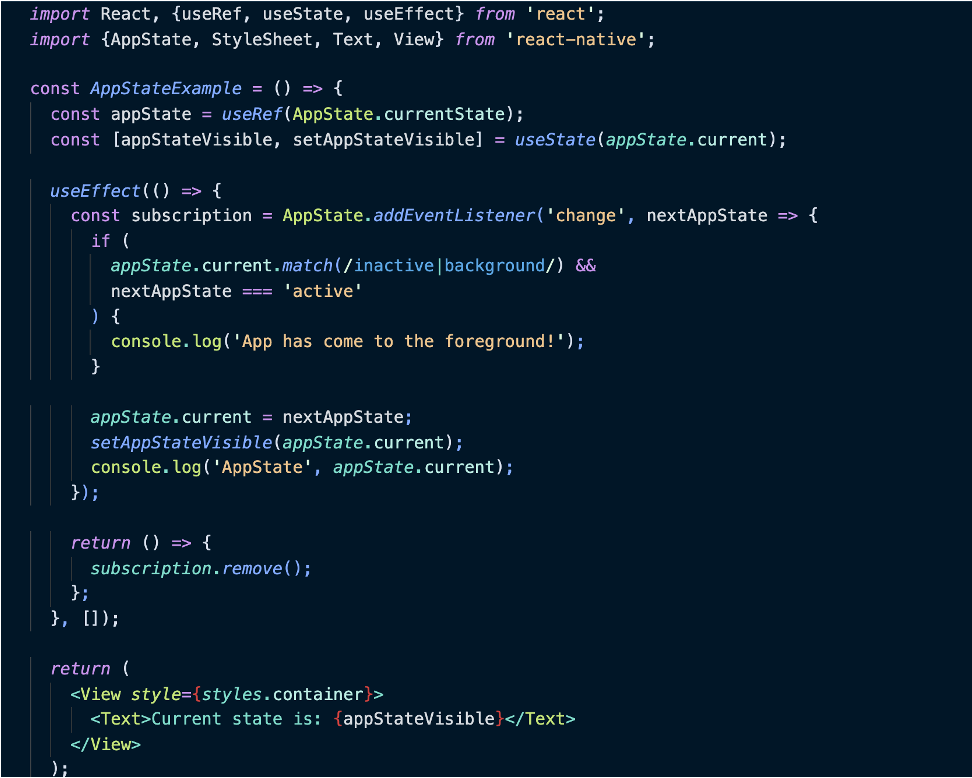
One more thing that you don’t have to worry about on the web and that is important to think about when you are working with mobile apps, is the app state. The user can have the app in the background or use having the app in the foreground.
You can use AppState from react-native so it can tell you if the app is in the foreground or background, and notify you when the state changes.
Connectivity
Another important thing is connectivity. You have to deal with users that do not have connections at all, so when you open the app you don’t expect to just close or not show anything. You should be able to view some offline cached data and maybe write a message and then have that automatically be sent out when the user’s connection returns.
Similarly, you might just have a slow connection — maybe you are on the train or tunnel so you should build timeouts and retries in the app. That is something you probably do for the web but I don’t suspect you do it everywhere but it is worth doing in the mobile app because the request will timeout and if your app goes into a weird inconsistent state it is not going to be a pleasant experience.

The NetInfo package provides information about the user’s active network connection and connectivity status of their mobile device and it is great for covering connectivity cases. It also identifies the user’s current network type (WiFi, or mobile network).
Sharing code

If you're building both web and mobile applications you can leverage some of the code for reuse, converting a React Native app to React. You can use react-native-web to bring a mobile app to the browser, but it requires some significant modifications as well as some adjustments in the user interface.
Sharing a codebase goes beyond simply reusing code. The React/React Native porting process can get complex and sometimes it’s easier to develop web and mobile apps separately. It all depends on the type of app you’re building and the specific features you want to include.
Testing
The default template of React Native ships with the Jest testing framework. You can use Jest to write your tests in React Native.
Several libraries can help you test these:
- React’s Test Renderer, developed alongside its core, provides a React renderer that can be used to render React components to pure JavaScript objects, without depending on the DOM or a native mobile environment.
- React Native Testing Library builds on top of React’s test renderer and adds fireEvent and query APIs described in the next paragraph
Debugging
For debubbing, you can use Chrome Developer Tools, but there is one more great tool I want to recommend and that is Flipper — an extensible mobile app debugger.
Flipper is a platform for debugging iOS, Android, and React Native apps. It can help you visualize, inspect and control your app from a simple desktop interface

Flipper is a tool I strongly recommend for mobile developers. With Flipper you will also inherit the plugin eco-system that exists for native Android and iOS apps. This means that you will be able to use plugins that are aimed at native apps for your React Native app as well. For example, plugins include:
- Device logs
- Device crash reporter
- Inspecting network requests
- Inspecting app local databases
- Inspecting device preferences
- Inspecting cached images
- Inspecting native layout elements
React Native deployment
On React Native,we are using the native way of deploying apps. Remember the React Native is only a tool for writing native apps.
You will have to build and upload your build for iOS on the App Store, for Google to Google Play Store, and for Huawei on the App Gallery.

After your build is uploaded, for example, Apple will run some automated tests on your app for basic info provided for the App Store and let you know if there are issues. After this is ok, you could test your application with other devs through a program Apple provides called TestFlight. This is the way to send an application somewhere for testing without plugging a device on your machine. It is very important here to note that each deployment would need to pass some validation from Apple that would take some days for our release to be available to the end-user when the testing phase is over.
For Google, you will use the Google Play console to publish your apps and games.
React Native is a great way to get started
React Native is an open-source JavaScript platform where every developer is free to contribute to the framework, it’s easily accessible to all, and it has a large developer community. React Native apps perform exactly like a native app that was built on a specific iOS or Android platform. And one of the main advantages is code reusability. Developers don’t need to use separate code for both platforms as both OS can be coded with a single programming language.
If you are switching from web development to mobile, React Native is a great way to get started with building applications with JavaScript, and you should definitely give it a try! 🚀

.jpg)
.jpg)
