In the previous articles, we learned how to deploy the Flutter desktop for Linux, the web app with Firebase, and S3. And in this tutorial, I will show you how to build and package a Flutter Linux Desktop app with Bitrise.
Sounds interesting, let’s get started!
Flutter Desktop
Desktop support allows you to compile Flutter source code to a native Windows, macOS, or Linux desktop app. Flutter’s desktop support also extends to plugins. You can install existing plugins that support the Windows, macOS, or Linux platforms, or you can create your own.
To compile a desktop application, you must build it on the targeted platform: build a Windows application on Windows, a macOS application on macOS, and a Linux application on Linux.
But in this article, we will go through the macOS application and learn how to build it.
macOS requirements
In order to publish your macOS app to the App Store, you must do the following steps:
- Enroll in the Apple Developer Program. You can read more about the various membership options in Apple’s Choosing a Membership guide
- Register your app on App Store Connect

- Register a Bundle ID
- Create an application record on App Store Connect
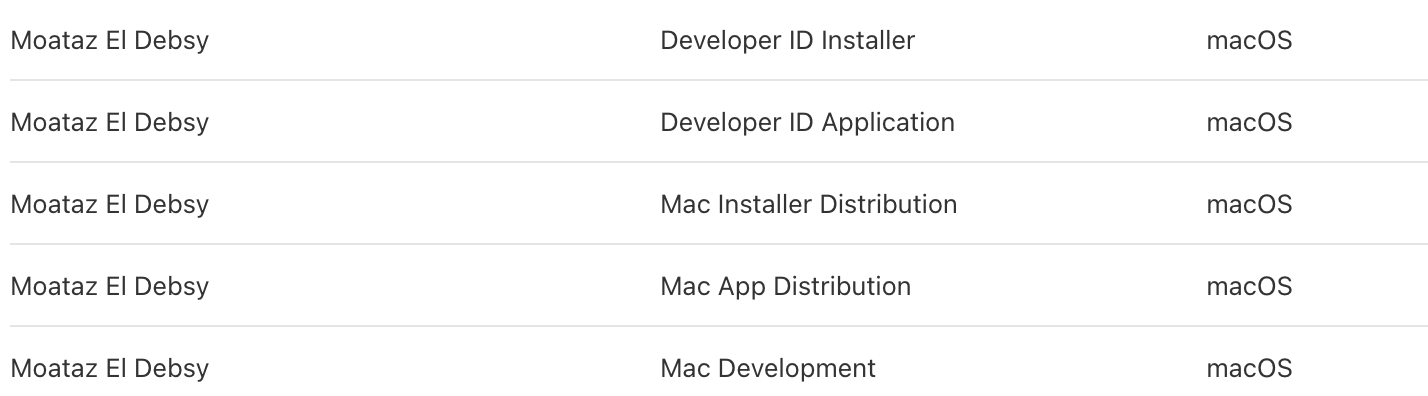
- Review Xcode project settings and read more about the code signing
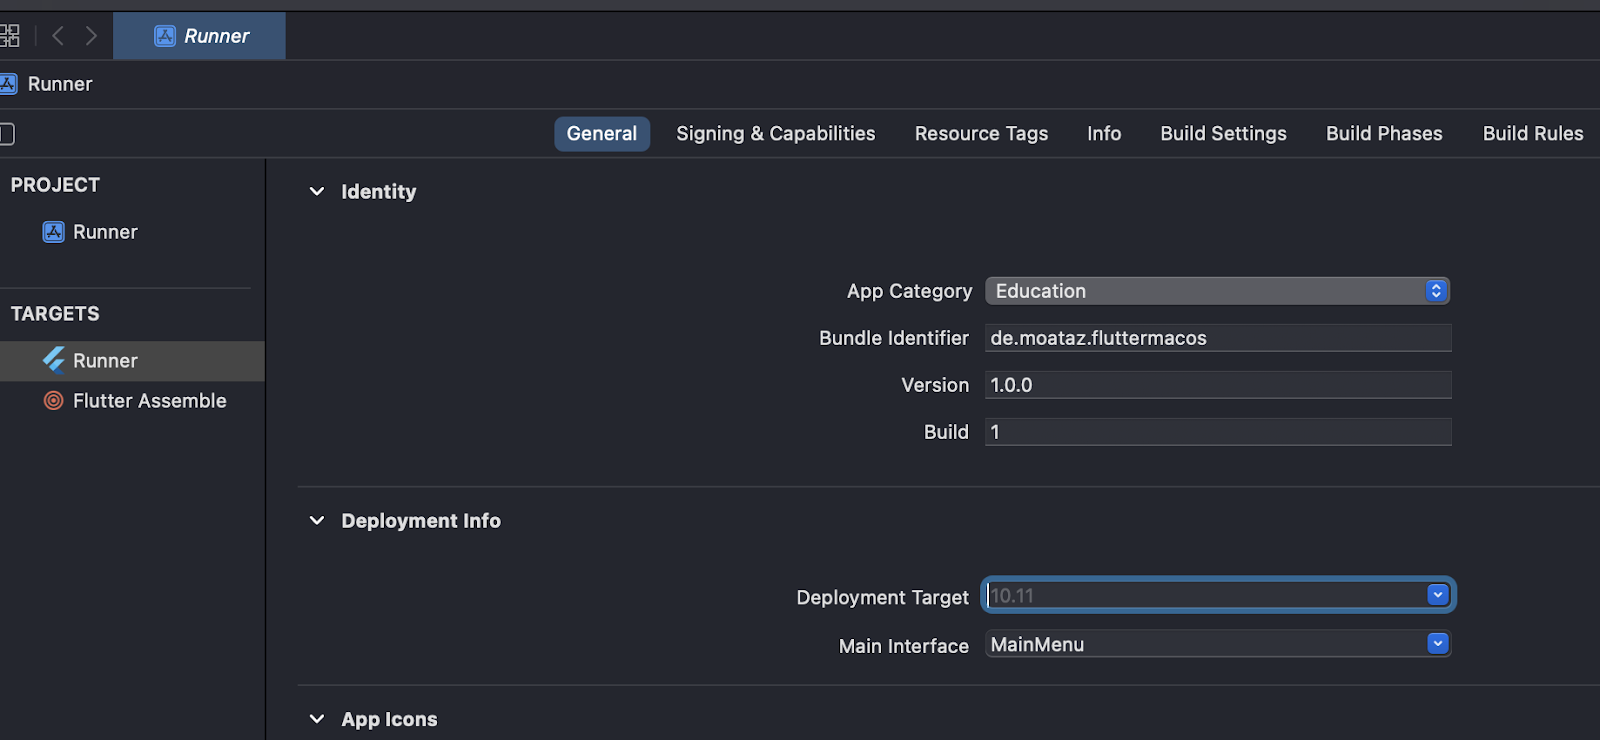
- Configuring the app’s name, bundle identifier, and copyright

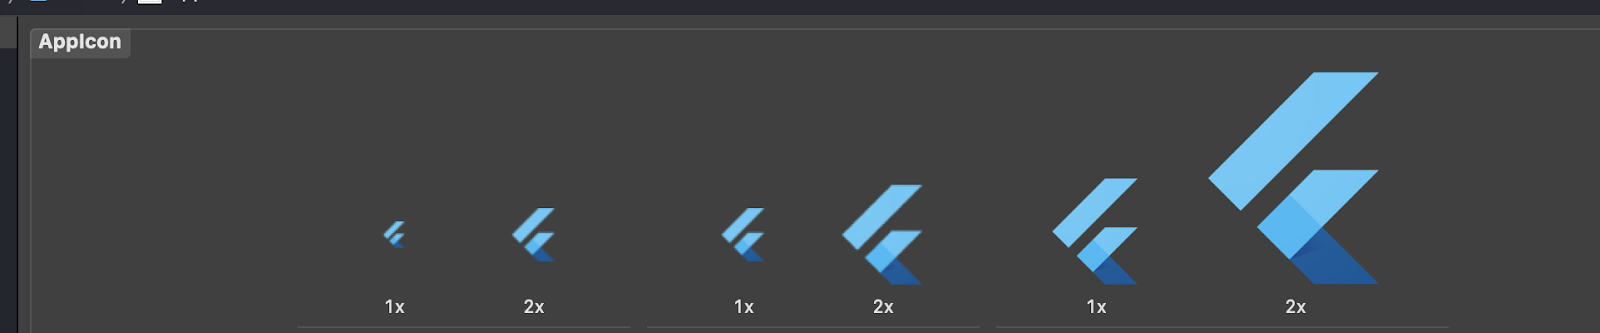
- Add an app icon
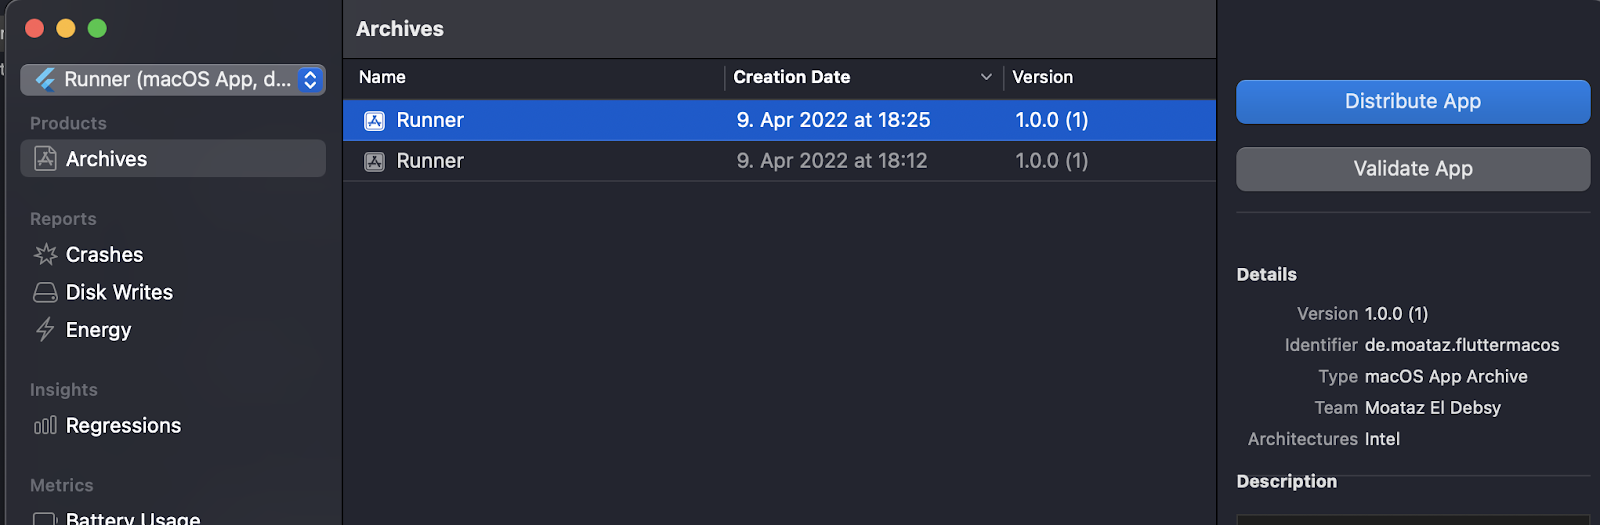
- Create a build archive with Xcode
All details can be found on the macOS Flutter page.
If you have an existing application you can build it using the following command:
flutter build macos
The executable binary can be found in your project under build/macos/Build/Products/Release. Alongside your executable binary in the Release directory:

And if you want to run the app, you can use the following command:
flutter run -d macos
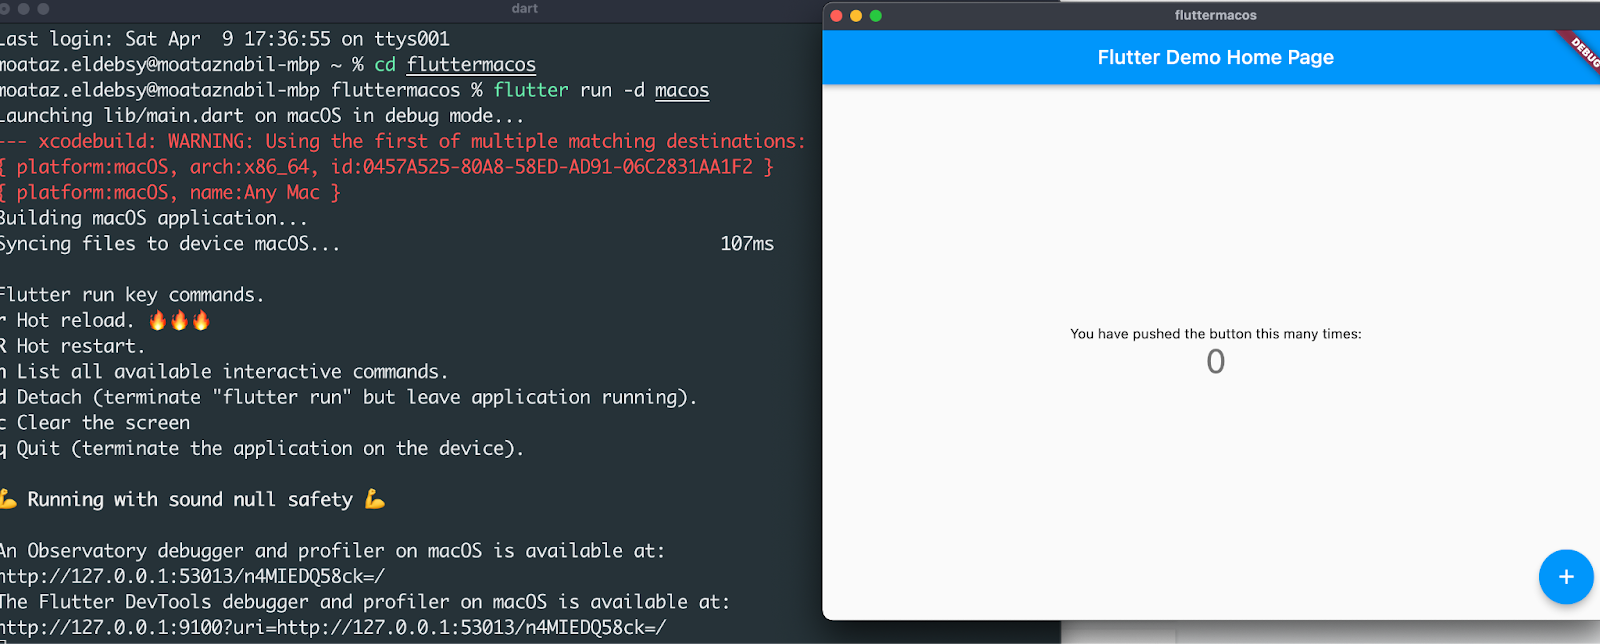
In case you don’t have a Flutter app, you can easily use the following command:
flutter create fluttermacos
And you will have the macOS folder inside the app directory.

Congratulations! You built and ran the flutter desktop app for macOS successfully now it’s time to add our project to the CI/CD system.
Build a Flutter desktop for macOS with Bitrise
Assuming you add your project to a source code management system such as GitHub, it’s time to connect your app to Bitrise.
Let’s get started!
- Login to Bitrise with your account, if you don’t have you can create a free account from here.
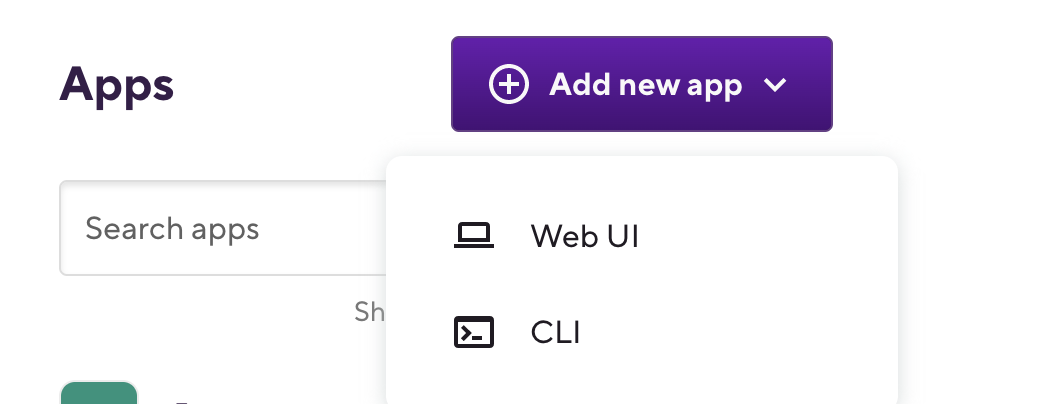
- In the dashboard, click on Add new app and select Web UI
- Select the app type, click next and choose the repository


- Click on auto-add SSH key

- Enter the branch name “i.e main” and click Next
- The scanner step will detect that the project type is macOS or Flutter and you need to select which app you want to configure for your Bitrise application

- I will select the Flutter project
- In our case, because it’s a macOS app, we will select Xcode stack, and also you can select which machine type you want (Standard or Elite based on your organization), then click Next

- Click Confirm and you can skip the App icon for now and click Next
- Click Register a webhook and click to run your first build


- After your first build is finished successfully, you can click on the Workflow editor and add the required steps

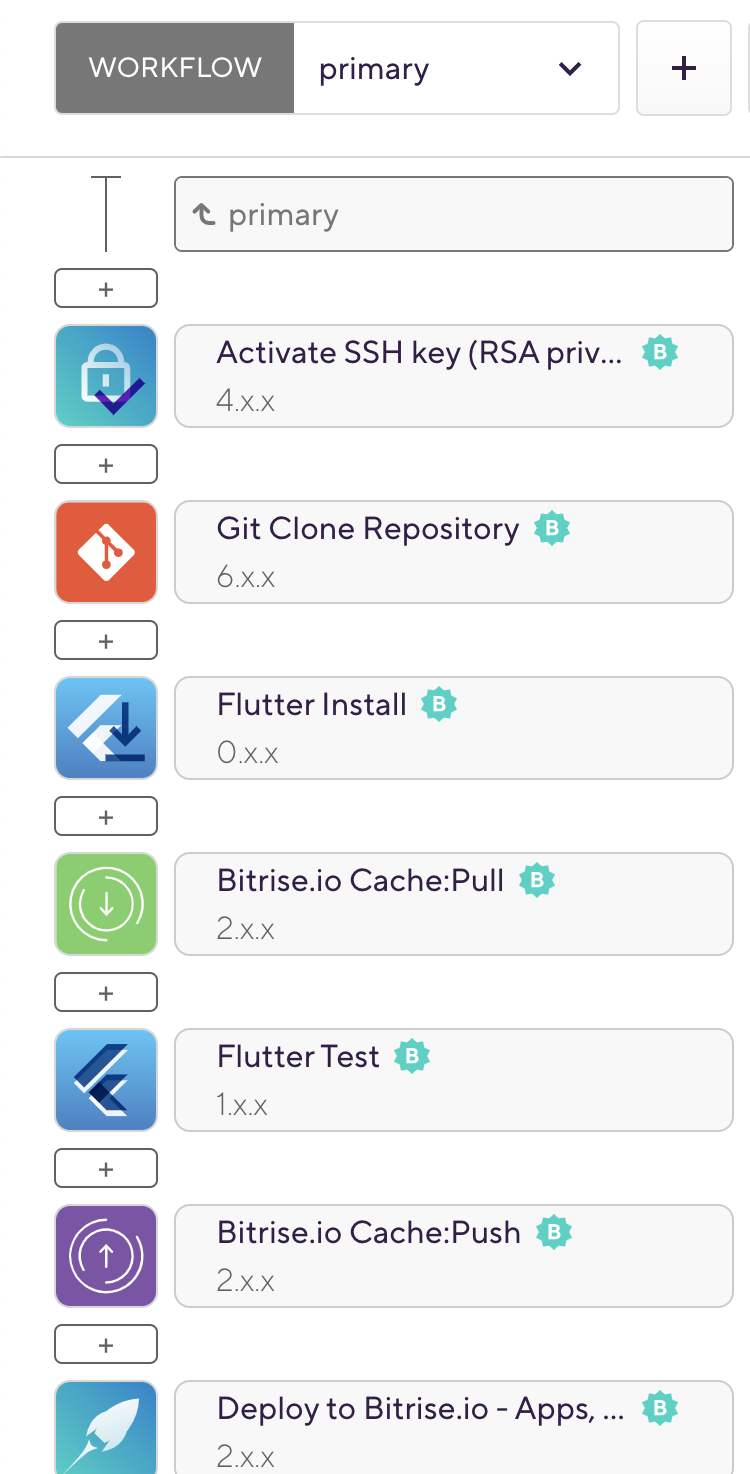
- In the Workflow Editor, you will find the set of predefined steps such as the following image
Before adding new Steps in the workflow we need to configure the Code Signing for our App, with Bitrise you can automatically manage your certificates and provisioning profiles as detailed in this article.
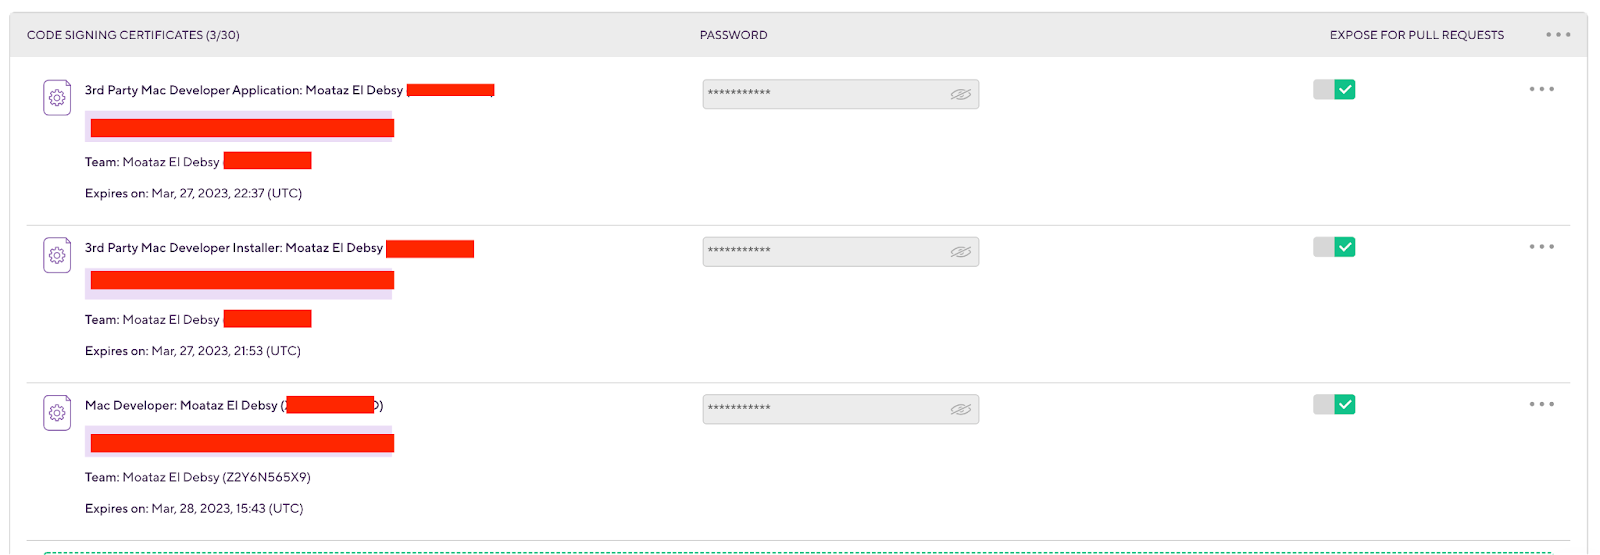
- Click the Code Signing tab and click on How to Setup Code Signing and follow the instructions
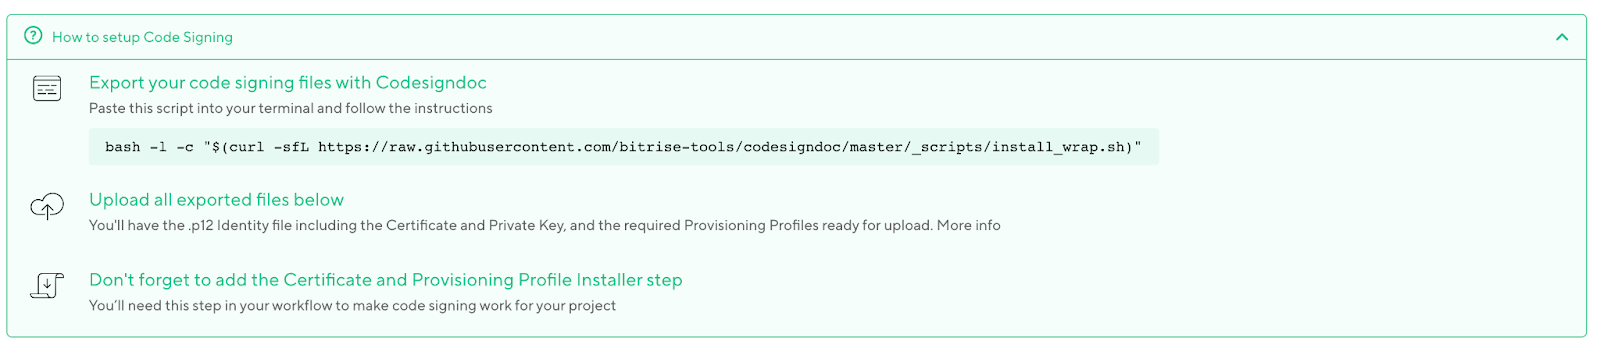
Or you can upload your Certificates and Provisioning Profiles manually.

- In the Workflow Editor, add a new Certificate and Profile Installer Step

- Add a new Script Step (you can rename it as you like) and add the following command to enable the flutter desktop for the macOS app and install pods:
#!/usr/bin/env bash
# fail if any commands fail
set -e
# debug log
set -x
flutter config --enable-macos-desktop
flutter pub get
cd macos
pod install
cd ..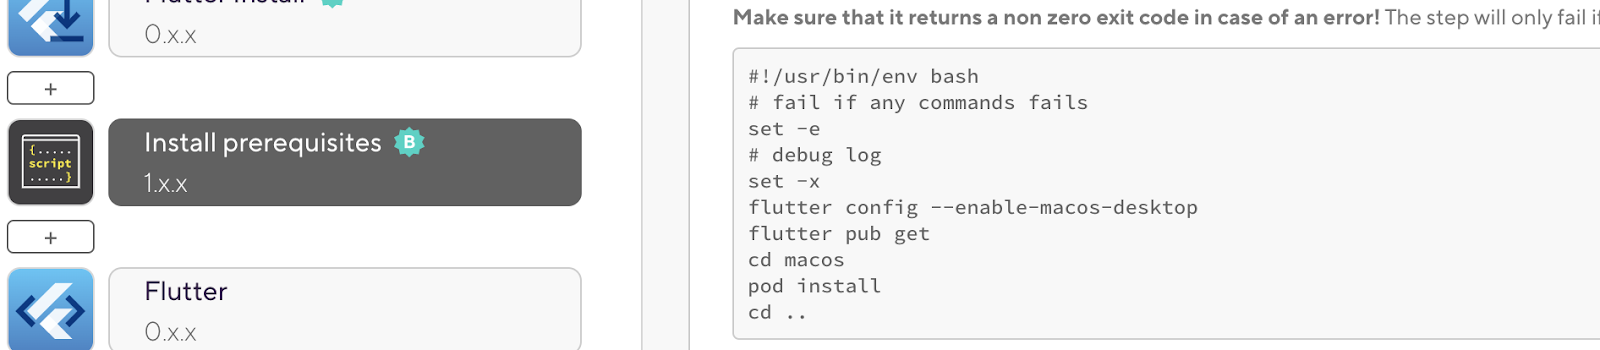
- Add Flutter Step to run the flutter build command

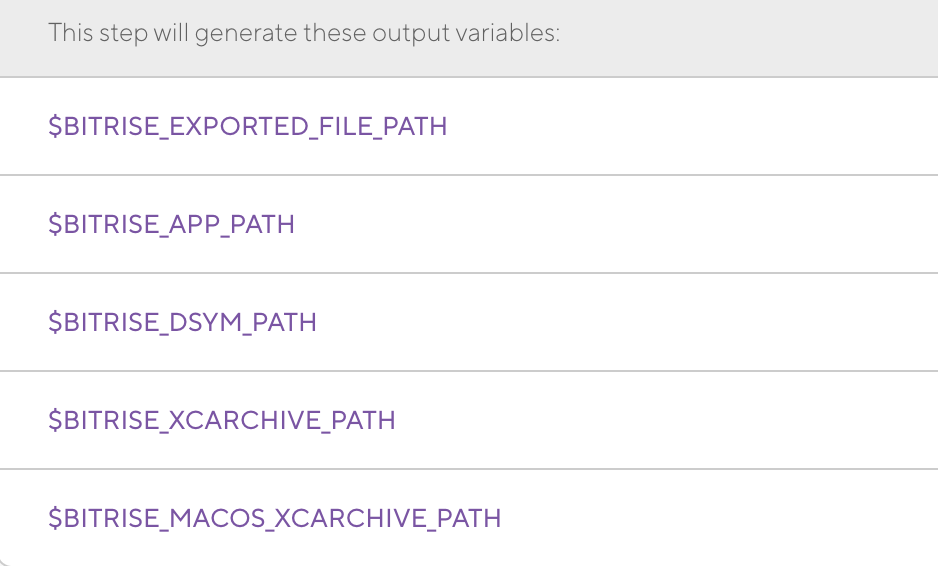
- Add Xcode Archive for Mac Step to build and archive macOS apps. This step helps you to create an archive for your macOS project so you can share it, upload it, deploy it and catch them all! Well, maybe not the last one.
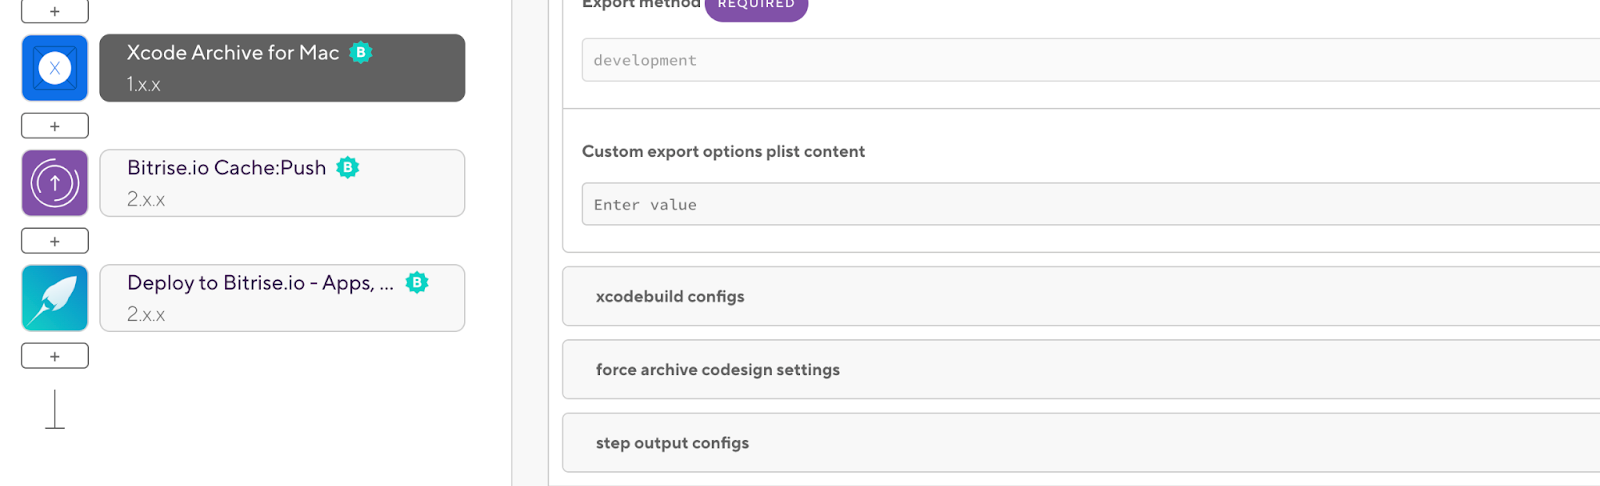
The Step will generate these outputs.
- Make sure you have to Deploy to Bitrise.io - Apps, Logs, Artifacts Step.

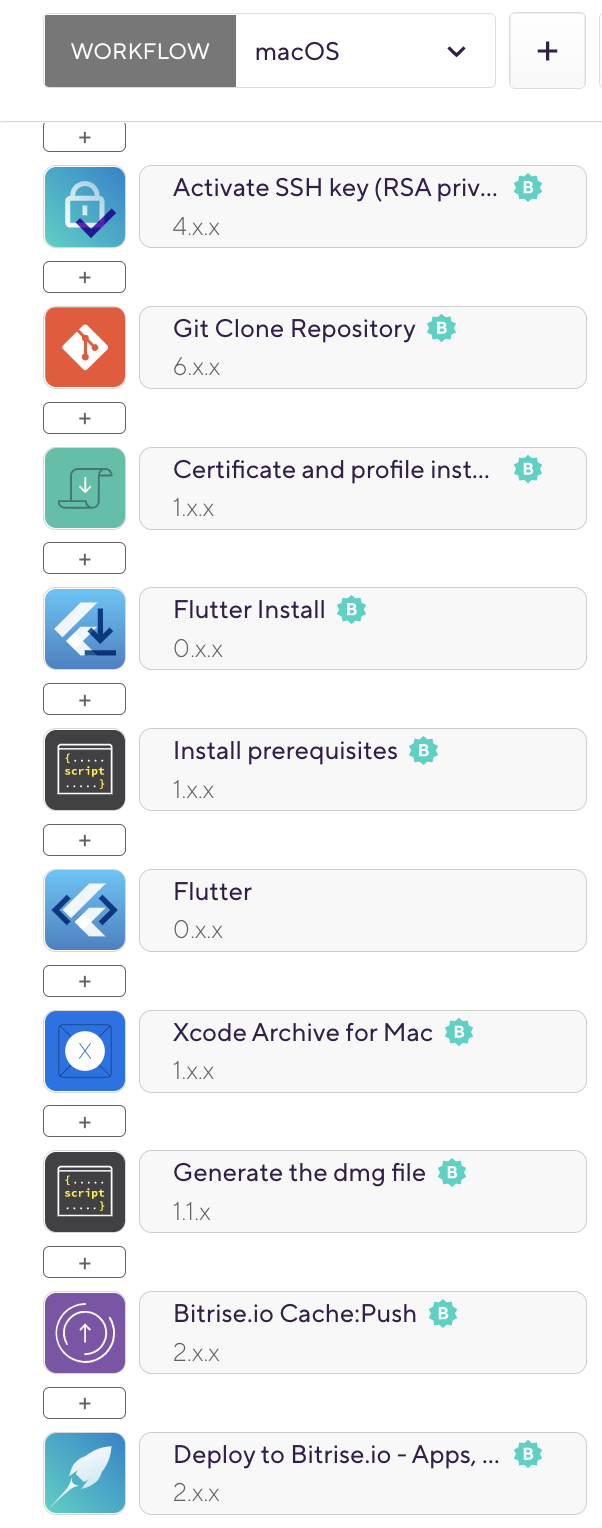
And the final workflow should be like the following image.

- After the build runs successfully, you can click on the Artifacts tab and download the Runner.app.zip to your local machine.


- Extract the folder and right-click on the app executable file and select open the app should be open successfully.
Extra Point: create a .dmg file for your macOS app
MacOS uses DMG files to store applications. It saves the hassle of having to run the dreaded "Install Wizard" for nearly all Windows apps, simply opening the app, dragging it to your Applications folder, and ejecting it.
Also to ensure the file was downloaded properly and wasn't tampered with. Files in DMG format include a checksum, which basically verifies the file's integrity.
The prerequisite for this part is you should have NodeJS and NPM installed on your machine.
- Open your terminal and run the following command:
npm install -g appdmg- Navigate to the app directory and create a new folder “assets” inside the macOS directory
- Inside the assets folder, add the application icon file “TestIcon.icns”
- Inside the assets directory create a new file “appdmg.json” and add the following configuration:
{
  "title": "Flutter macOS app",
  "icon": "TestIcon.icns",
  "contents": [
    { "x": 448, "y": 344, "type": "link", "path": "/Applications" },
    { "x": 192, "y": 344, "type": "file", "path": "fluttermacos.app" },
    { "x": 512, "y": 900, "type": "position", "path": ".TestIcon.icns" }
  ]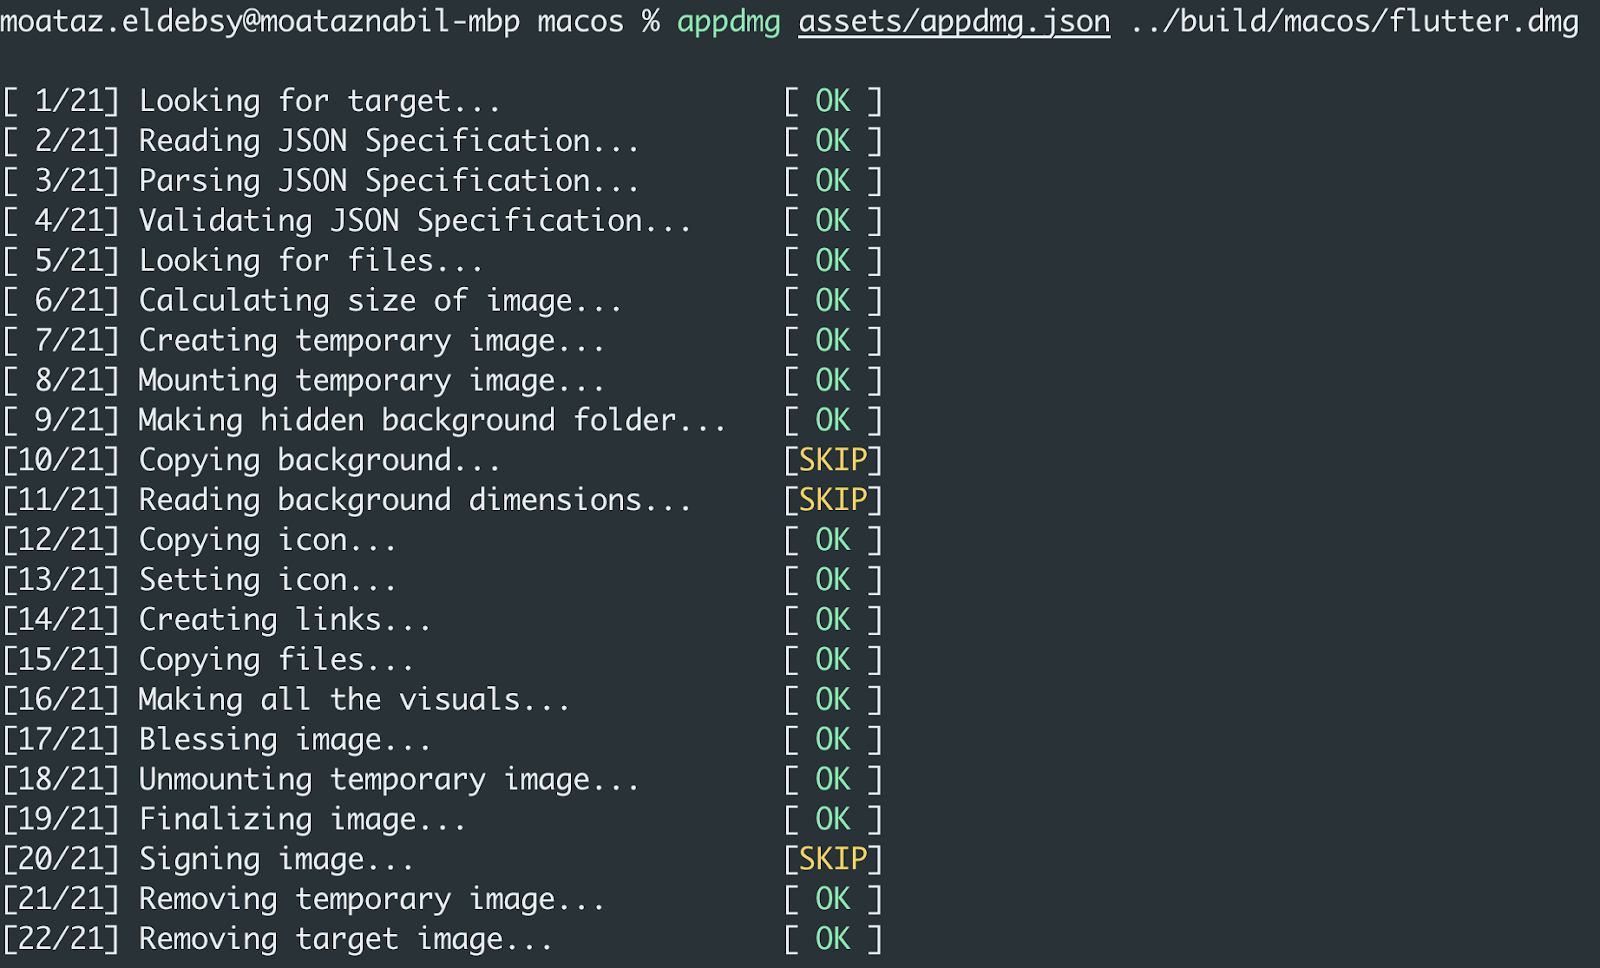
}- Run the following command to create a .dmg file in the directory:
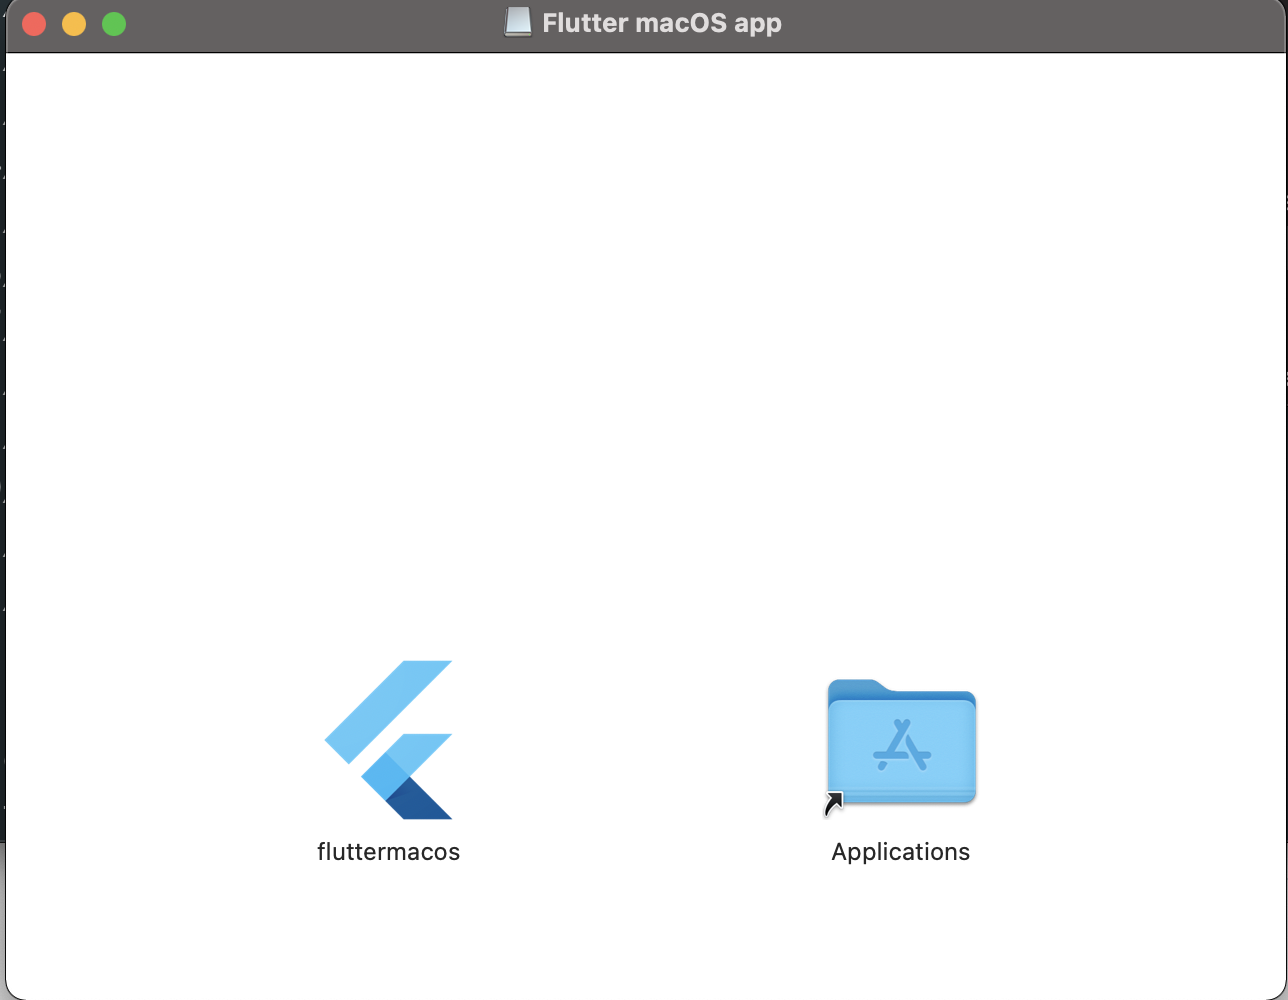
appdmg assets/appdmg.json flutter.dmg- The dmg file will be generated successfully like the following images
- Open the folder and double-click to open the flutter.dmg
Now, let’s do the same steps on Bitrise.
- Push the changes to your GitHub repository
- Add a new Script Step to install the node-appdmg, create the .dmg file, and copy it to the Deploy directory.
#!/usr/bin/env bash
# fail if any commands fails
set -e
# debug log
set -x

npm install -g appdmg

cp -R build/macos/Build/Products/Release/flutter_web.app macos/assets

appdmg macos/assets/appdmg.json $BITRISE_DEPLOY_DIR/flutter.dmg- After the build runs successfully, check the artifacts to download the .dmg file and install it.

And the final workflow will be like the following image:
Congratulations, you did it! You created your first flutter desktop for macOS and built it with your CI/CD workflow on Bitrise.
Conclusion
My goal with this series was to learn how to build and deploy the Flutter app with different platforms beyond iOS and Android such as the web with Firebase and S3 and desktop for macOS and Linux.
Thank you for reading this article! If you have any questions or feedback, please reach out to us on Twitter, email, or join the Bitrise Slack to chat with us directly.